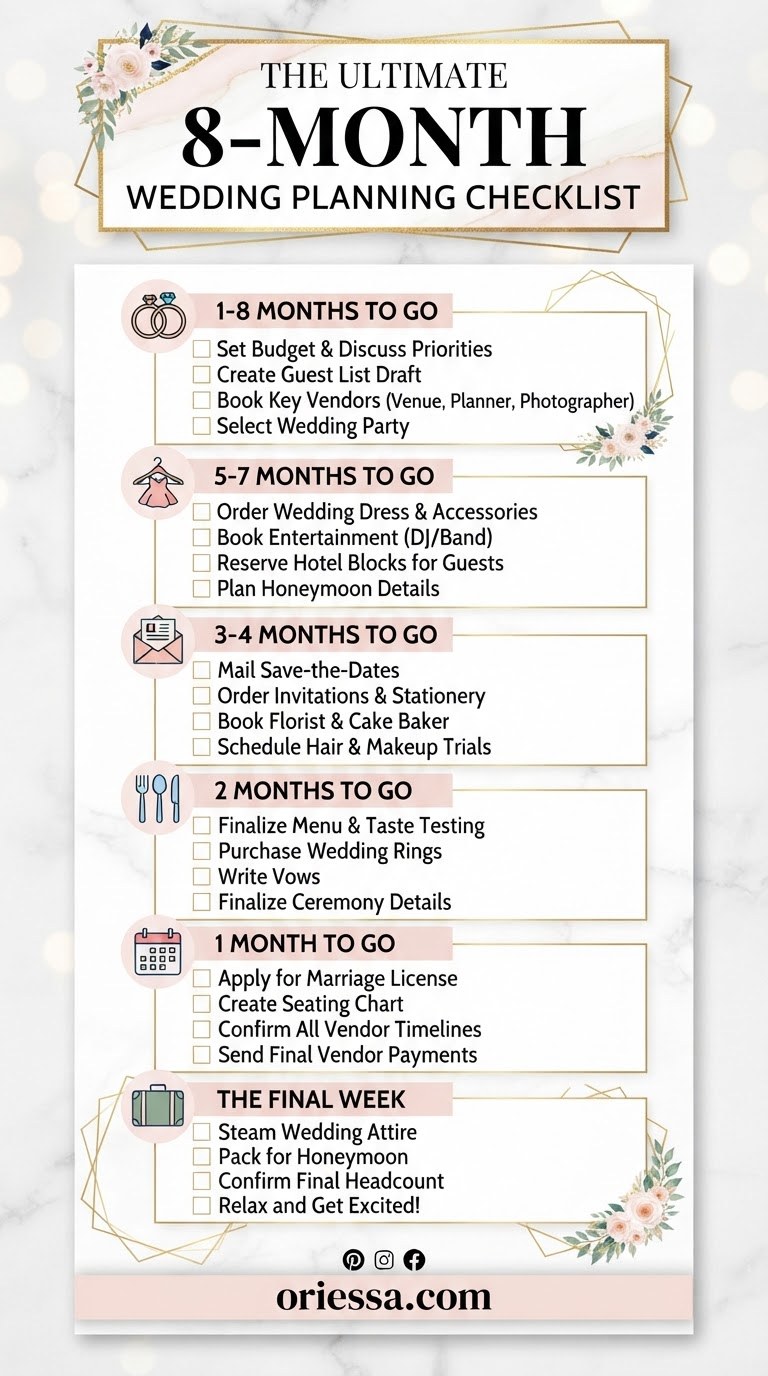

When my own wedding calendar started filling up faster than my craft room table, I realized the magic was not in doing everything at once — it was in knowing which task belongs where. I built this month wedding planning checklist to keep the big choices, tiny details, and handmade touches from becoming one giant pile of panic.
I love a pretty detail (hello, custom place cards and handmade accents), but I love a calm couple even more. This timeline focuses on practical wedding milestones so you can enjoy the season instead of only surviving it.
Set the Wedding Budget and Finalize Priorities

The first month of focused planning is where I grab a notebook, a calculator, and a very honest conversation. A wedding budget shapes almost every later decision, from guest count to venue style, so I start with realistic spending limits before falling in love with every pretty idea online. Wedding checklist guides commonly recommend beginning with budget, guest count, and major decisions because they affect everything that follows.
My budget starting point
- Write the total amount you can comfortably spend.
- Separate must-haves from nice-to-have details.
- Create a small cushion for surprises.
I also make a priority list with Dre because our favorite details are the ones that feel like us, not the ones that simply look expensive. A handmade touch can be meaningful without taking over the entire wedding budget.
Confirm Venue, Vendors, and Wedding Day Schedule
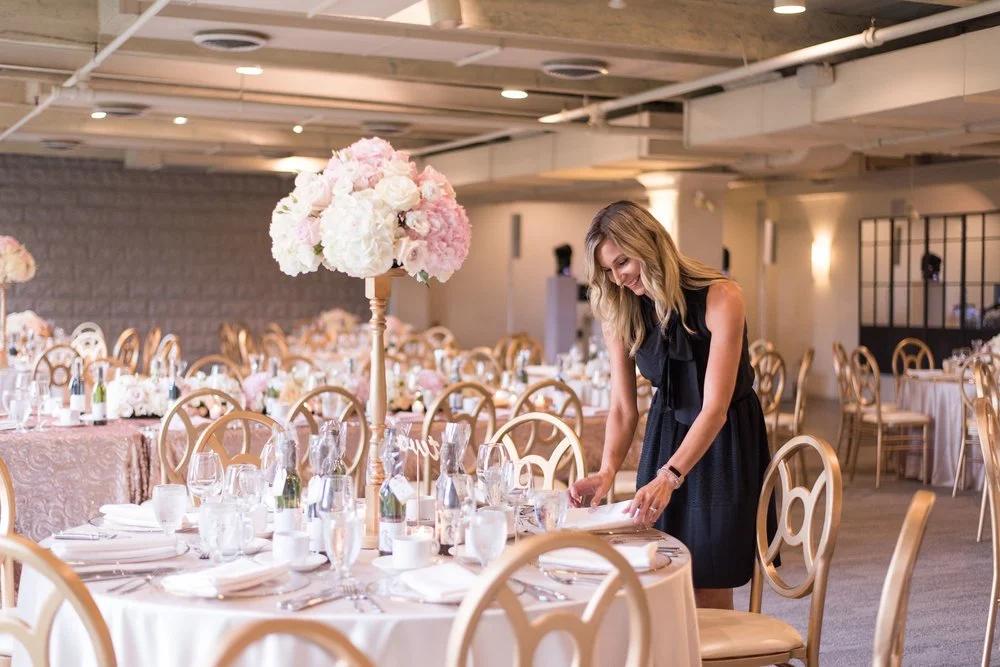
Once the budget has a home, I move toward the team that brings the celebration alive. The venue, caterer, photographer, music, and other vendors create the framework, so I keep every contract, payment date, and question in one place. A timeline works best when couples handle the decisions that affect everything else early.
- Review. Check every vendor agreement, cancellation policy, and deadline.
- Confirm. Lock in arrival times, setup needs, and contact details.
- Map. Build a rough wedding-day schedule with your vendor team.
My favorite planning trick is treating vendors like creative collaborators. The florist, baker, and photographer are not just bookings — they are the people helping turn your wedding vision into reality.
Complete Guest List and Send Wedding Invitations
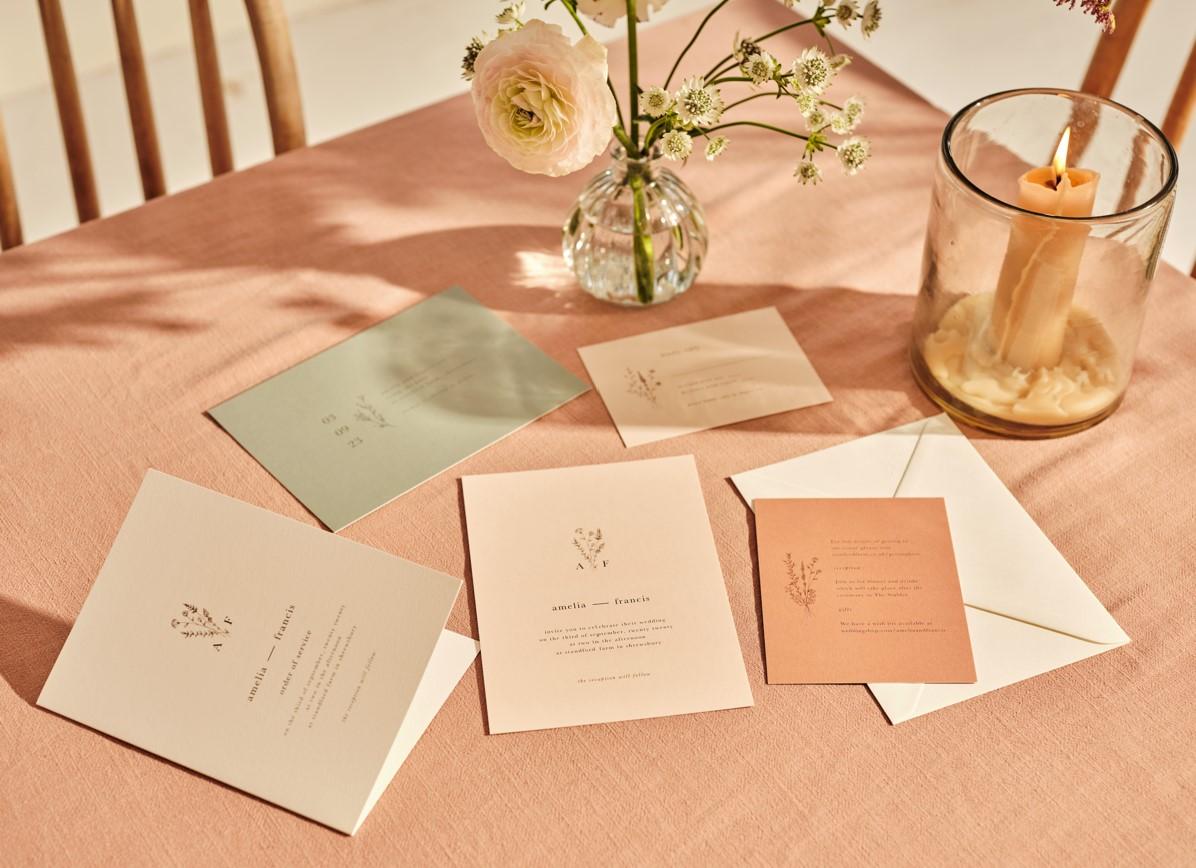
The guest list is where emotions and logistics meet. I like to make one master list with names, addresses, meal notes, and RSVP tracking because tiny details multiply quickly. For many weddings, invitations are sent about six to eight weeks before the event, while destination celebrations often need more time.
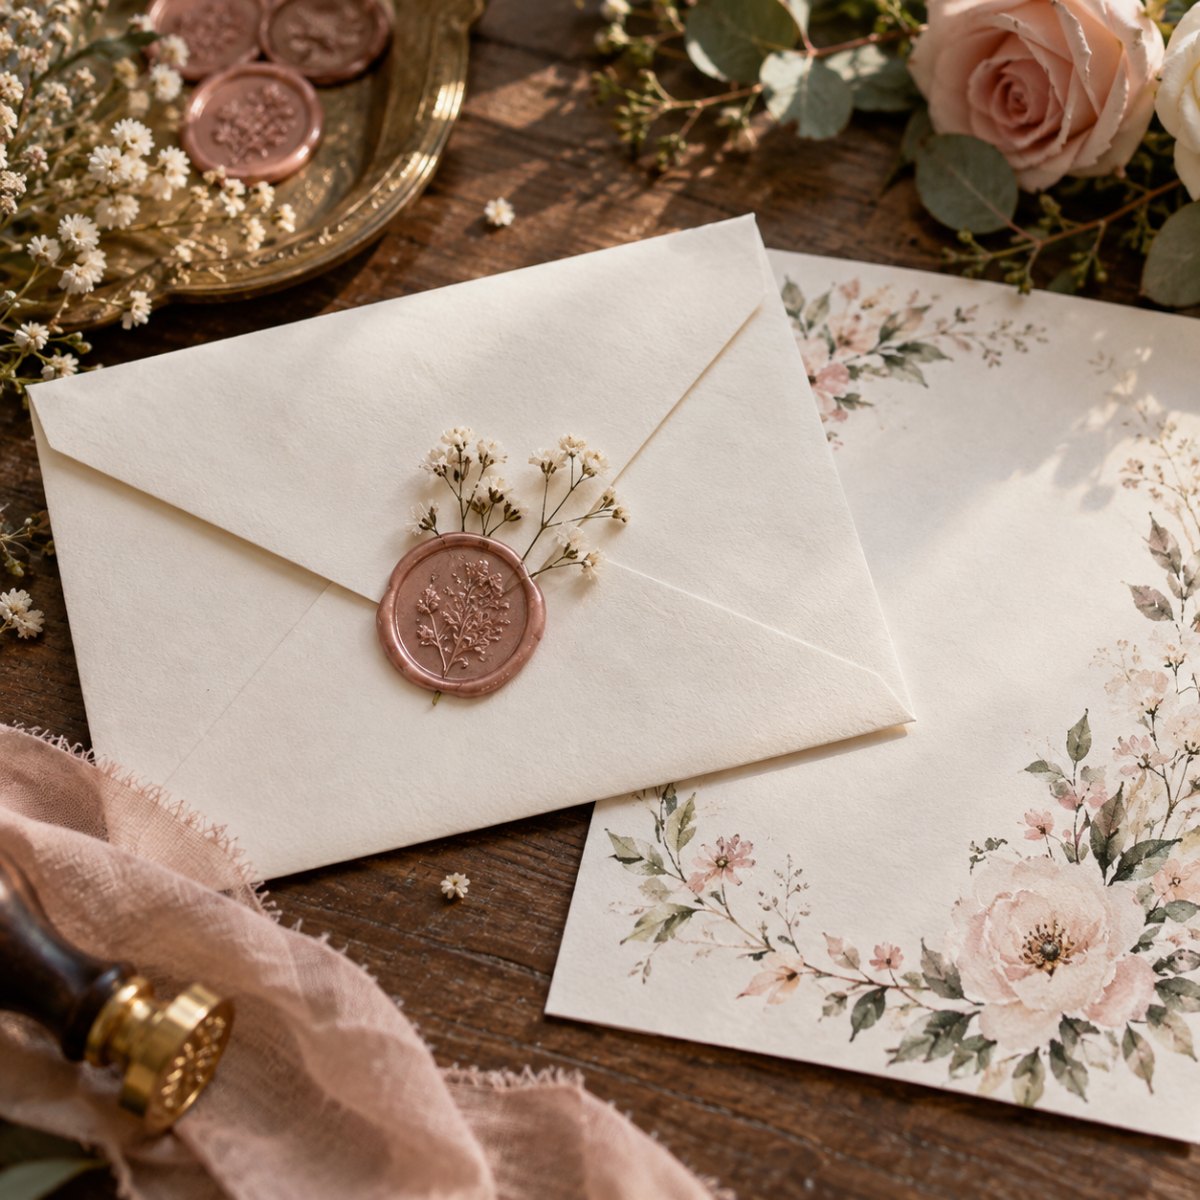
This is also where I sneak in personality. A beautiful invitation suite can carry your colors, story, and handmade touches while still keeping the important information clear for every guest.
Choose Final Wedding Attire and Accessories
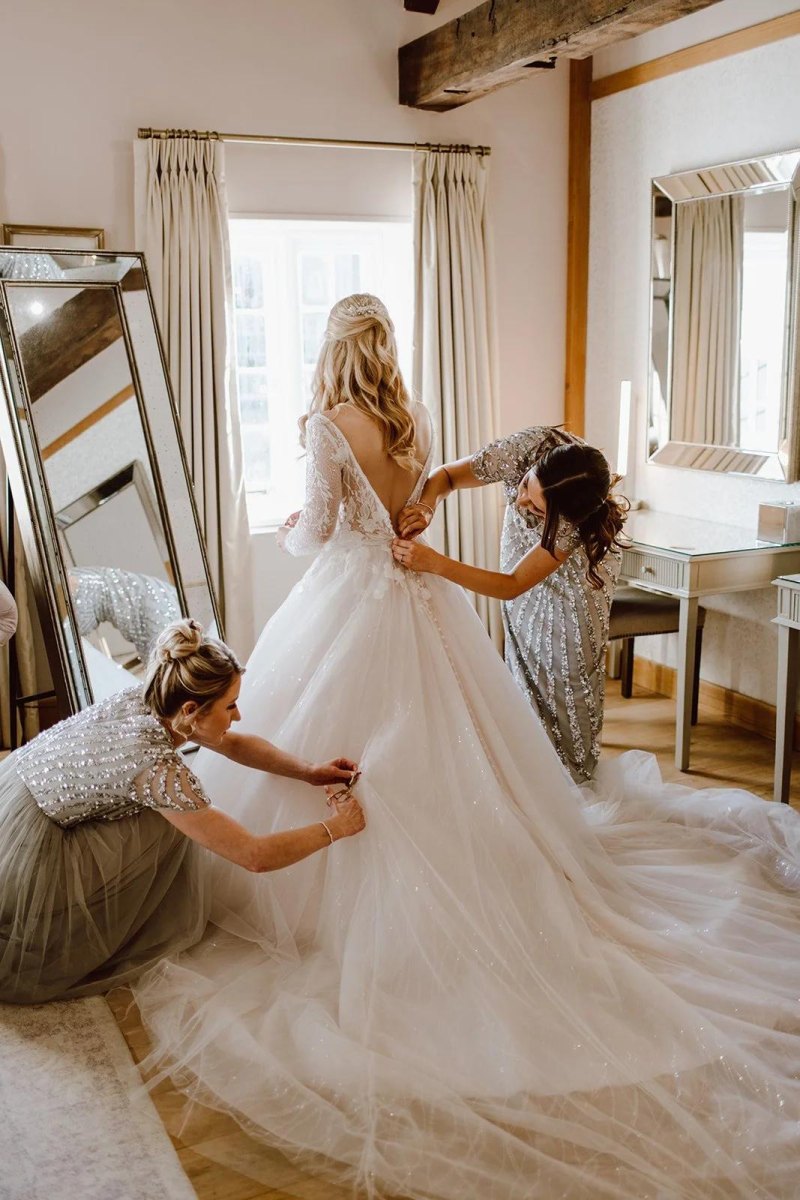
This is the month for trying everything on, from the main outfit to the smallest accessories. I love fashion that tells a story, so I always ask whether a piece feels comfortable, photographs well, and matches the person wearing it — not just the trend. Final fittings matter because small adjustments can make a huge difference.
Final attire wins
- Comfort during a long celebration.
- Time for thoughtful alterations.
- Confidence in every photo.
Last-minute risks
- Unexpected fit changes.
- Missing accessories.
- Rushed alterations.
I always recommend creating a complete look test before the wedding day. Your shoes, jewelry, hair accessories, and outfit should feel like a finished creative project, not separate pieces.
Plan the Ceremony Details and Reception Setup
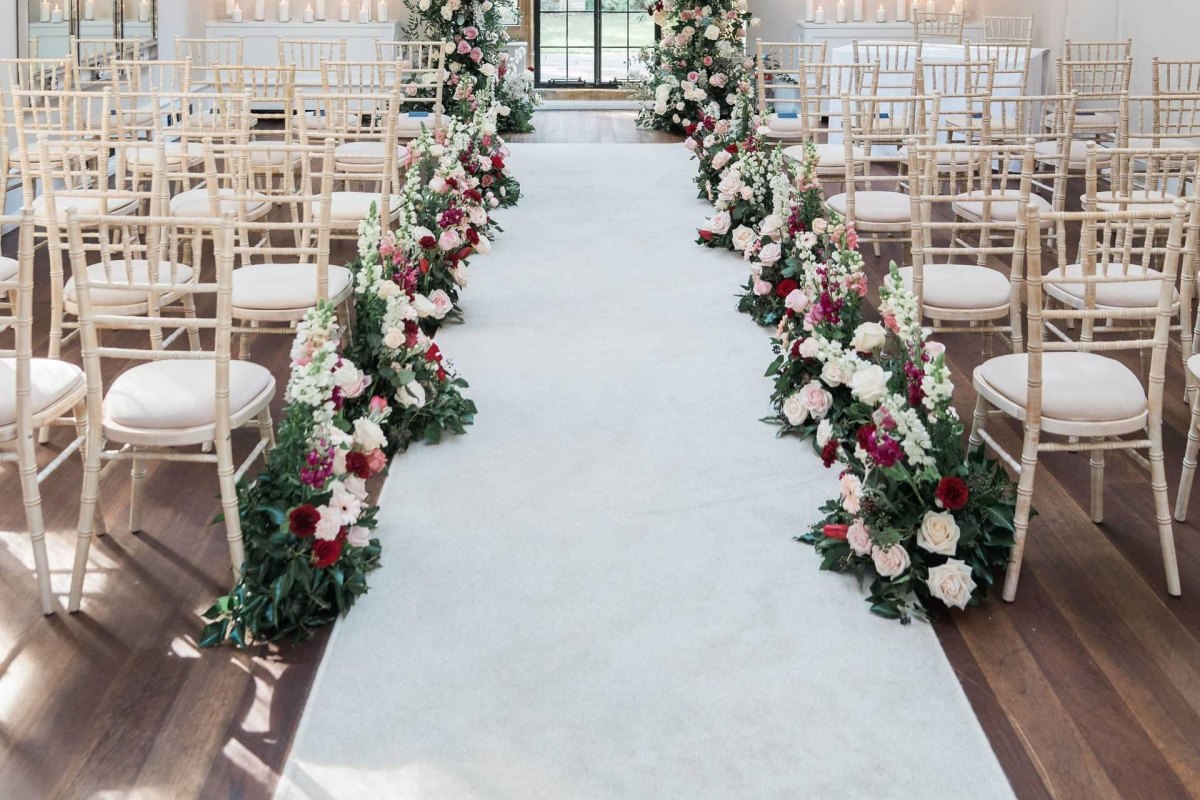
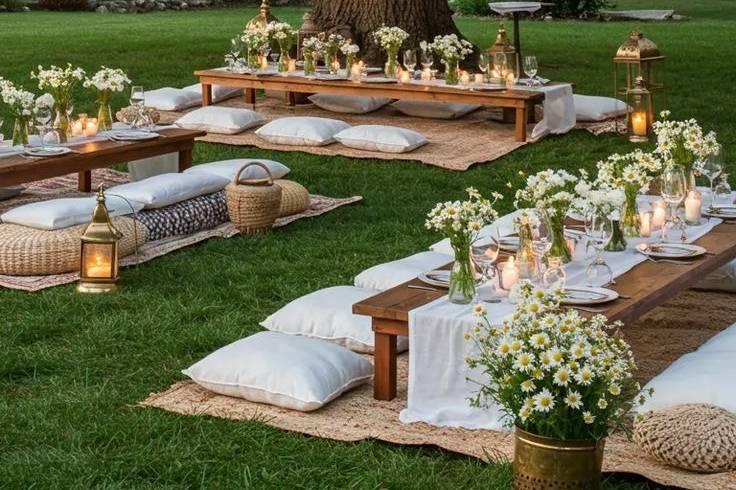
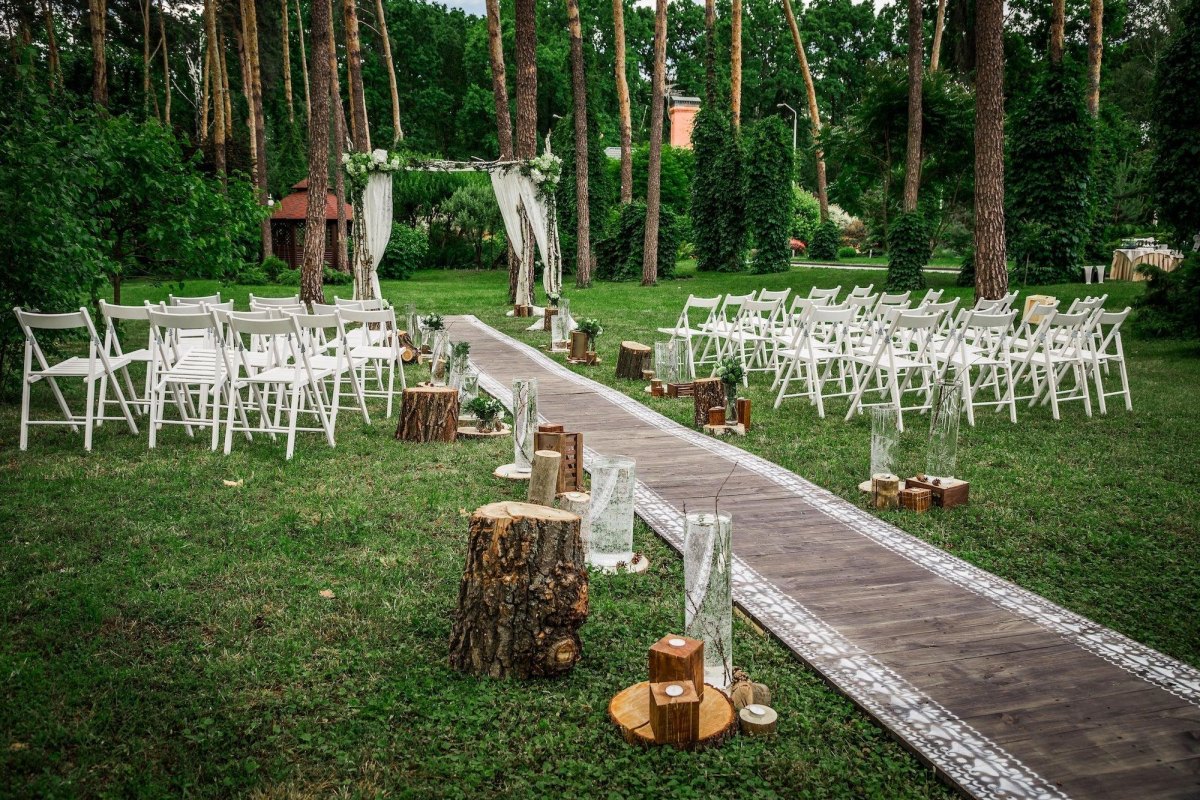
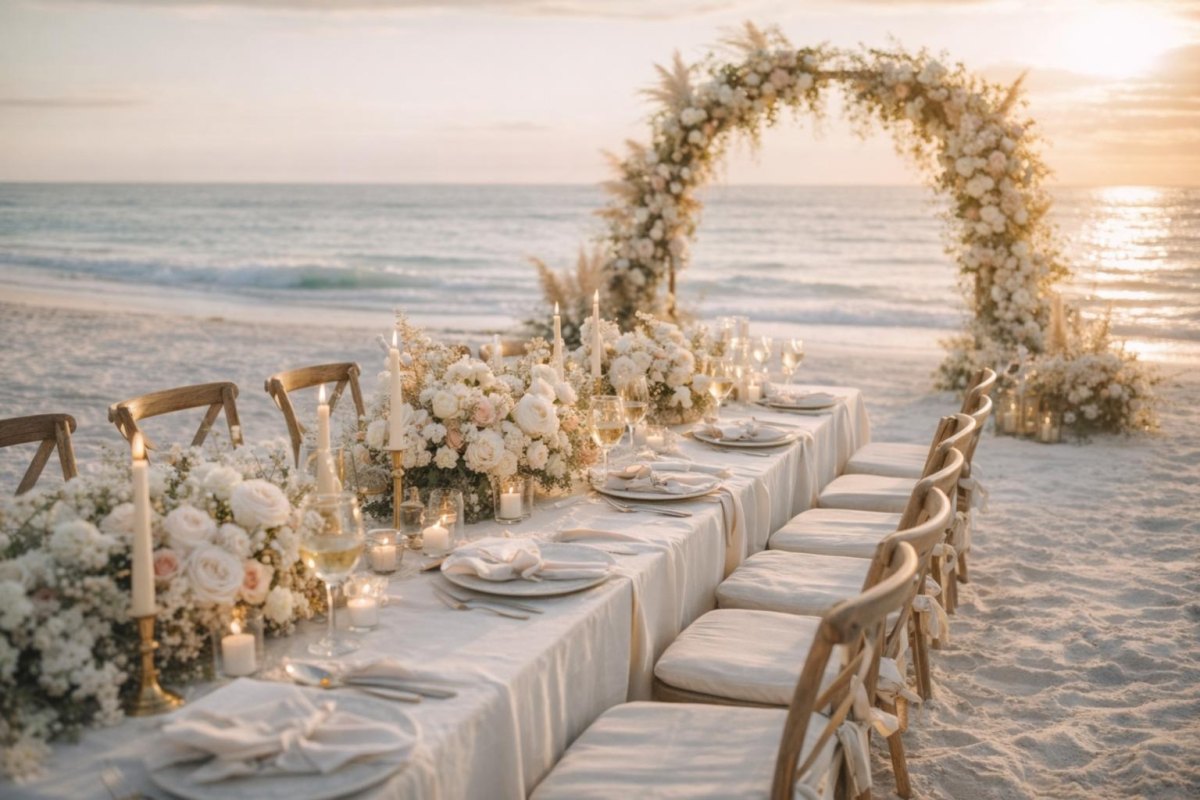
The ceremony and reception are where all those planning pages become a real experience. I love adding handmade details here, like personal signage or small crafted touches, but I make sure every item has a job. Pretty is wonderful; useful is even better.
A thoughtful setup creates a smooth celebration because guests notice the atmosphere, not the hours spent behind the scenes. The goal is a warm and welcoming space that feels like you.
Arrange Transportation, Accommodation, and Guest Support
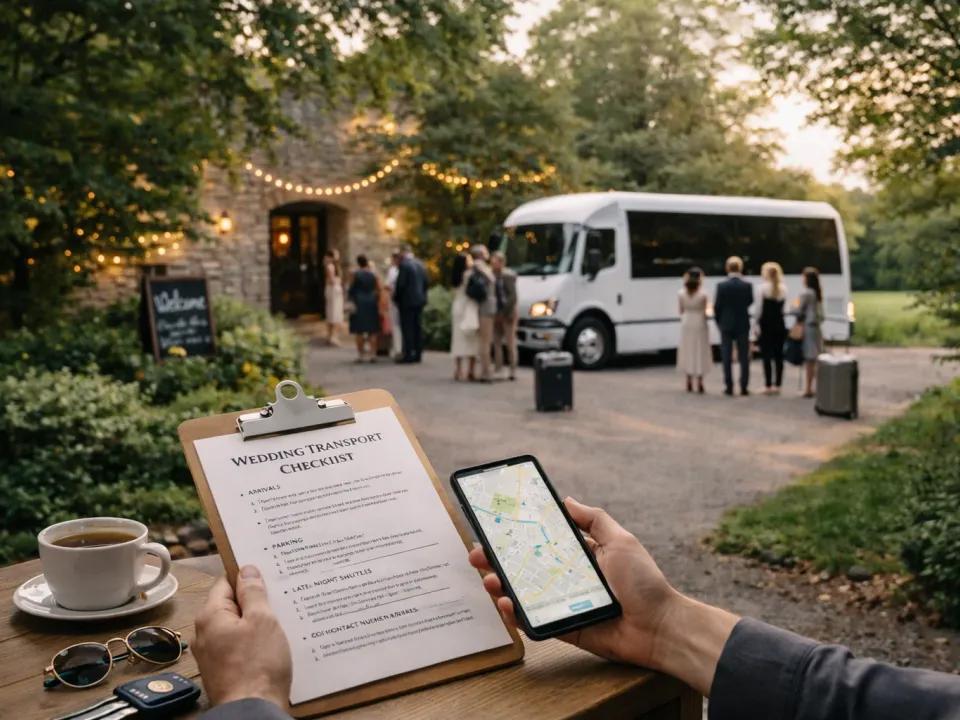
Logistics are the invisible craft project of a wedding. Nobody sees the spreadsheet, but everyone feels the difference when transportation, directions, and accommodations are organized. I keep a simple guest information page with helpful travel details and emergency contacts.
| Task | Timing focus |
|---|---|
| Guest hotels | Confirm options and details |
| Transportation | Review pickup and drop-off plans |
Especially for guests traveling from far away, clear communication is a kindness. A little planning here protects your peace on wedding day.
Prepare Wedding Day Emergency Kit and Final Confirmations
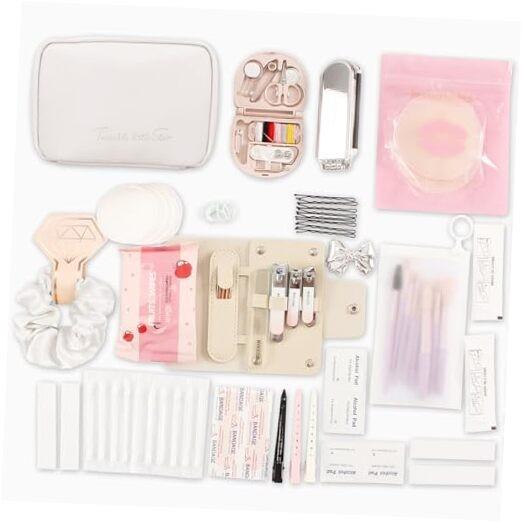
I call this the “tiny things that save the day” stage. My craft brain loves a good kit because it is basically a portable problem-solving box. I pack practical items like fashion tape, tissues, snacks, safety pins, and anything needed for quick fixes.
My favorite final-week tip
Give the emergency kit to a trusted person instead of carrying it yourself. Your only job should be enjoying the moment.
I also confirm every vendor, timeline detail, and arrival time. These last checks turn a busy week into a calm final countdown.
Organize Final Week Tasks and Wedding Day Timeline
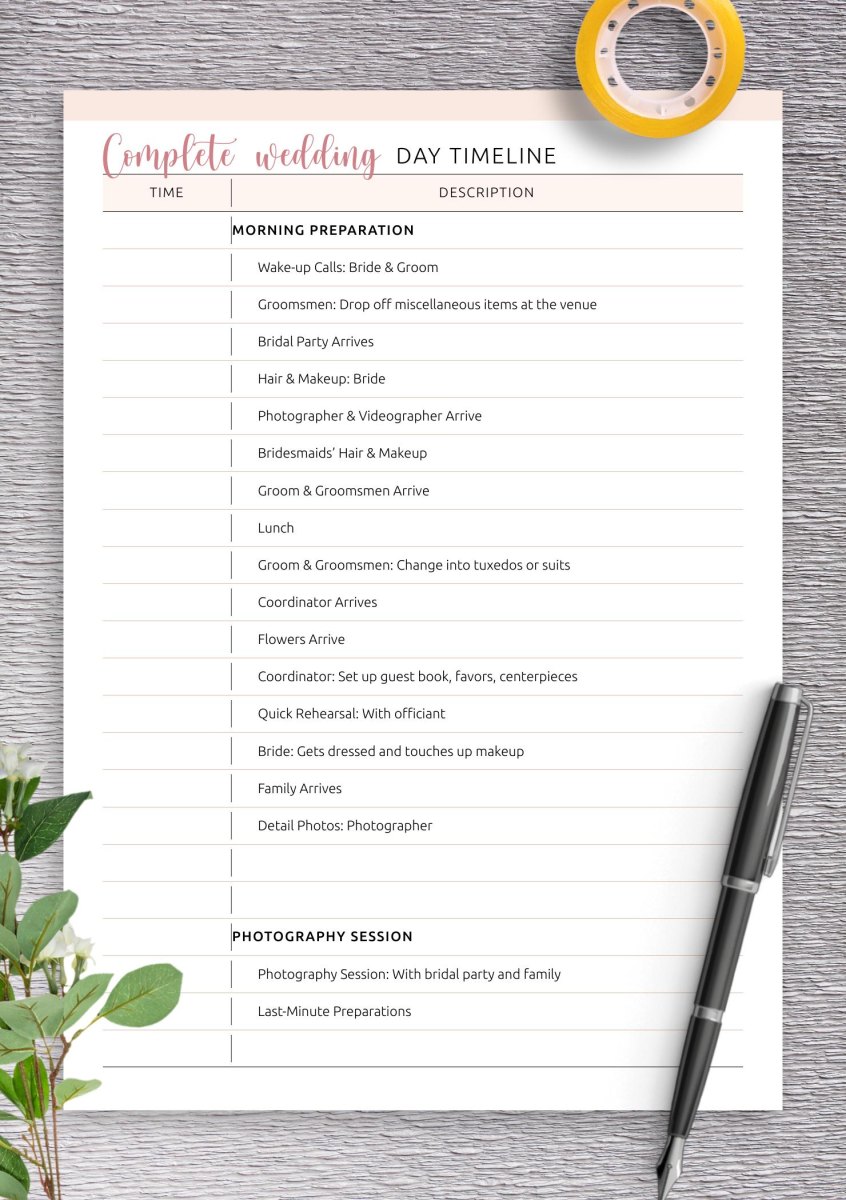
The final week is not for reinventing the wedding. It is for protecting your energy. I focus on completing unfinished details, reviewing the schedule, and letting my vendor team handle the pieces they were hired to manage.
1
master timeline keeps your wedding team aligned
Many wedding checklists emphasize working backward from the wedding date and organizing tasks by timeline so important decisions happen in the right order. My last advice: prepare your day-of timeline, then give yourself permission to stop planning and start celebrating.
More Pinterest Visuals