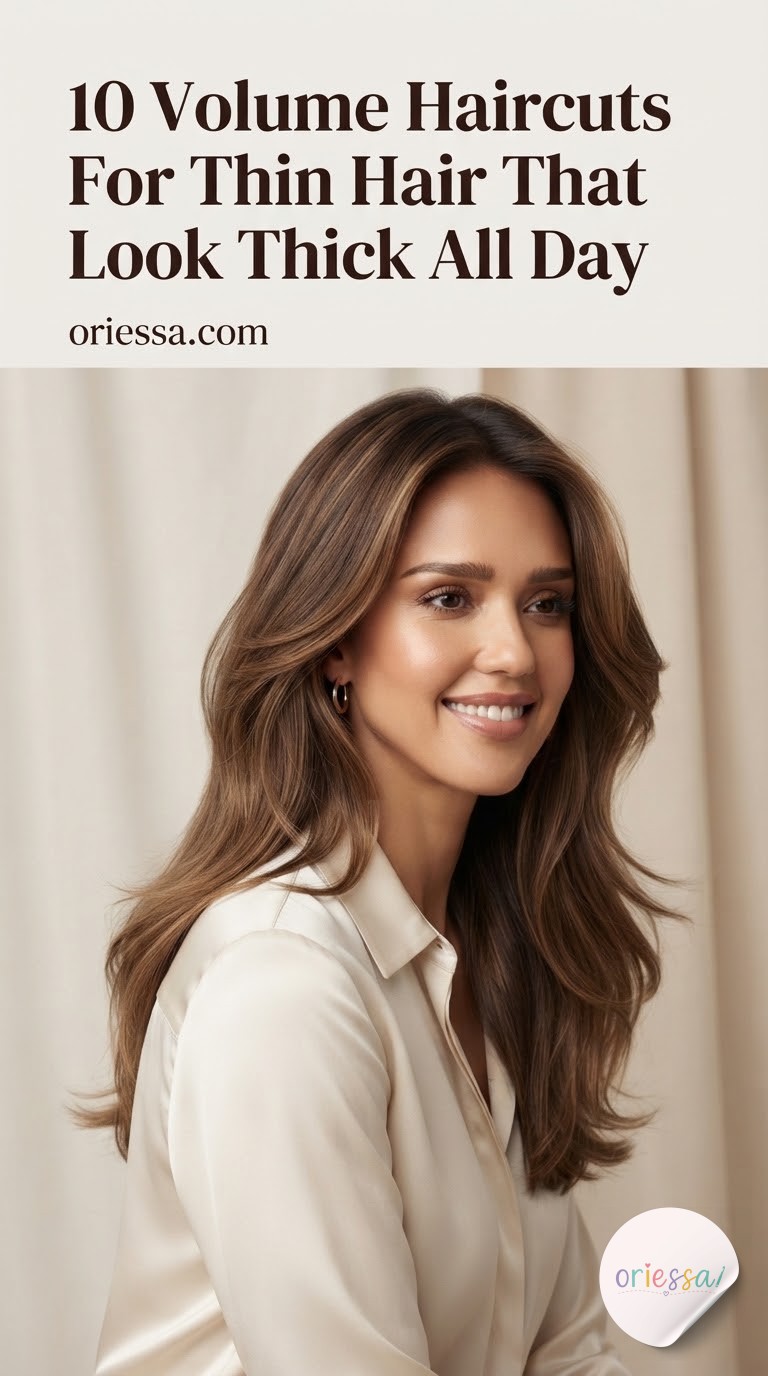
I grew up watching my Tita Marilou pin sections and point-cut around the aunties' heads in her home salon, and the thin-haired ones always got the most careful treatment — because a wrong layer can flatten fine hair instantly, but the right one makes it look twice as full. I'm a licensed nail tech, not a stylist, so consider this the enthusiast's field guide: ten real layer structures I've studied, screenshotted, and would hand my own hairdresser without hesitation.
The Flip-Out Curtain Layers
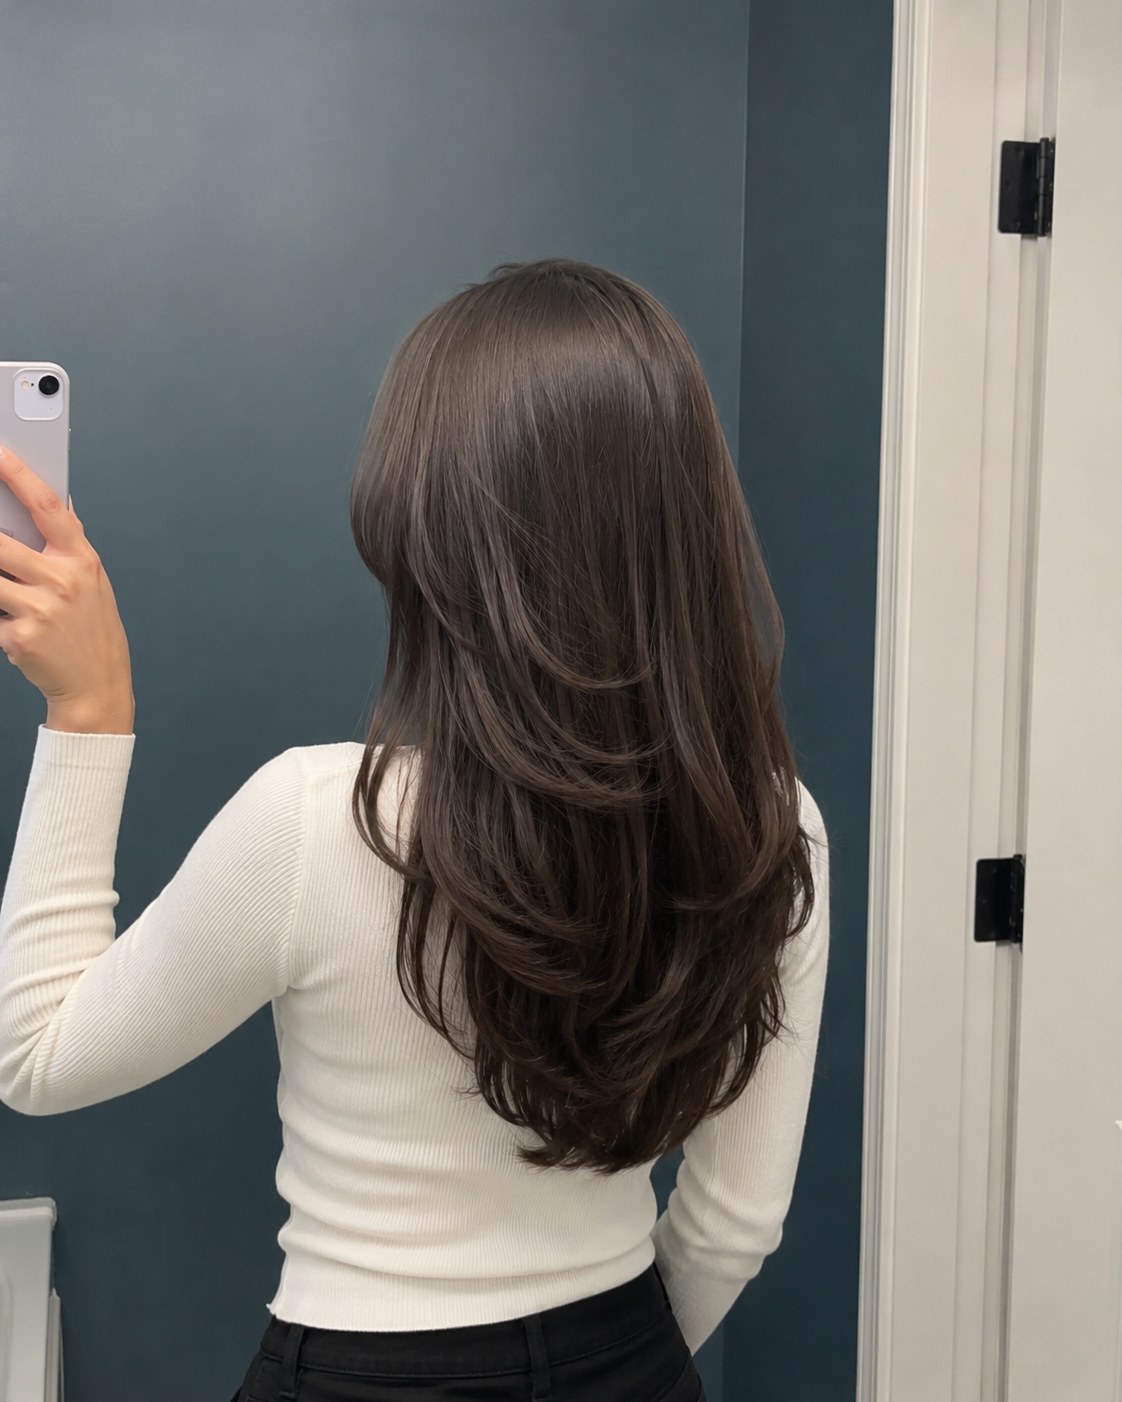
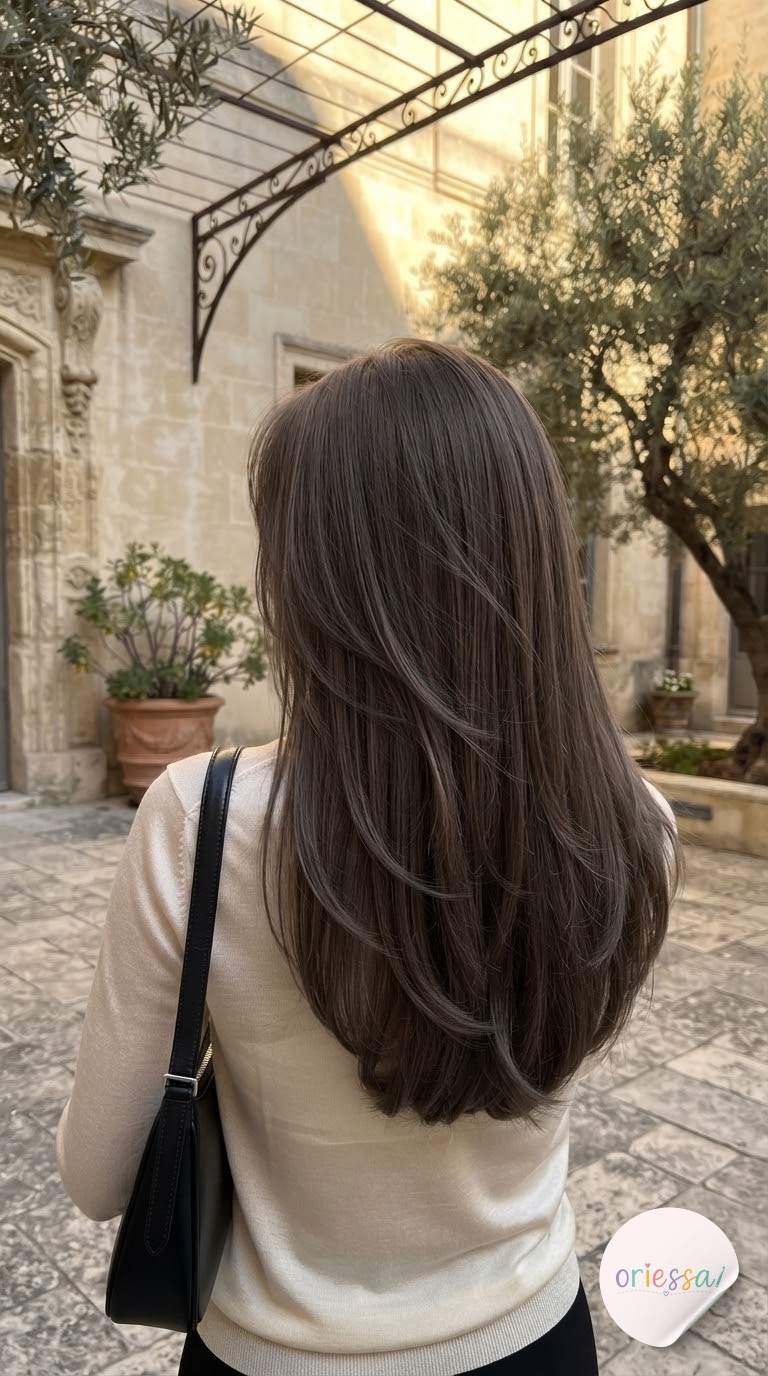
This is the one to screenshot if your hair goes limp by noon. The layers start below the cheekbone instead of up near the crown, so there's no visible gap where scalp peeks through — a real risk with thin strands cut too high. The weight stays heavier through the mid-lengths, then the ends are point-cut so they flip outward instead of just tapering off.
- Tell your stylist: 'long face-framing layers, point-cut ends, flip out not under'
- Style it with: a round brush or velcro rollers set at the ends only
- Skip: heavy texturizing shears through the top, which thins density you can't spare
Movement concentrated at the ends rather than scattered through the whole head is the trick — it reads as fullness, not fluff.
The Face-Framing Cascade
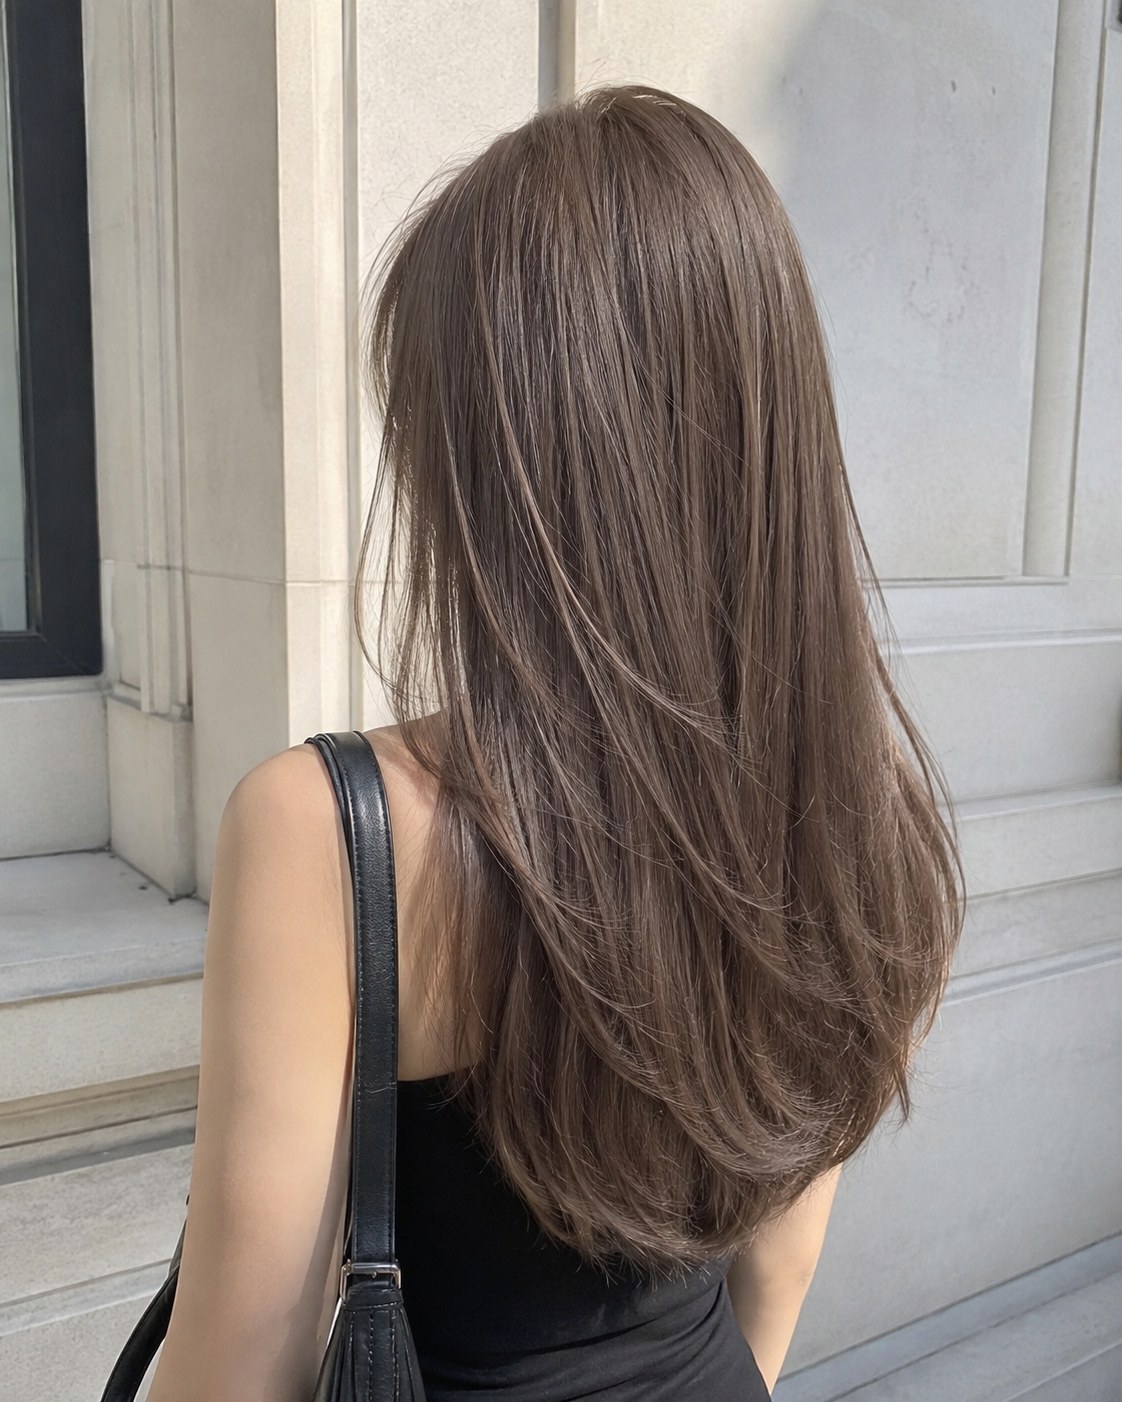
This version starts its shaping a little higher, right around the cheekbone, and the layers cascade rather than flip — longer, softer, more graduated. It's a favorite for round or oval faces because the cascading pieces widen the visual line right where thin hair tends to look narrowest, near the temples.
What makes it work for fine hair specifically: the layers are cut while the hair is pinned slightly forward, so when it falls back, it has built-in lift instead of collapsing flat against the head.
- Ask for the layers to be cut dry, at the end of the appointment, so your stylist can see exactly where they land on your actual texture
- A light mousse at the root before blow-drying keeps the cascade from going stringy
Curtain Bangs Butterfly Layers
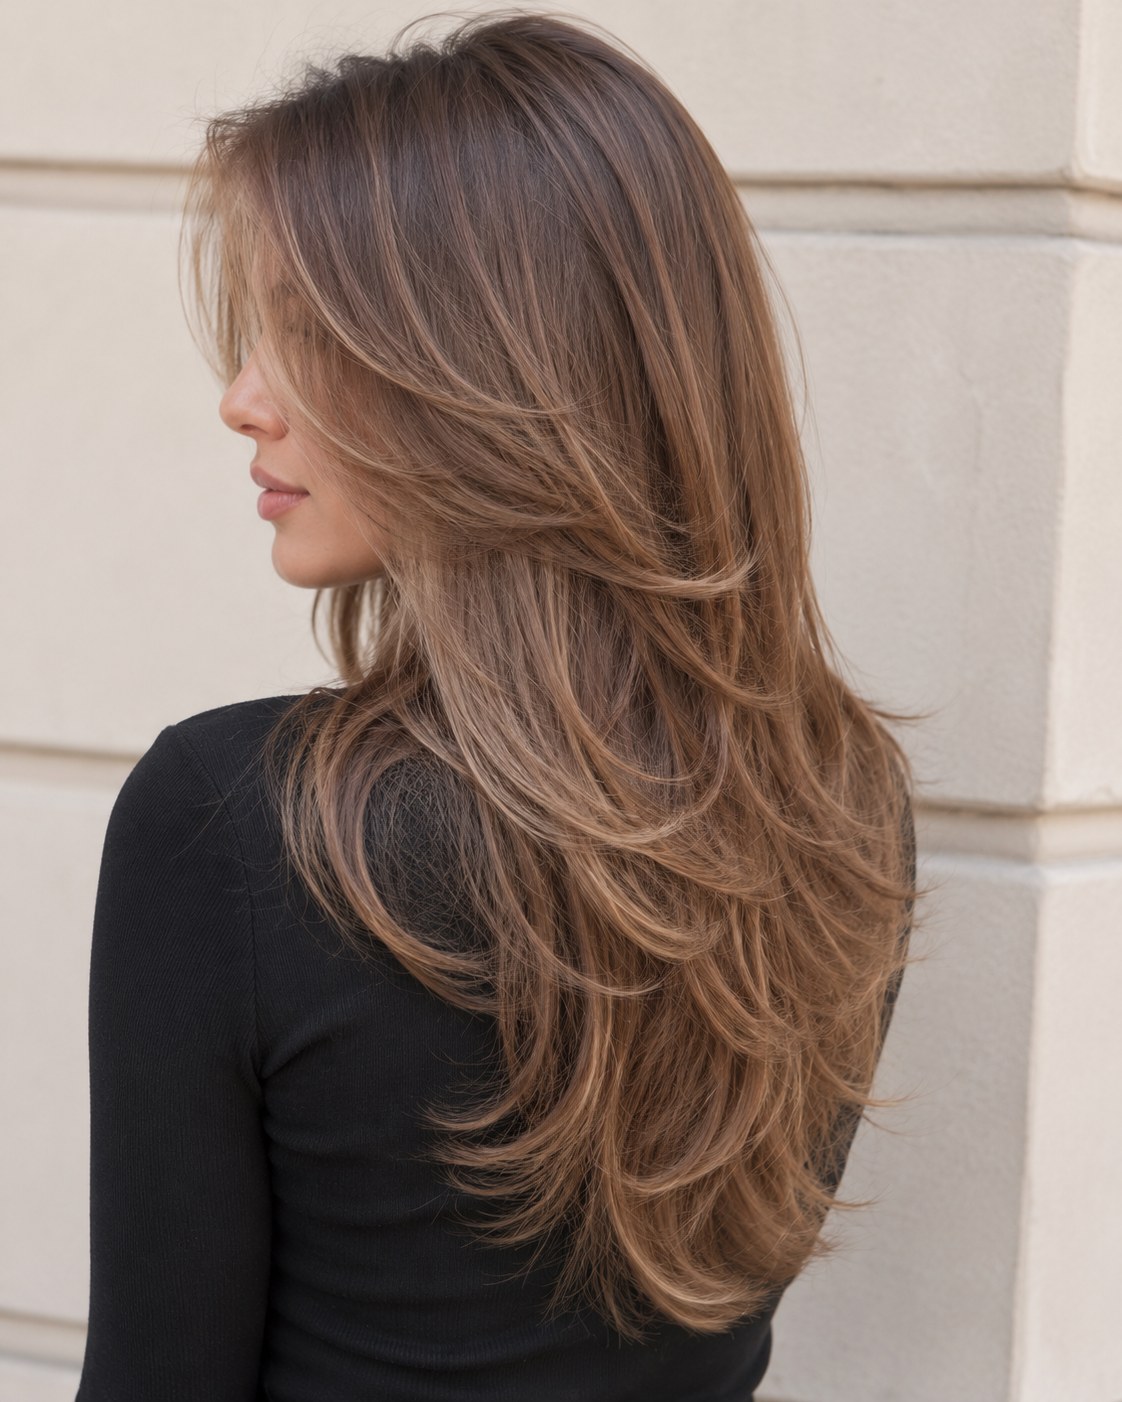
Butterfly layers get their name because the shortest pieces near the crown fan outward like wings, blending straight into a curtain bang at the front. For thin hair, this is one of the highest-impact cuts on this whole list because the lift happens right at the root, where fine hair needs it most.
My Tita Marilou used to say the shortest layer is the one doing all the work — everything longer is just following its lead. That's exactly what's happening here.
The curtain bang softens the face and hides a lower hairline without looking like 'bangs' in the heavy, blunt sense. It's a Weekend Make in terms of styling commitment — a diffuser or a one-inch curling iron on the shortest layers is basically the whole routine.
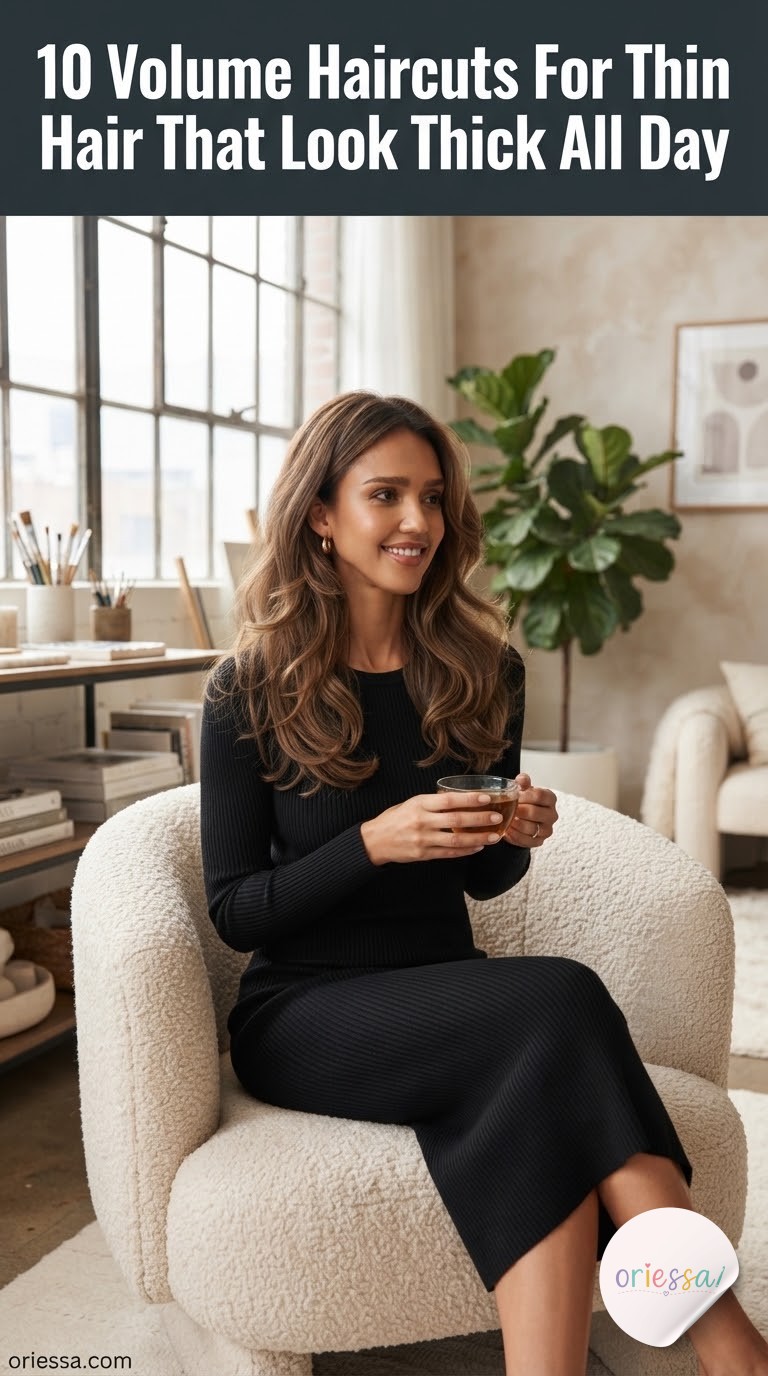
Blowout Waves Volume

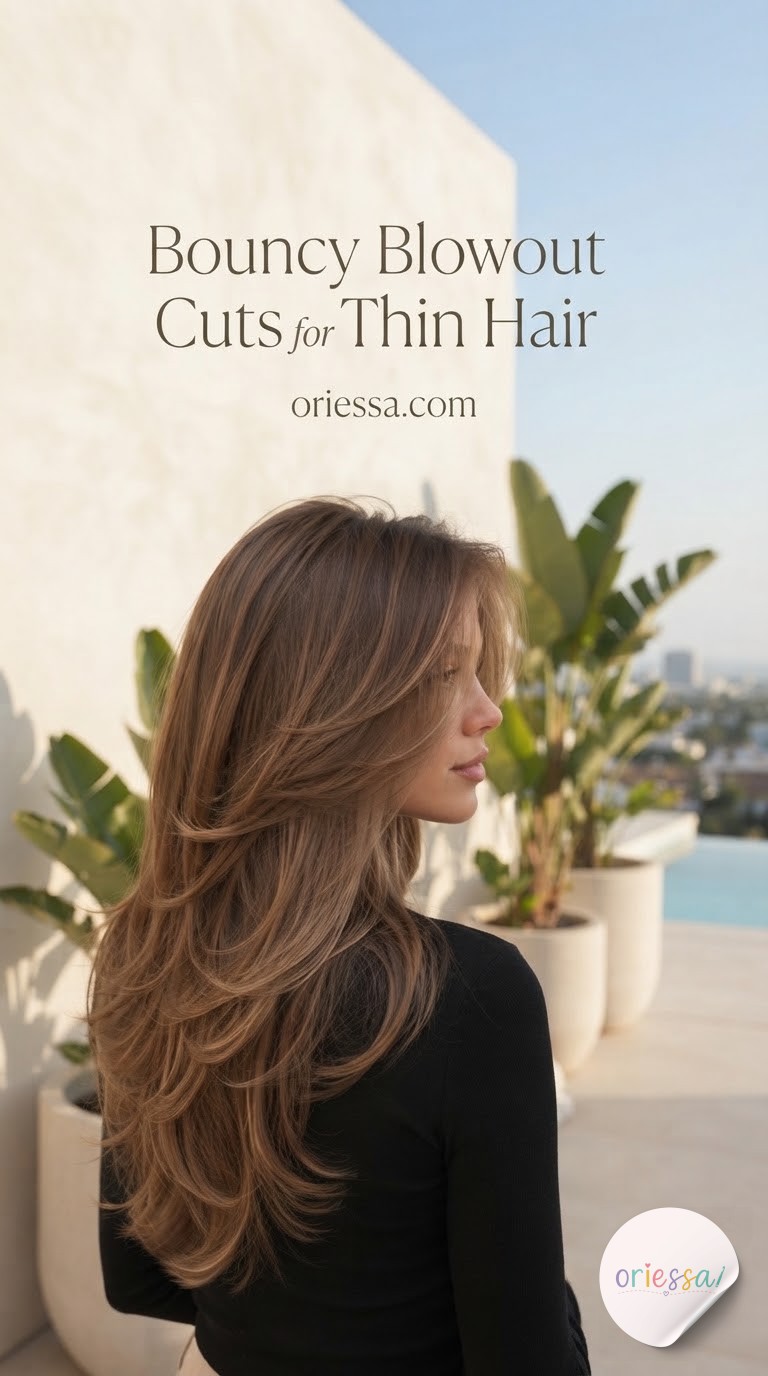
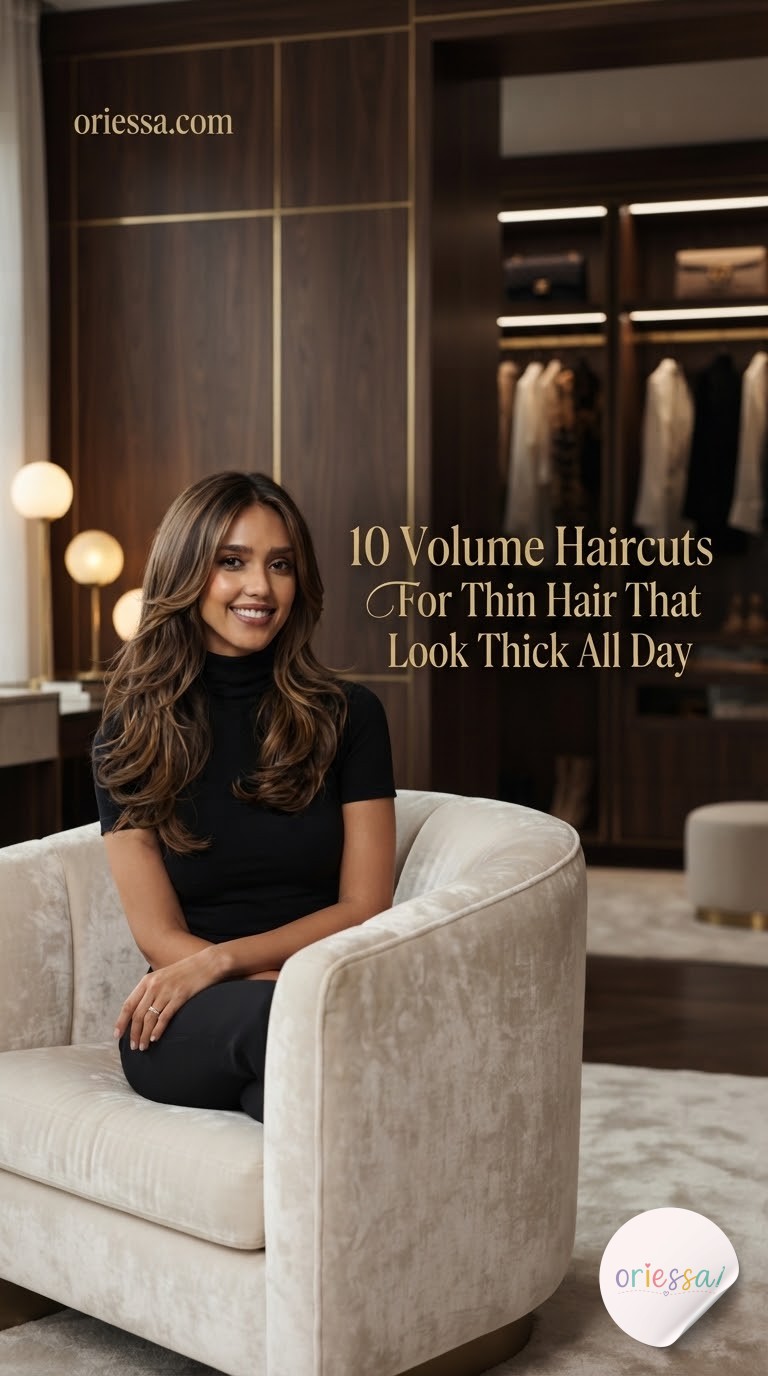
This is proof that color is doing half the volume work before the cut even gets credit. Warm highlights woven through long layers create shadow and light that trick the eye into seeing more strands than are actually there — a technique colorists use specifically on thin hair clients.
- The cut: long layers with rounded, curved ends rather than sharp points
- The color: a few tones lighter through the mid-lengths and ends only
- The styling: a large-barrel iron, curling away from the face in alternating sections, then a root-clip cooldown before releasing
If you only change one thing from this list, add dimension to your color before you touch a single layer — it's often cheaper than the cut and does just as much.
Wispy-Bang Shag Lob
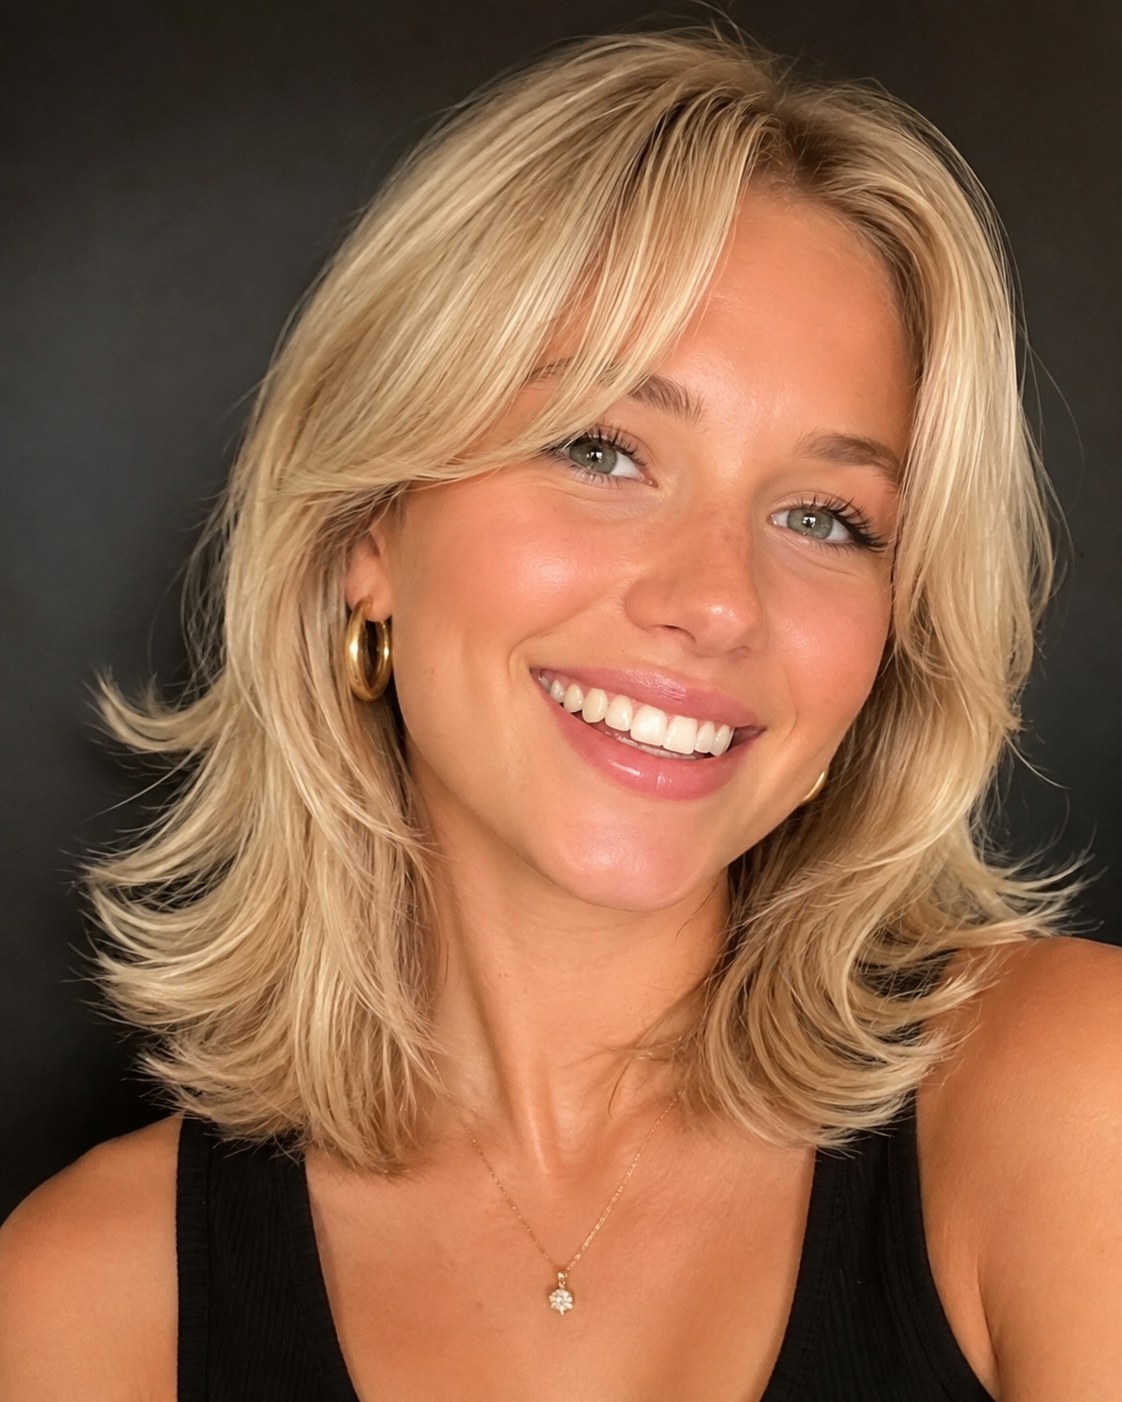
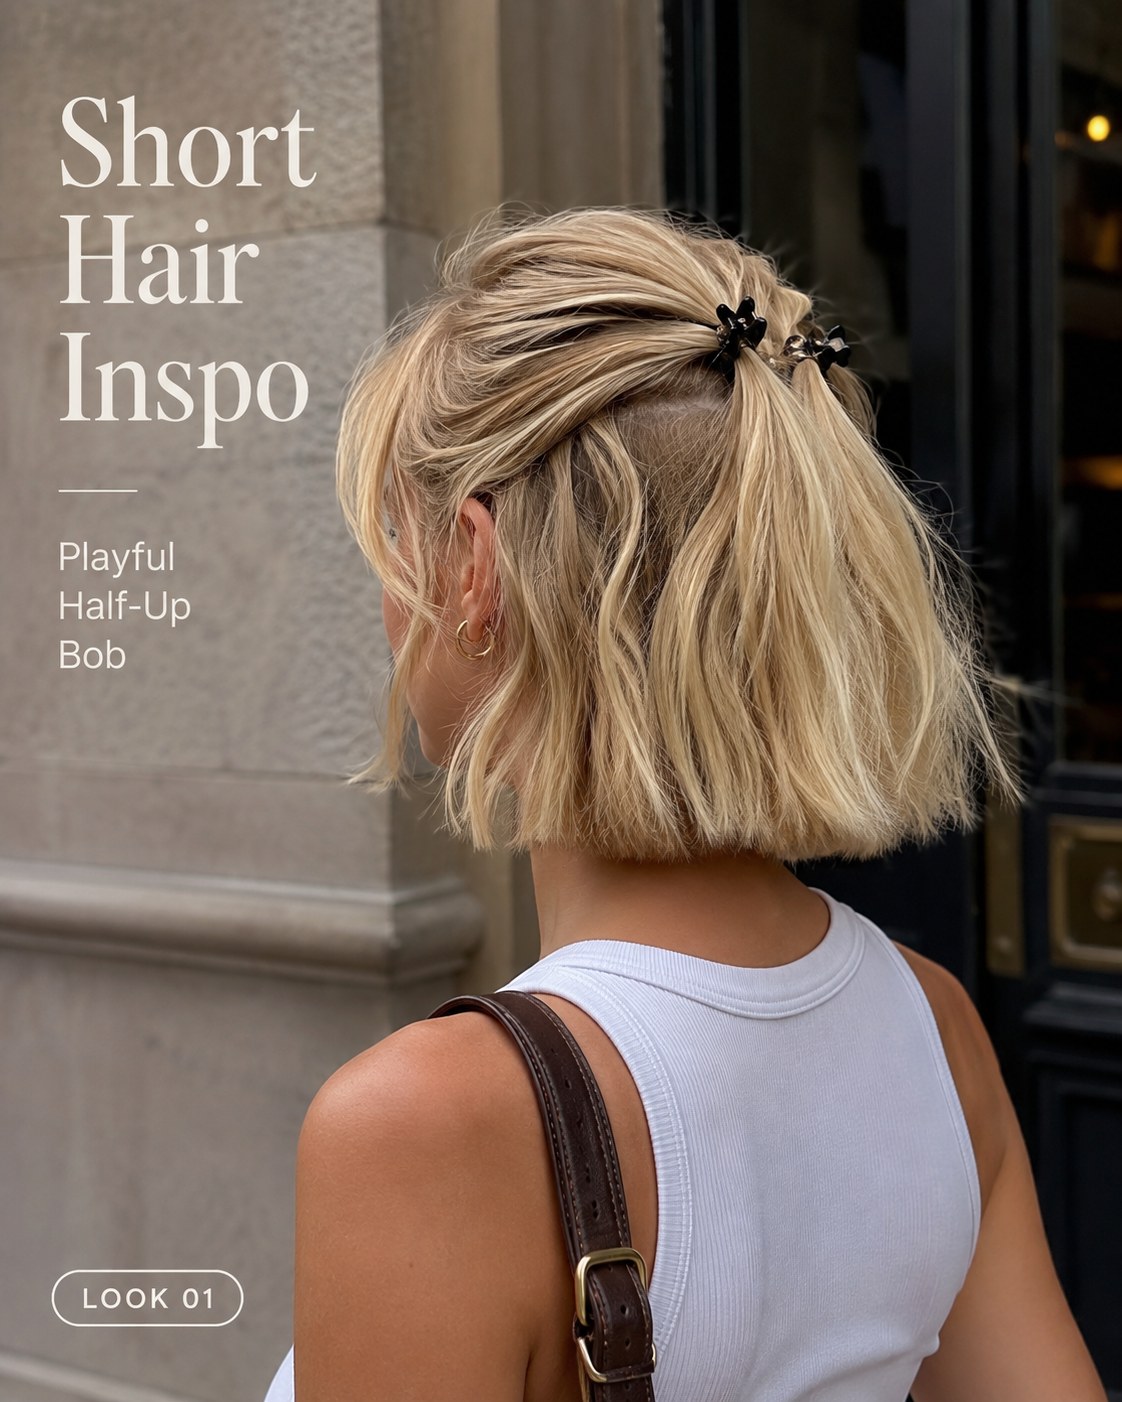
Shorter is genuinely stronger here. Dropping to lob length reduces the overall weight pulling the hair flat, and a shag structure layers through the whole length rather than just the ends. The wispy bang is cut with a razor or point-cutting shears, never a blunt line, so it feathers instead of sitting like a curtain of its own.
This one is First Try Friendly for at-home styling — the tricky step is just root direction: blow-dry the crown up and away from the head before doing anything else, and the rest of the shag follows naturally.
- Great for lower-maintenance mornings
- Works especially well on straight, fine hair that struggles to hold curl overnight
Long Layered Flip
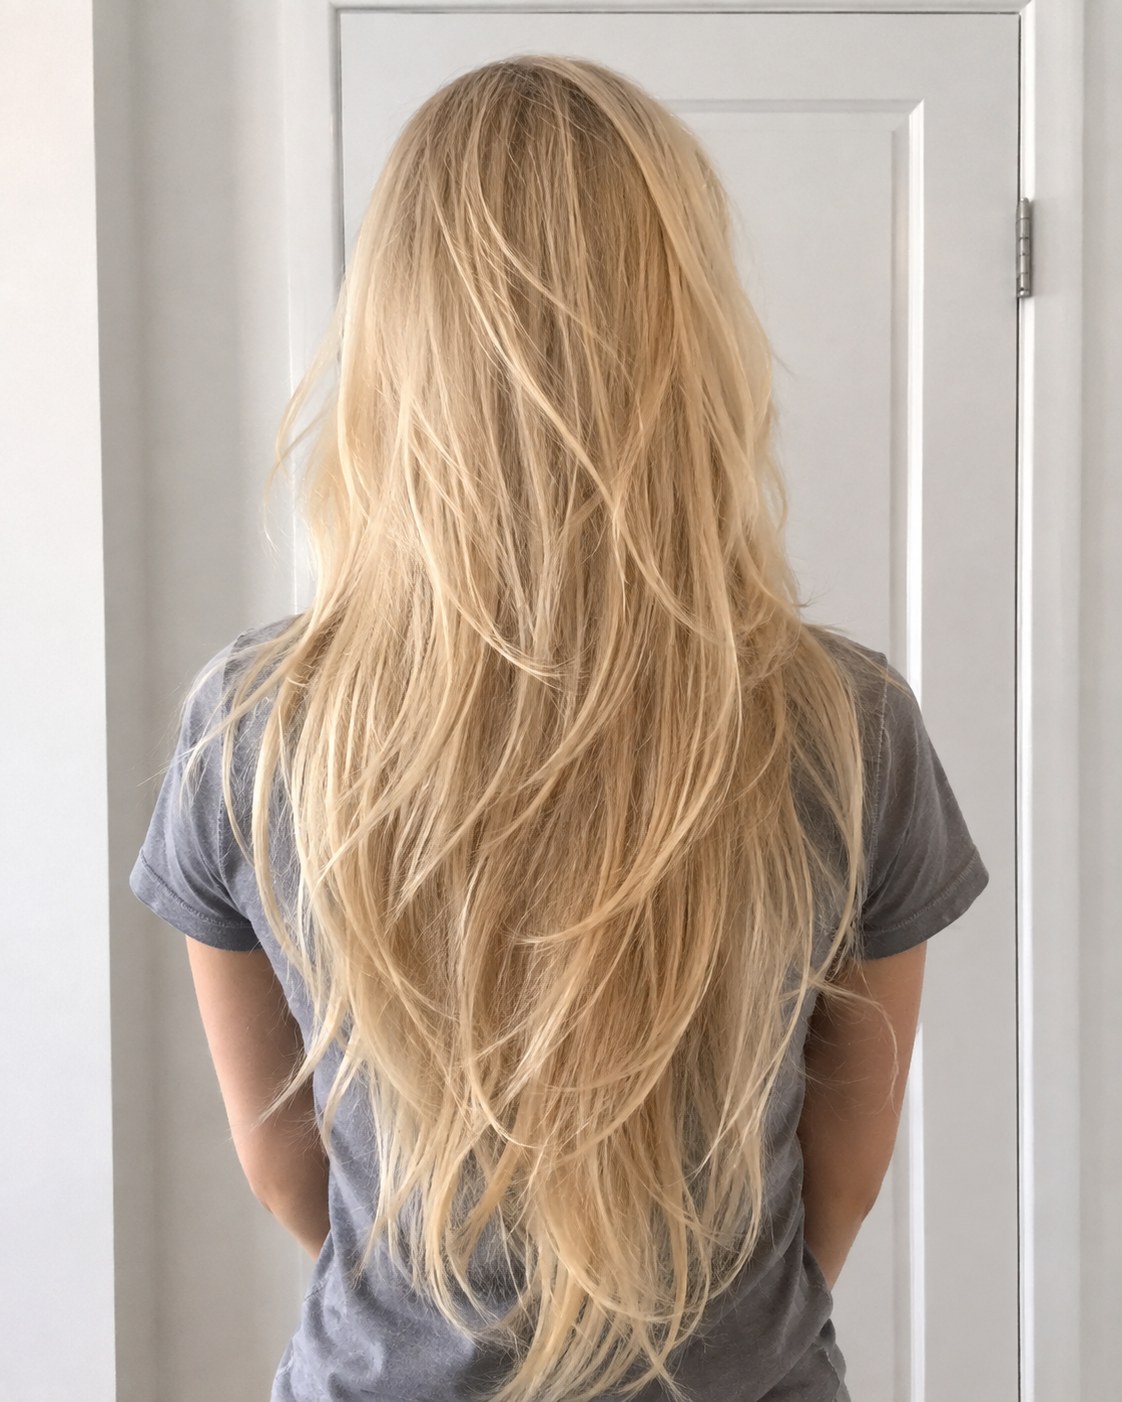
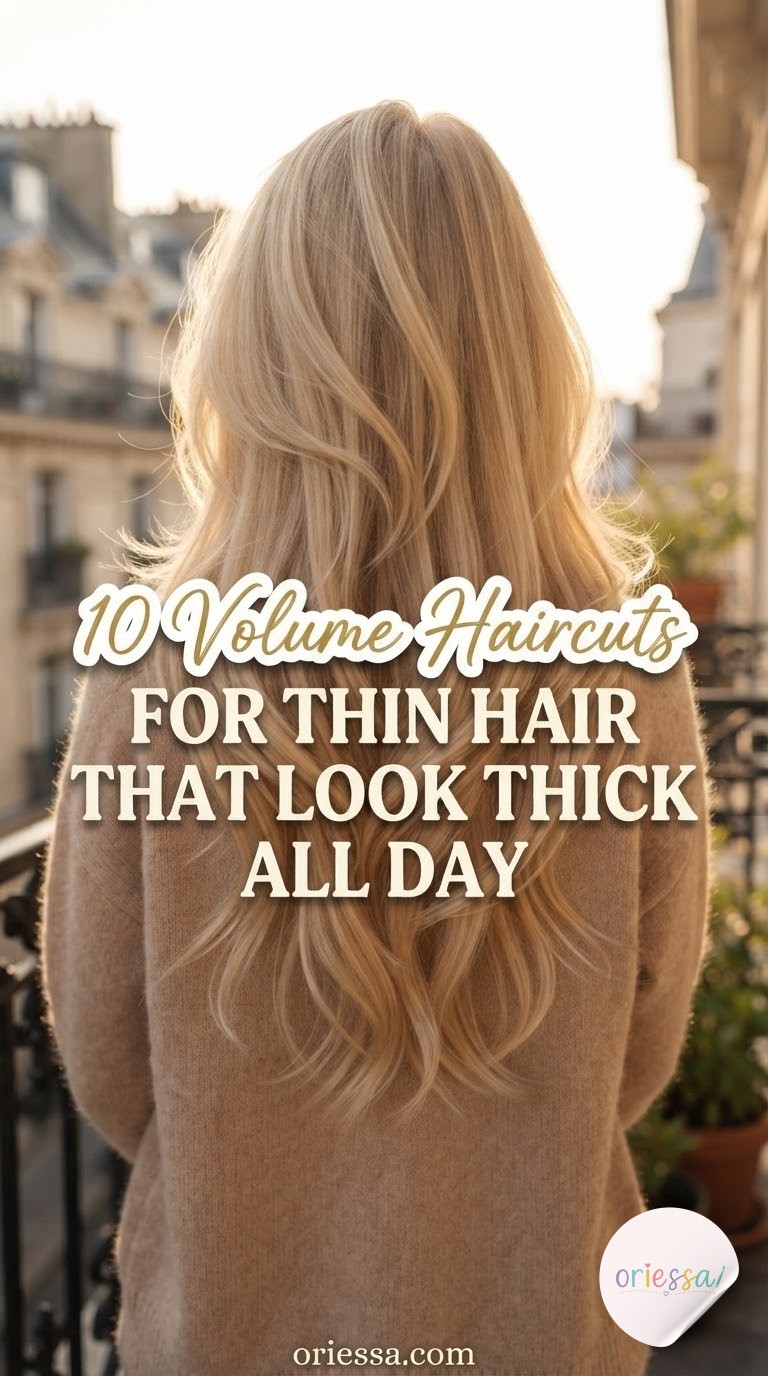
Keeping serious length while adding real volume is the hardest ask in this entire list, and it's solved here with V-shaped layering — the layers are heaviest and most concentrated toward the very ends, tapering to almost nothing near the crown so root density stays untouched.
Balayage or a soft lightening through the bottom few inches does something sneaky: it visually 'thins' the ends just enough that the flip at the bottom reads as intentional texture rather than stringy tips. When flat-ironing, curl the very ends under-then-out in one motion for that swoop.
- Best suited to: hair that's already fine but grows past shoulder length without much natural body
- Trim cadence: every 10–12 weeks to keep the V shape from growing out into one heavy blunt line
Blunt Lob Micro-Layers
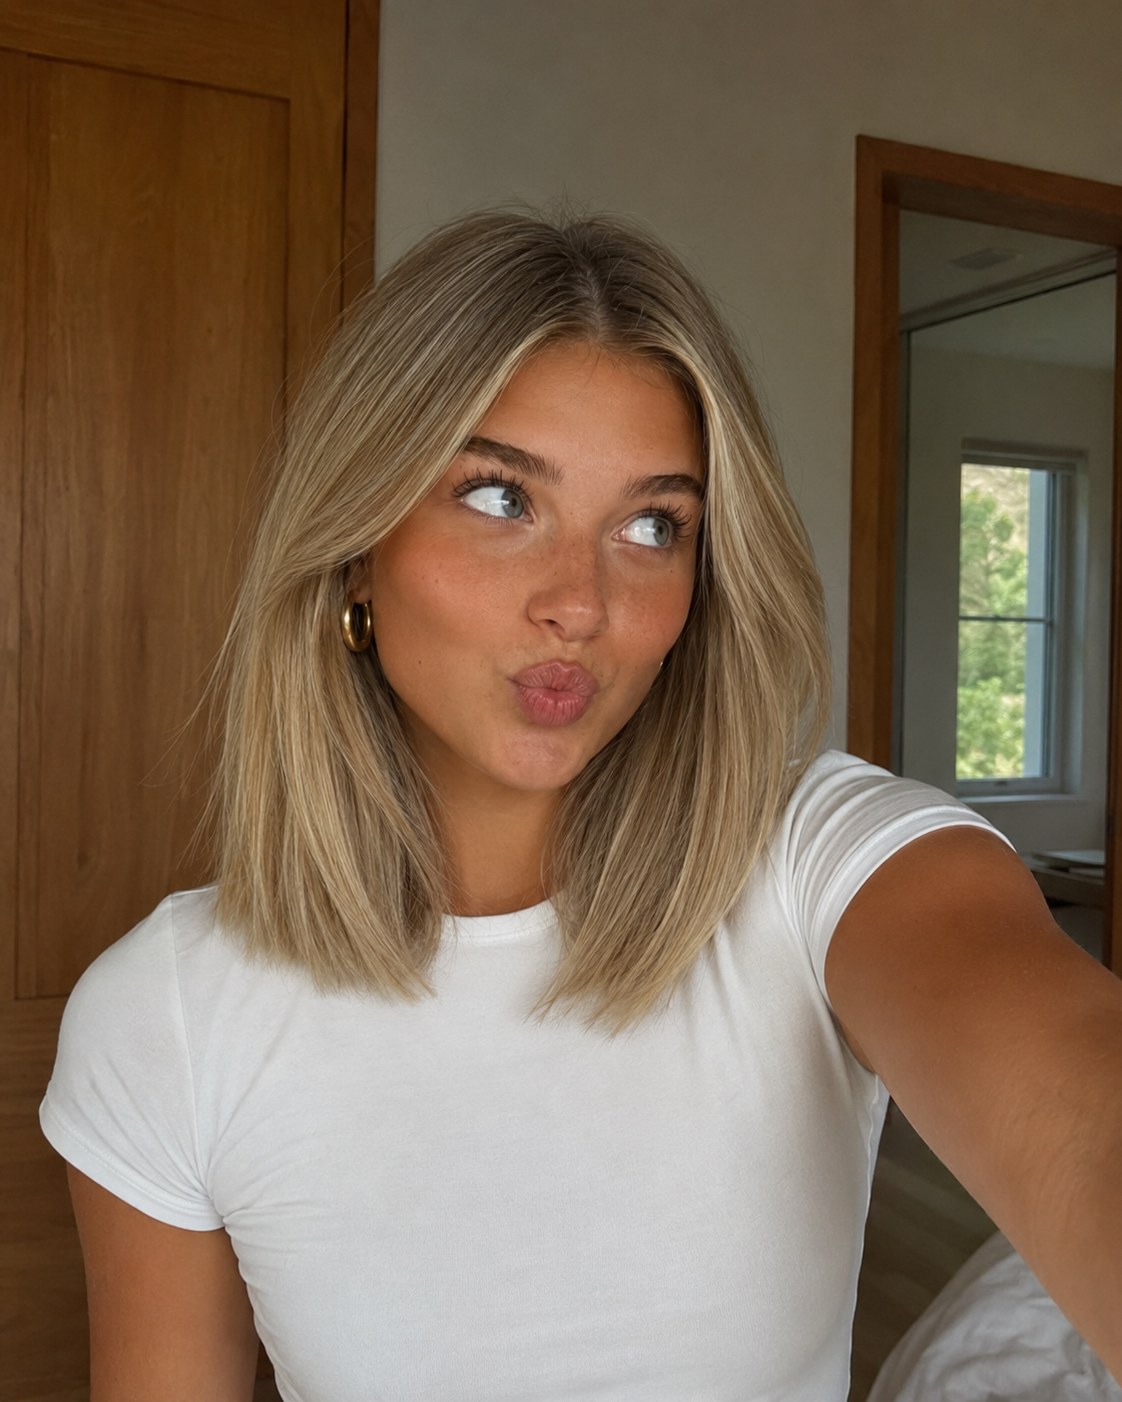
Here's the counterintuitive pick: sometimes a blunt line looks denser than layers because all the ends land at the same length, stacking density instead of scattering it. What's actually happening underneath is invisible internal layering — point-cut sections hidden beneath the top layer that add movement without ever showing at the perimeter.
- Ask for 'invisible layers, blunt outer line' — a very specific request most stylists will recognize immediately
- Center or slight side part, since a deep side part can expose thin roots more than this cut wants
- Straight styling with a flat iron shows off the blunt density best
If your hair is fine and straight with not much natural wave, this is often the lowest-effort, highest-payoff option on the whole list.
Money-Piece Shag
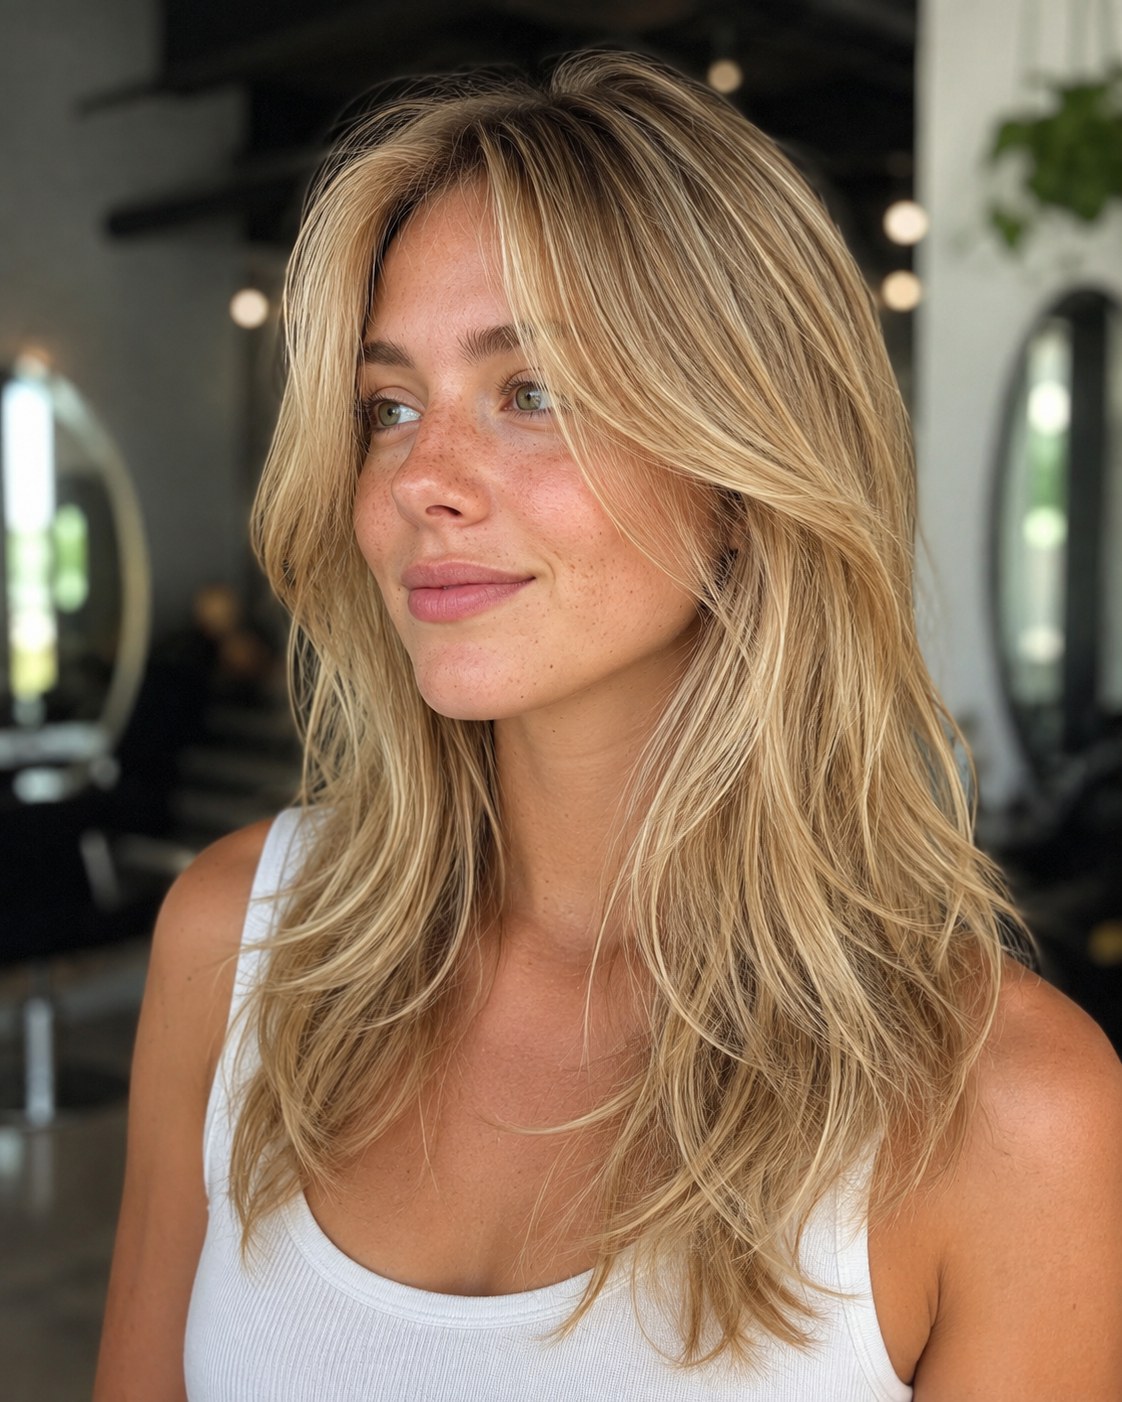
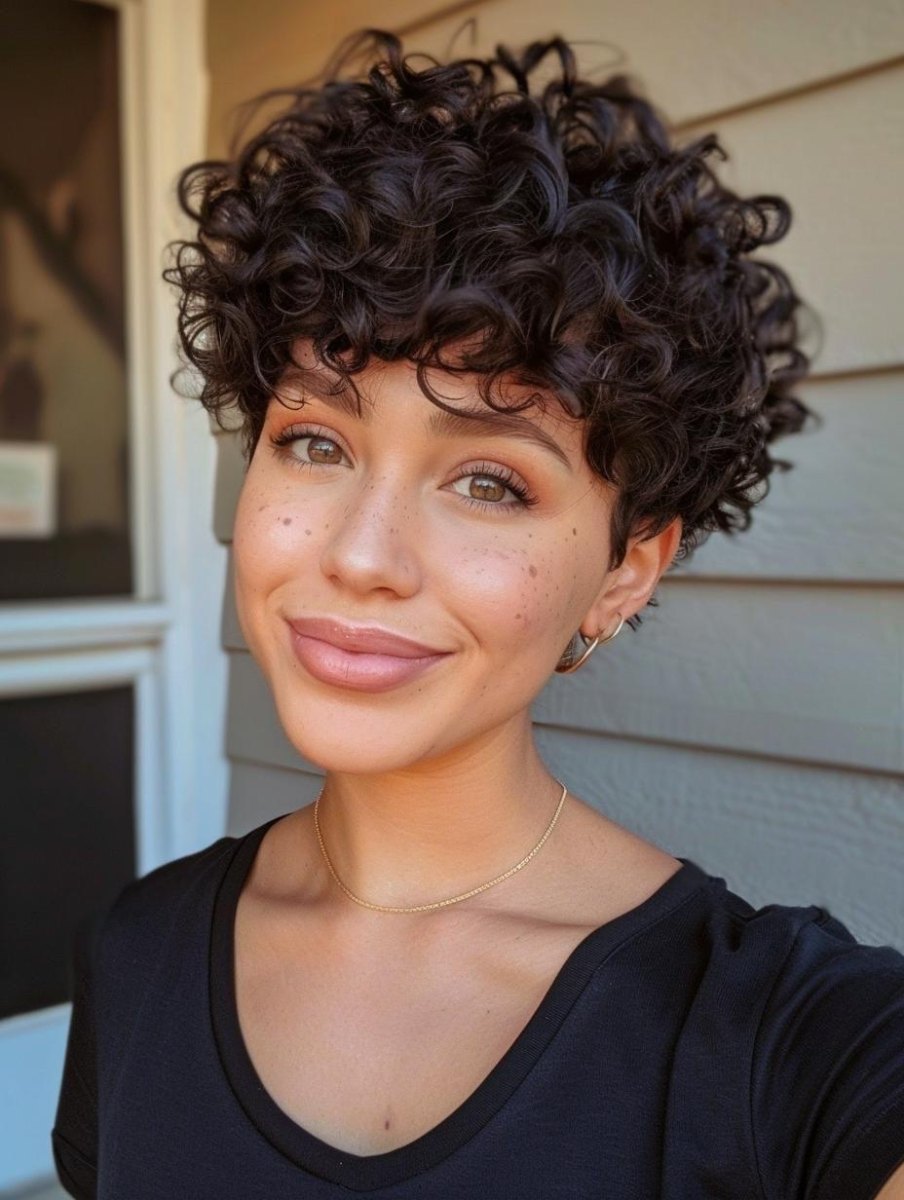
This shag leans fully into texture — short curtain-bang pieces up front, layers throughout the crown, and a lightened money-piece framing the face. The layers here are shorter and more numerous than the other shags on this list, which means more root lift but also more upkeep with a diffuser or texturizing spray.
Why it reads as thick: air-dried, tousled texture hides the scalp-to-strand ratio that a sleek finish would expose. Sea salt spray scrunched into damp roots before diffusing is doing most of the visual heavy lifting.
- Best on hair with at least a little natural wave
- A texturizing powder at the root on day two extends the lift without a full restyle
Sleek Layered Blowout
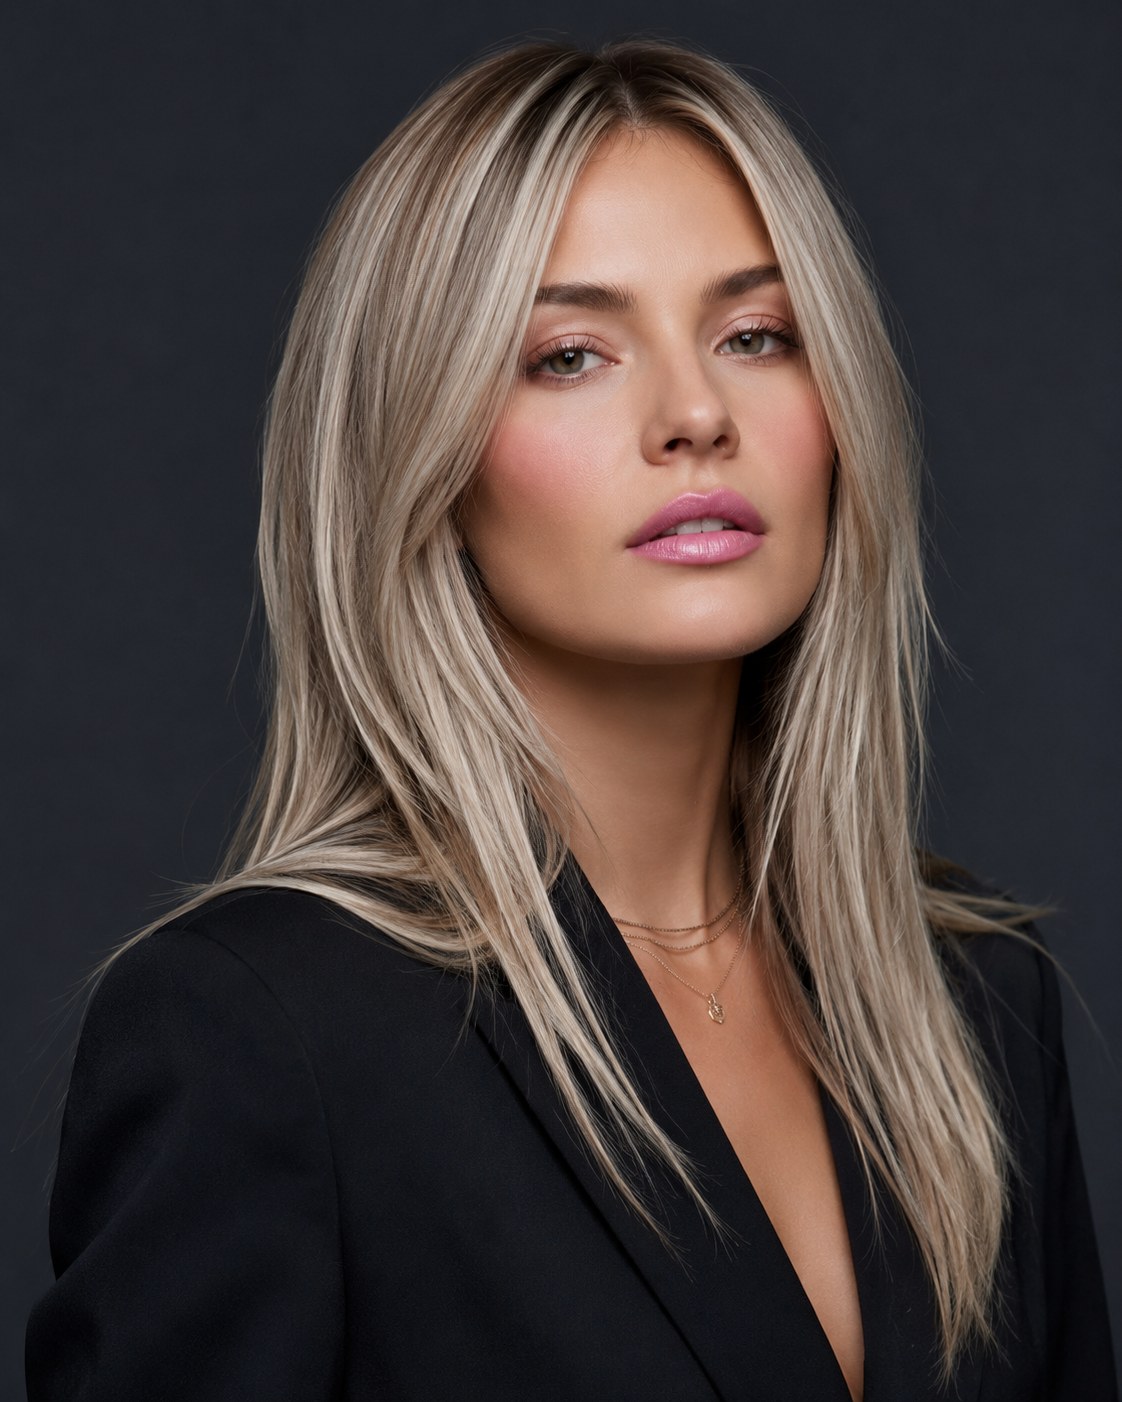
Long, glossy, and deliberately smooth — this proves volume doesn't have to mean tousled texture. The layers are subtle and long, and the fullness comes entirely from a round-brush blowout technique: sections dried on full tension with the brush pulling straight up at the root before the barrel curls under at the ends.
A root-lift spray applied to damp hair before drying is non-negotiable for thin hair trying this look — without it, a sleek finish can go flat within an hour. This is a Labor of Love styling-wise; the tricky step is patience at the root, section by section, rather than rushing the whole head at once.
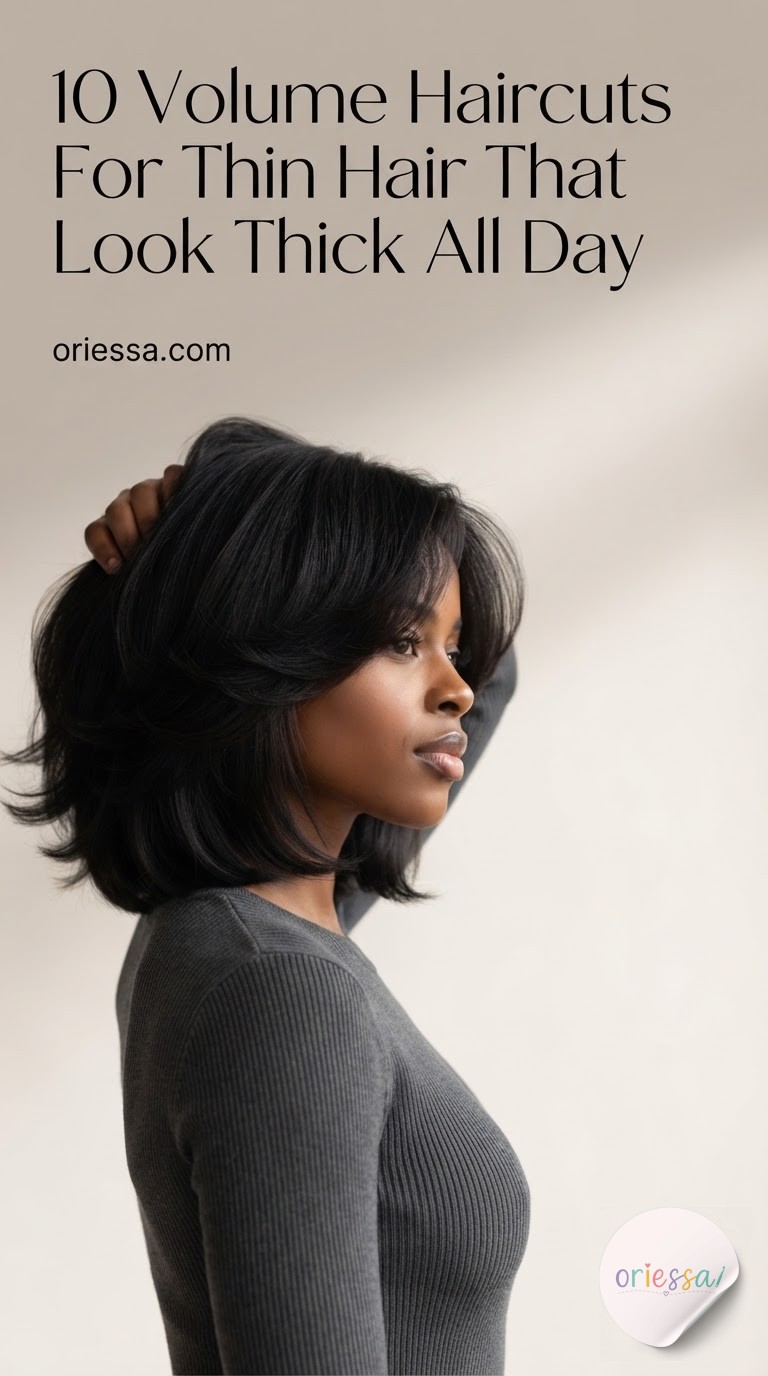
Curtain-Bang Bob With Flip
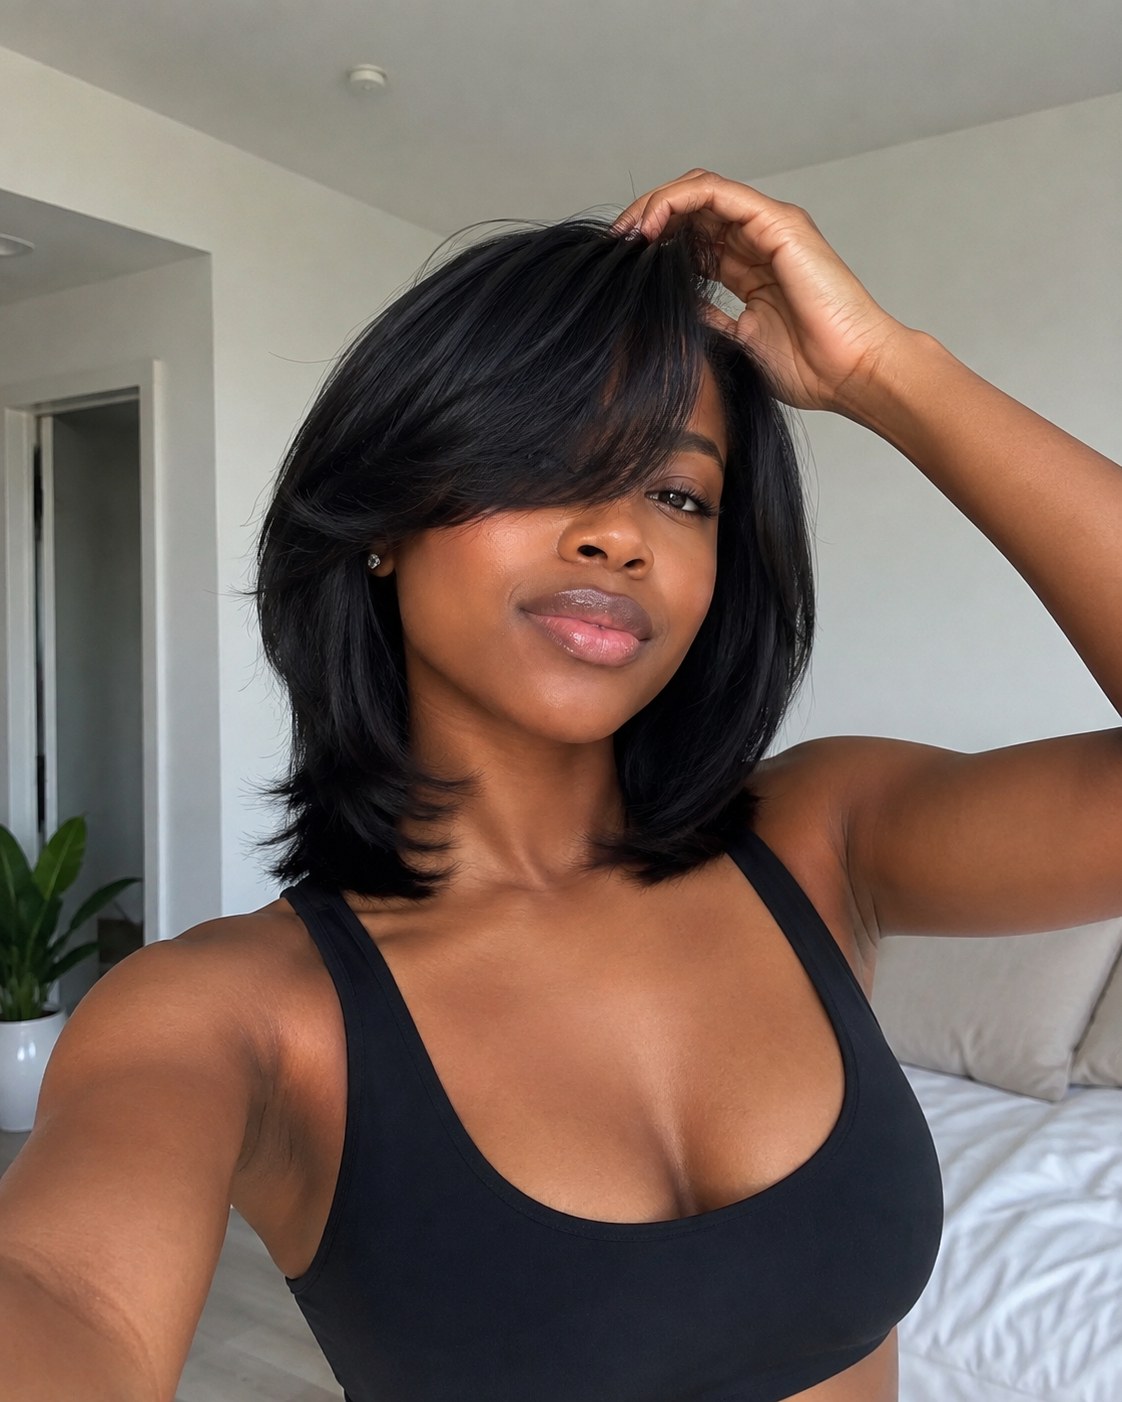
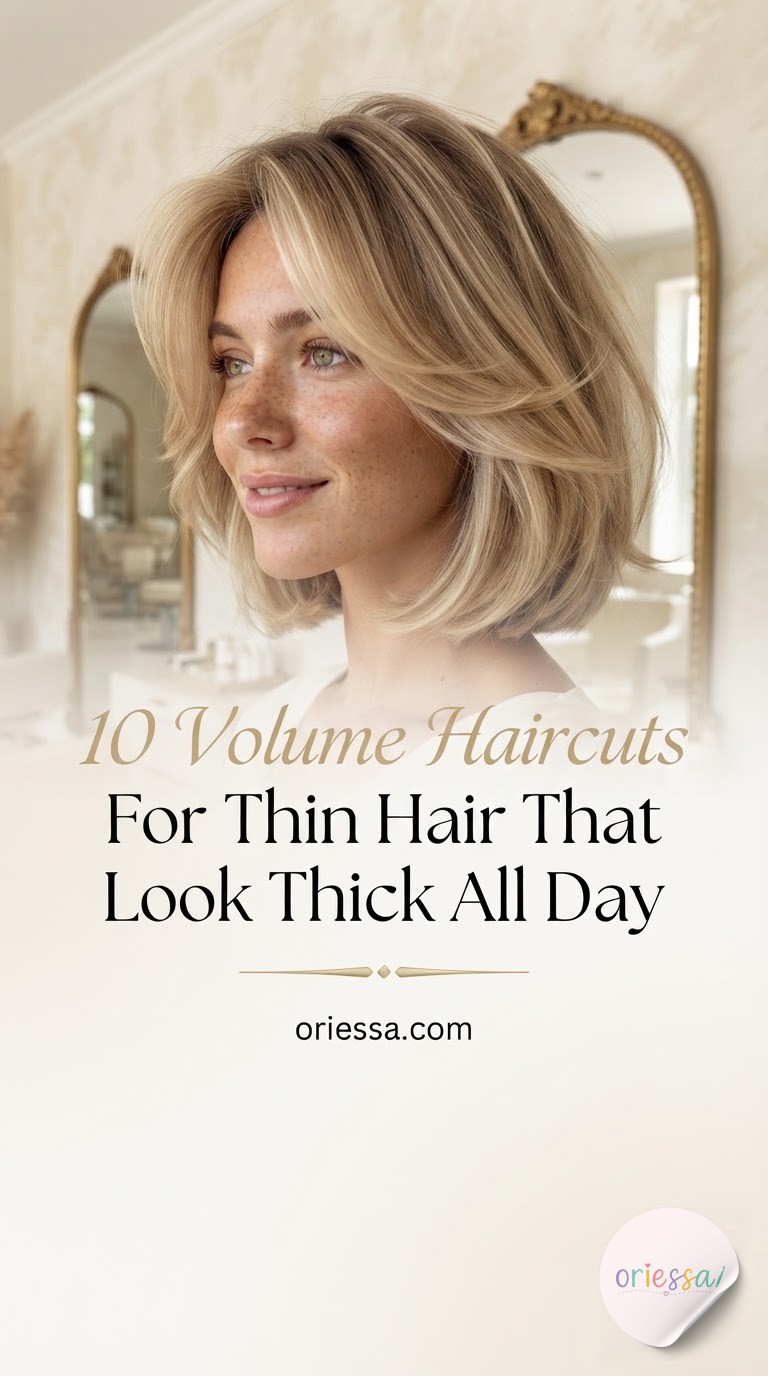
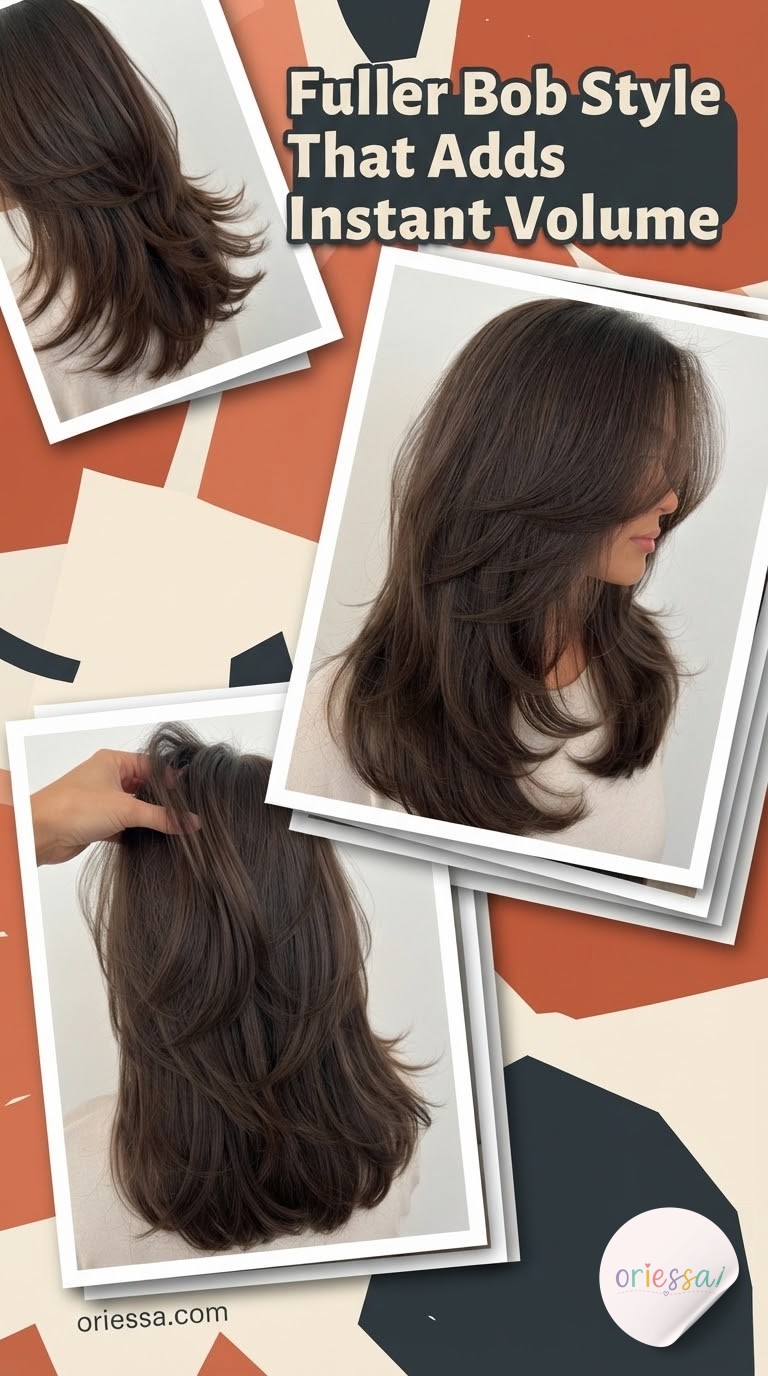
Shoulder-length with a side-swept curtain bang and flipped-out ends framing the jaw — this bob proves that shorter overall length is one of the most reliable volume moves for thin hair, since there's simply less weight for gravity to pull straight down.
- The cut: graduated layers concentrated at the perimeter, longer at the front to frame the face, shorter in back
- The bang: swept to one side and blended, not chopped straight across
- The finish: ends curled outward with a one-inch iron for that soft flip at the jawline
This cut also carries beautifully on coarser or coilier textures — the shorter layers give natural curl pattern room to bounce instead of stretching under its own length.
Wrapping Up
None of these are one-size-fits-all — bring the photo that matches your face shape and hair behavior, not just the one that looks prettiest on someone else's texture, and let your stylist adjust the layer placement from there. That conversation matters more than the trend name ever will.


Common Questions
Will layers make my thin hair look even thinner?
Only if they're cut wrong. Layers that start too close to the crown or are overly thinned with texturizing shears can expose scalp and reduce density. Layers that start below the cheekbone, are point-cut rather than thinned, and concentrate movement at the ends tend to add fullness instead of taking it away — that distinction is worth describing clearly to your stylist.
How often should I trim a volume-focused layered cut?
Every 10 to 12 weeks for most of the longer, V-shaped or flip-out styles, since the shape depends on layers landing in specific spots. Shorter shags and bobs can sometimes stretch to 12 to 14 weeks, but if the ends start looking stringy before then, that's your sign the shape has grown out.
Do I need a specific brand of product for volume, or is the cut enough?
The cut does most of the structural work, but a root-lift spray or light mousse applied to damp hair before blow-drying makes a noticeable difference on any of these styles. I'd rather see someone nail the blow-dry technique than buy five volumizing products and skip it — technique beats product almost every time.
Is it better to go to a colorist or a cutting specialist first?
If your budget only allows one appointment, prioritize the cut — several of these looks rely on layer placement more than color. But if you're already happy with your shape and just want more visual density, a few dimensional highlights through the mid-lengths can add the illusion of thickness fast.