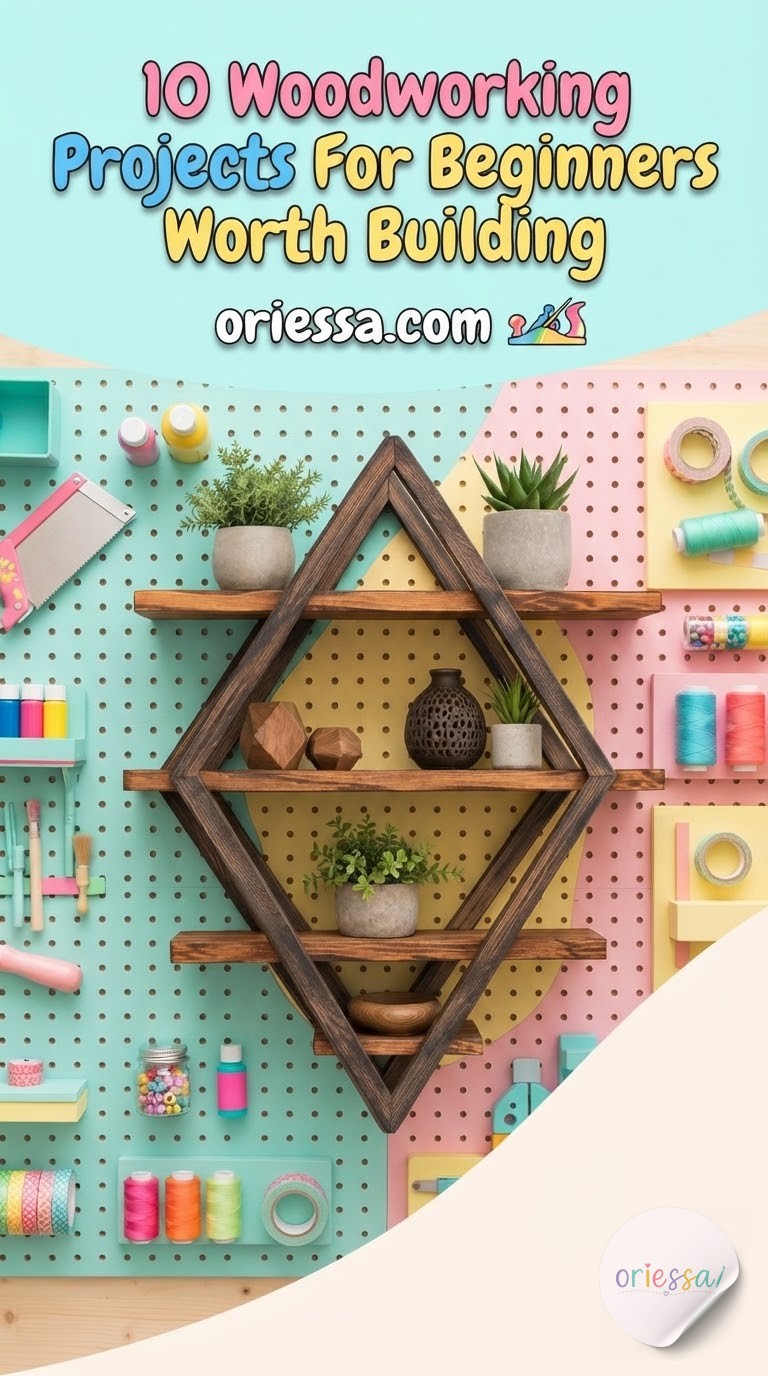

My craft room ran out of shelf space around the same time I got a little obsessed with Dre's garage table saw, so this list is basically the year I spent turning offcuts into furniture instead of kindling. I'm not coming at this as a finish carpenter — I'm coming at it the way I come at every craft, which is 'how hard can this actually be, and what does it really cost me.' These ten builds are the ones I'd actually hand a first-timer, roughly ordered from an easy Sunday afternoon to the one that made me measure twice, cut once, and still swear a little.
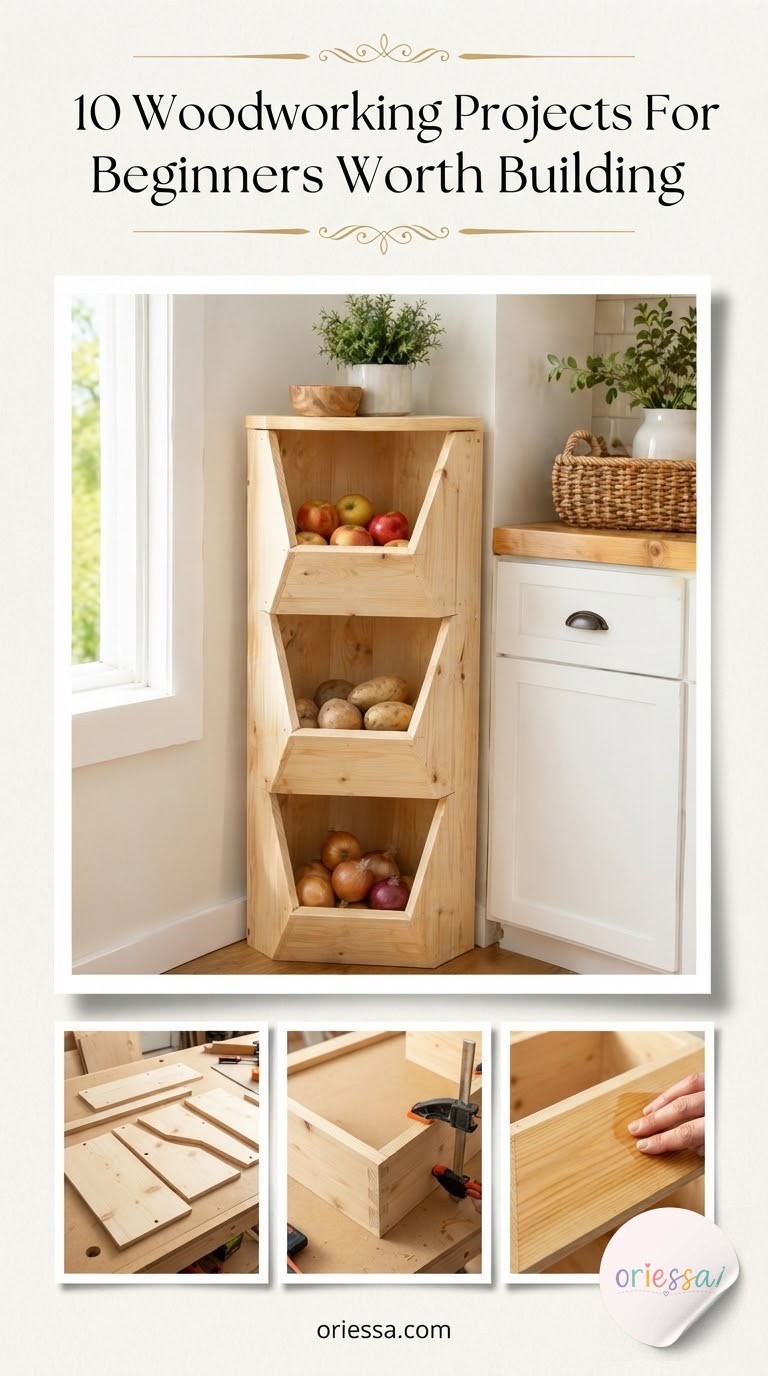
The Corner Vegetable Bin That Solves an Awkward Kitchen Nook
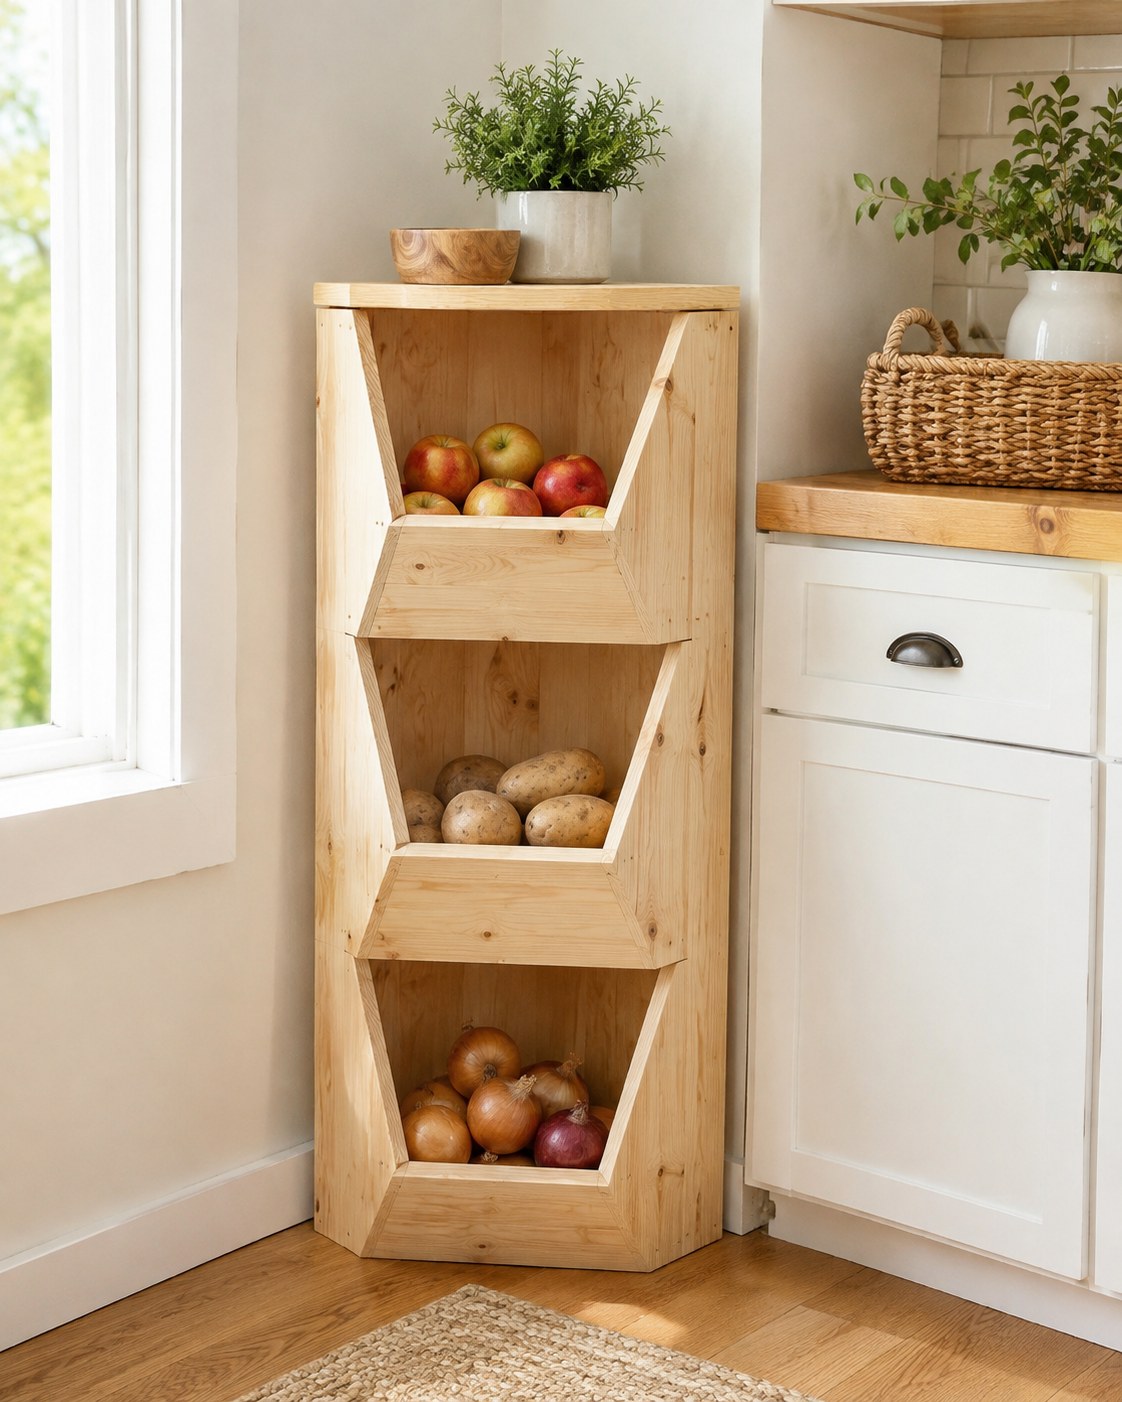
This is the build I'd start with if your kitchen has that one dead corner nobody knows what to do with. It's a triangular footprint stacked with three angled bins, and it's basically the woodworking version of my thrift-first rule: use the space that's already there instead of buying more of it.
- The angle is the whole design — bin fronts slope forward so produce is visible and easy to grab, not buried.
- Slatted or gapped sides keep air moving so potatoes and onions don't sweat and sprout early.
- Depth varies by bin — deeper for potatoes, shallower up top for garlic and citrus.
This is a Weekend Make, and the one step that'll test you is the corner seam — those two 45-degree fronts have to meet flush or the whole thing reads crooked from three feet away. Cut your angles on scrap first, always.
A Tilted Reading Stand for Cookbooks (Or Crochet Patterns, Honestly)
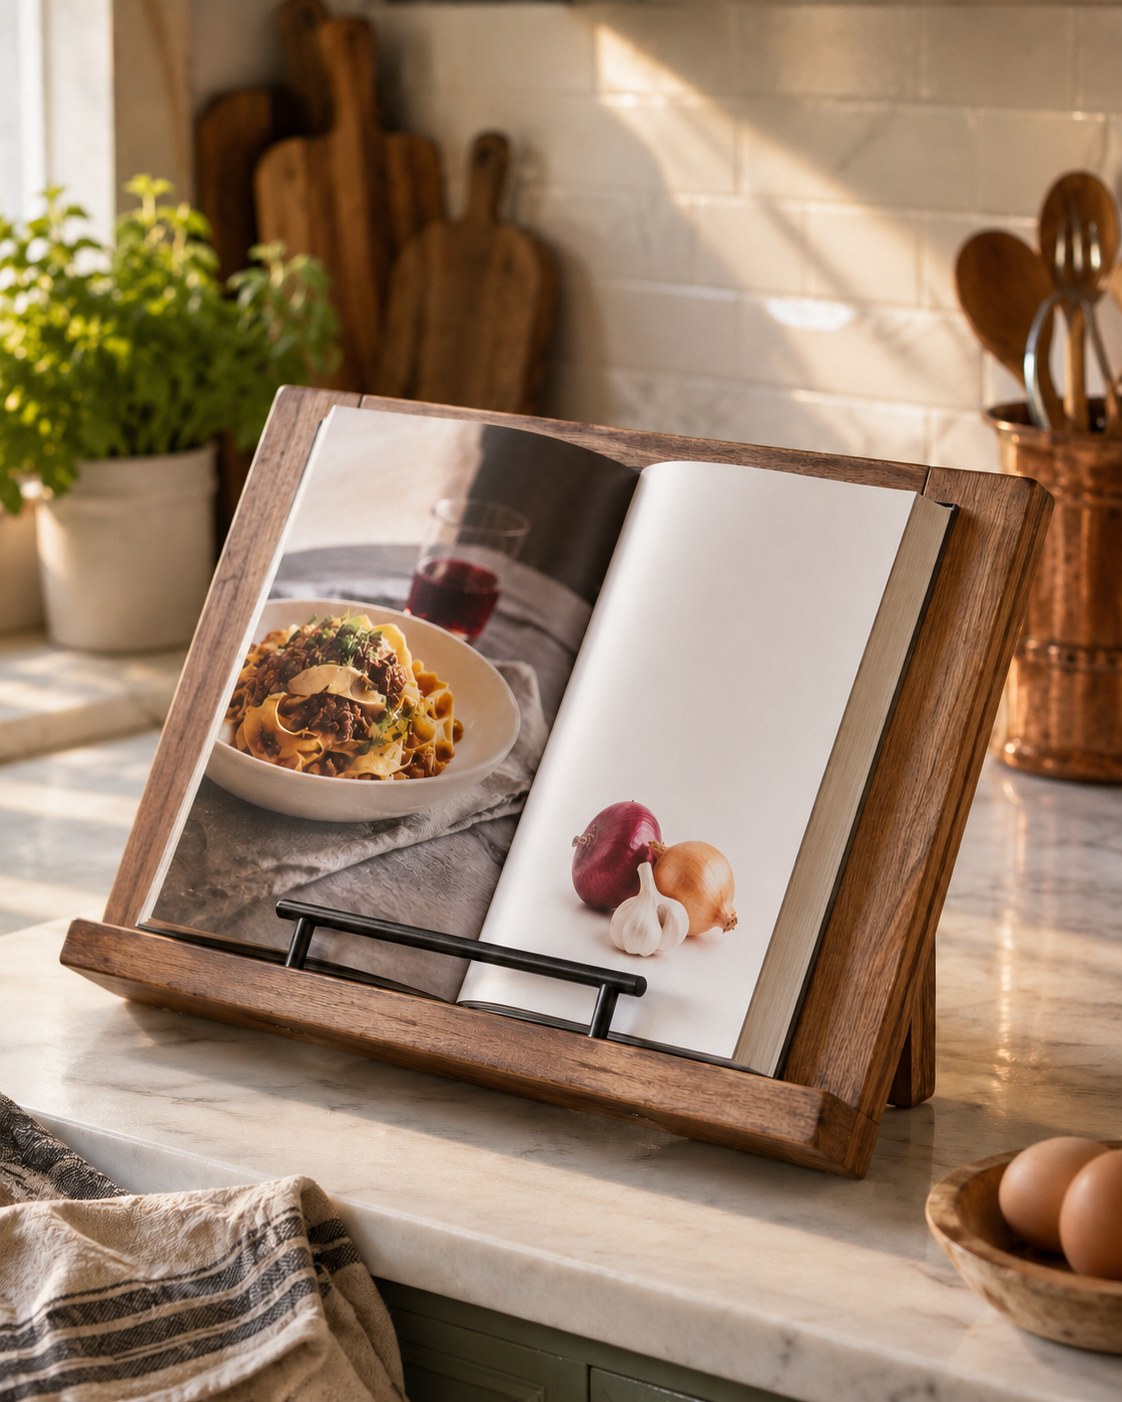
I built one of these thinking it was strictly a cookbook thing, and now it lives on my craft table holding pattern printouts while I count stitches. An angled panel with a small crossbar to pin the pages open is the entire design — no motors, no hinges to fuss with, just gravity and a good angle.
This is genuinely First Try Friendly. You're working with butt joints and maybe a few dowels, and the margin for error is generous because nothing here bears real weight.
Adapt the size to what you actually read from: a slimmer stand fits a tablet propped upright, a wider one holds a hardcover cookbook flat open. Finish it with food-safe mineral oil since it lives near the stove — skip anything with a strong solvent smell in a kitchen this small.
A Wall-Mounted Charging Dock for Cordless Tools
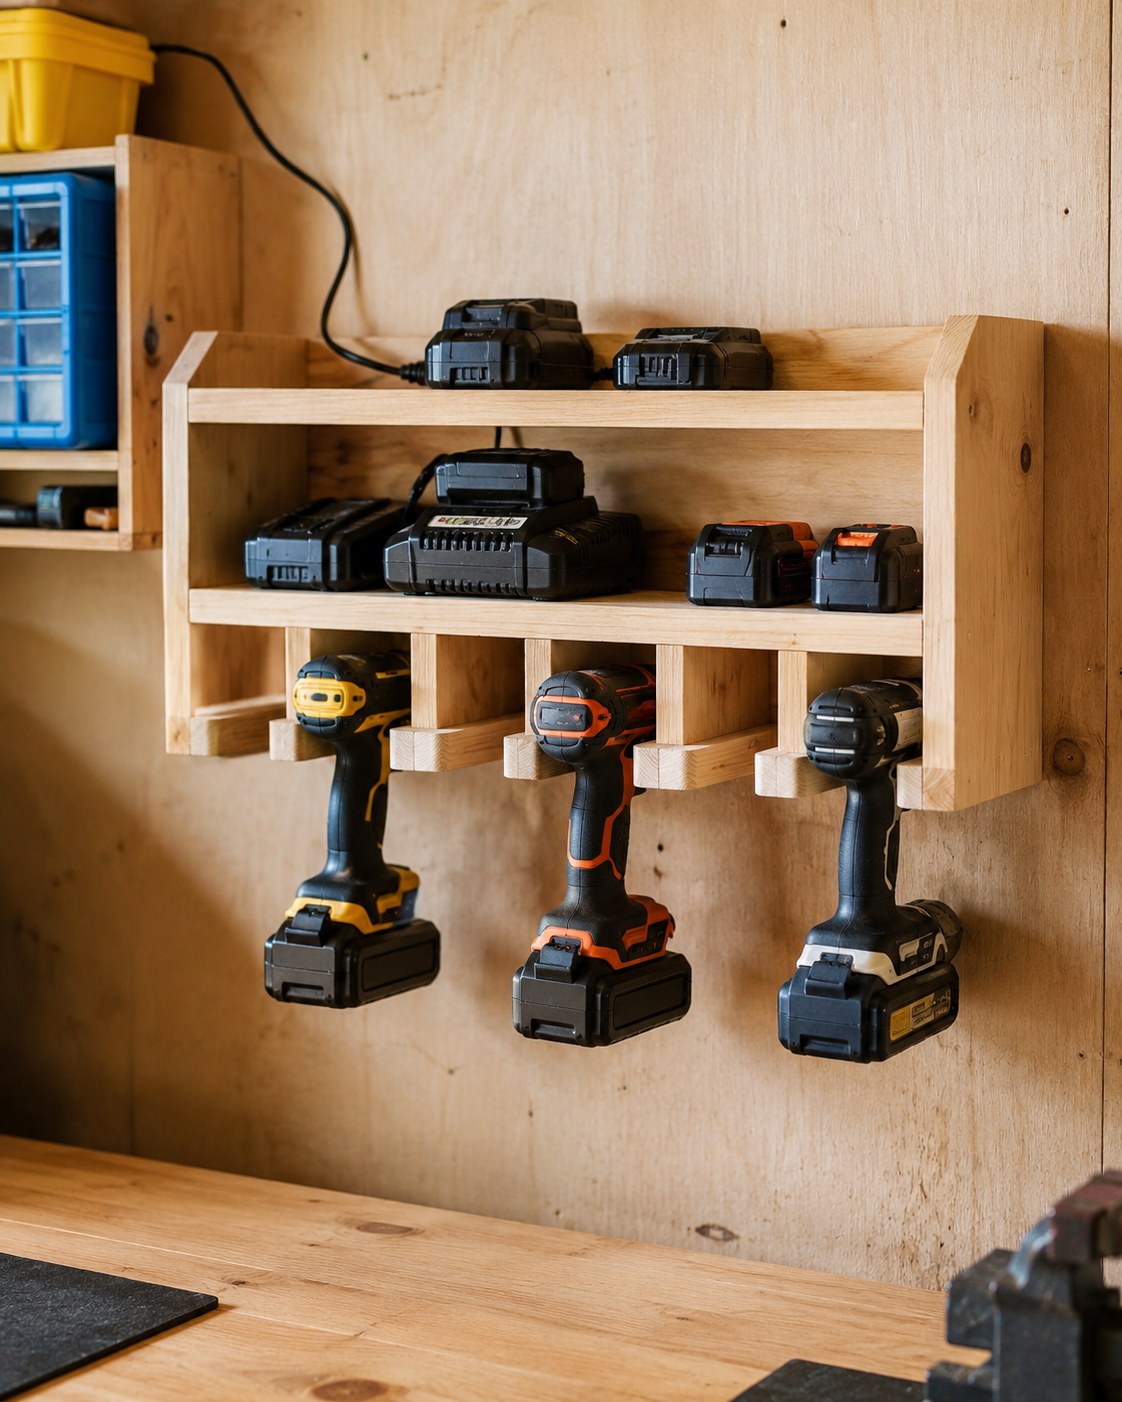
If you've ever dug through a junk drawer for the right drill battery mid-project, this one earns its keep fast. It's an open shelf up top for chargers, dowel pegs below for the drills themselves, sized to your actual tool collection rather than a generic template.
This is a Weekend Make, and the tricky part is spacing the pegs — measure the trigger guard on each drill before you drill a single peg hole, because 'close enough' here means a drill that won't hang straight.
Buy the wood after you've laid your tools out on cardboard and traced them — I skipped that step once and built a shelf eight inches too shallow.
Route a small notch in the back for cords to pass through so the chargers stay plugged in without a tangle underneath.
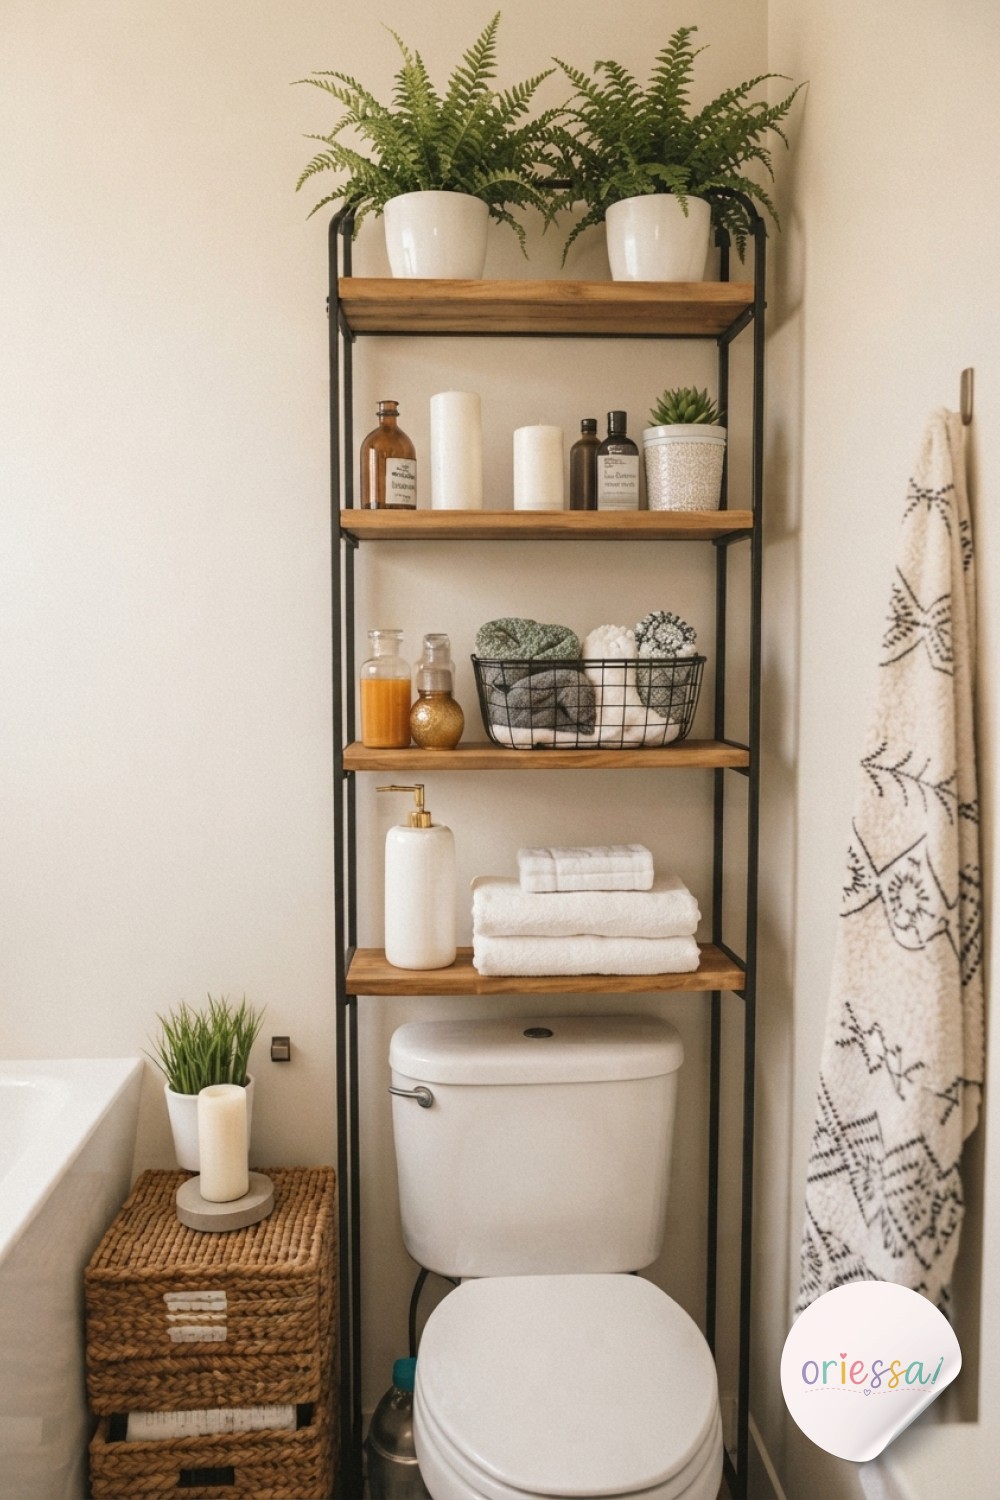
Stacked Crate Shelves That Give a Bathroom Instant Warmth
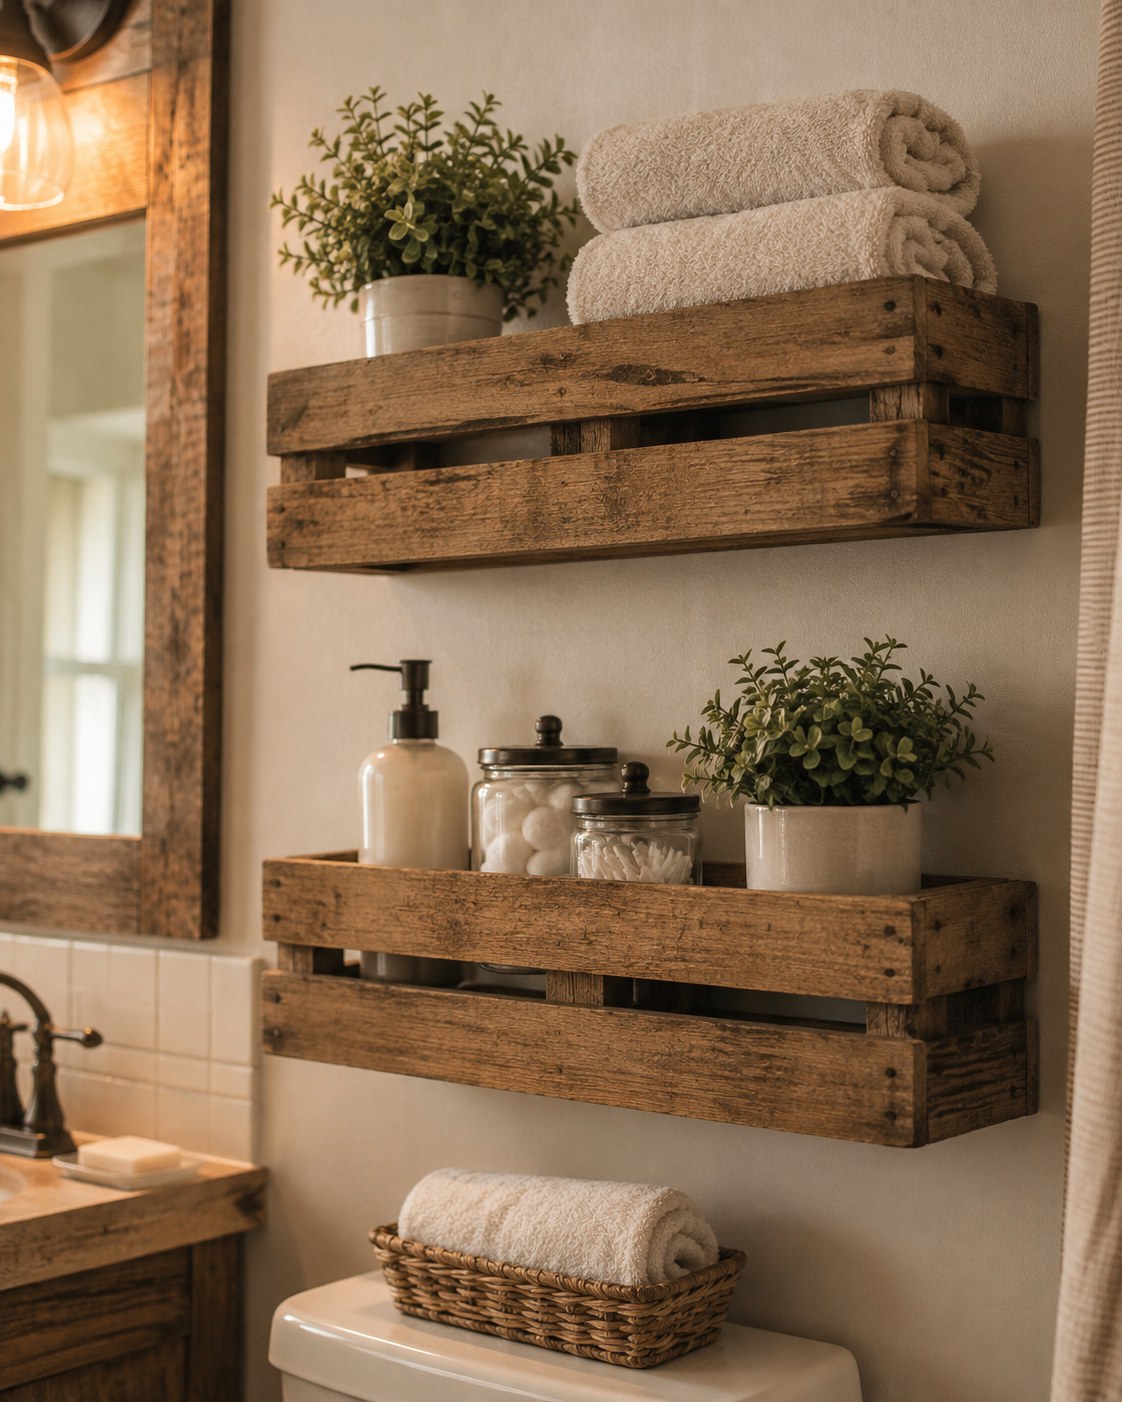
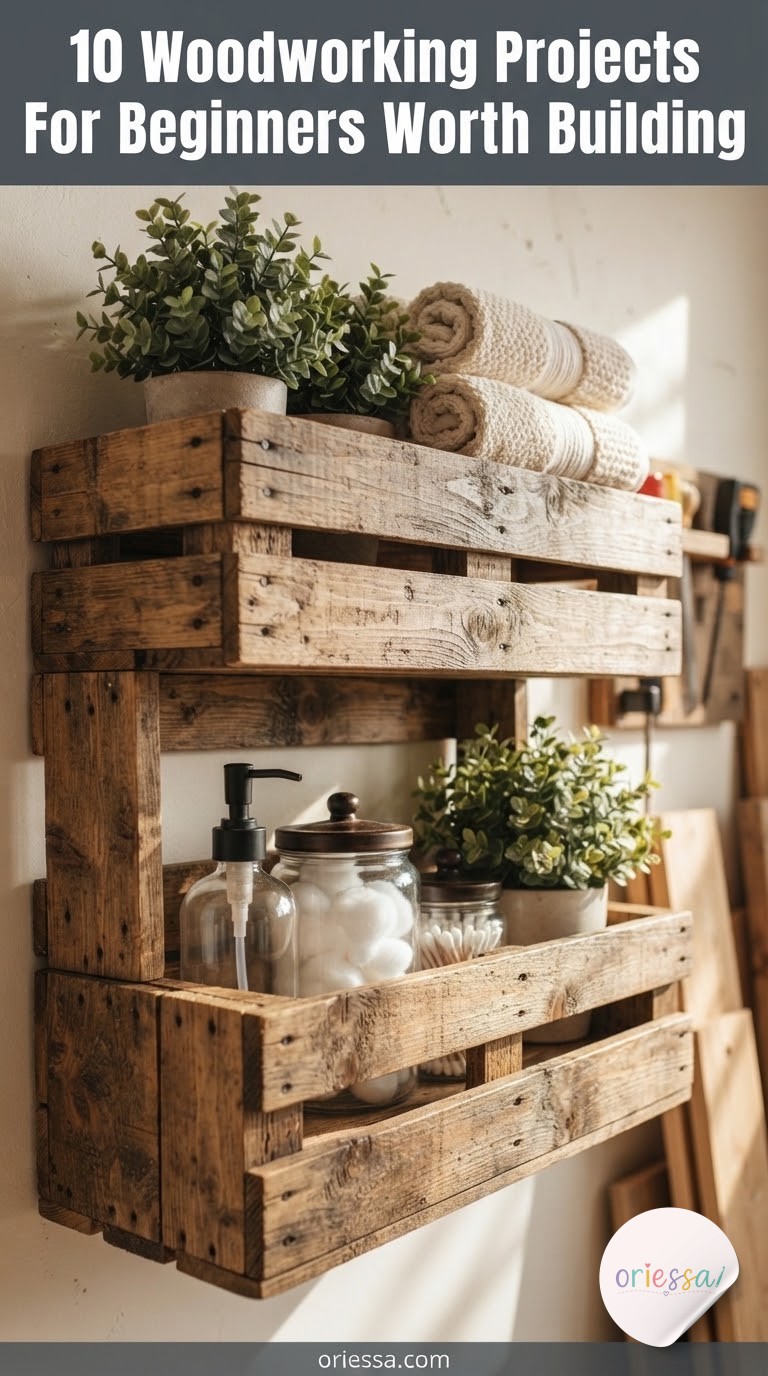
These read like reclaimed apple crates mounted straight to the wall, and that rustic, slightly rough texture is the whole point — it's the wood equivalent of a chunky granny square, texture doing the work instead of polish.
The build is genuinely simple: a shallow open box, screwed or biscuit-joined at the corners, mounted on a French cleat or sturdy brackets so it reads as floating.
This is First Try Friendly as long as your walls have studs where you need them — that's the actual safety step people skip, not the woodworking. Bathroom moisture means you'll want a wipeable finish, not raw wood; two coats of polyurethane or a beeswax finish both work.
Adapt the depth to what's going on top — deep enough for rolled towels, but shallow enough that jars and lotion bottles don't sit precariously close to the edge.
The Z-Leg Side Table for When You Want to Show Off
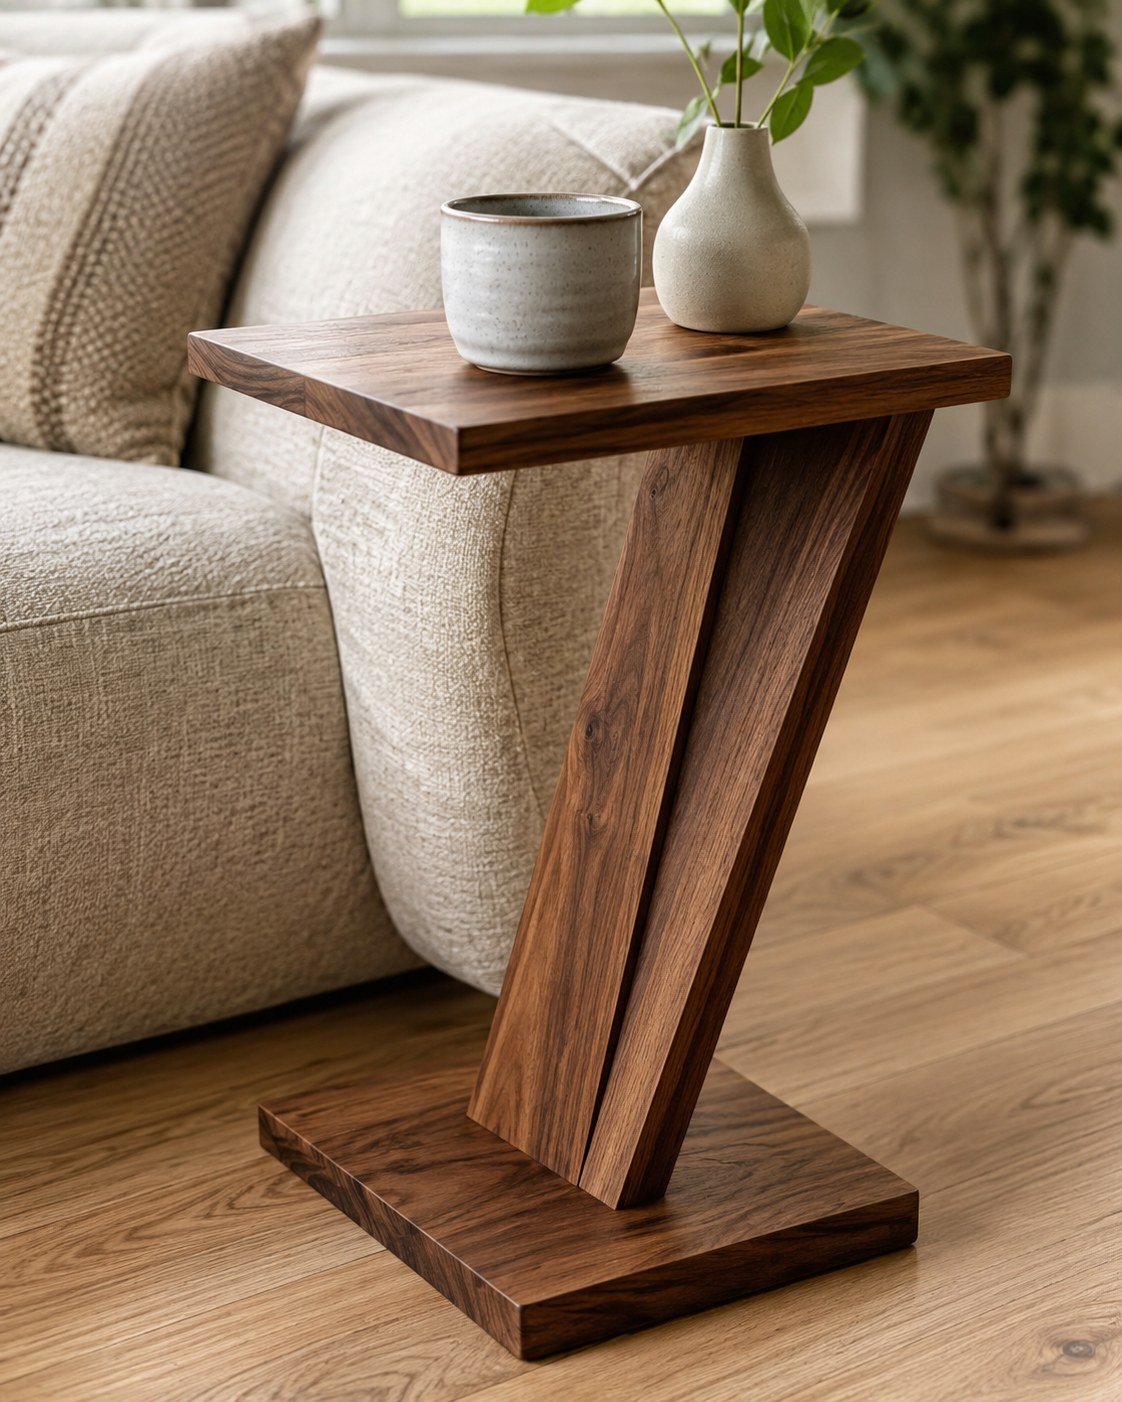
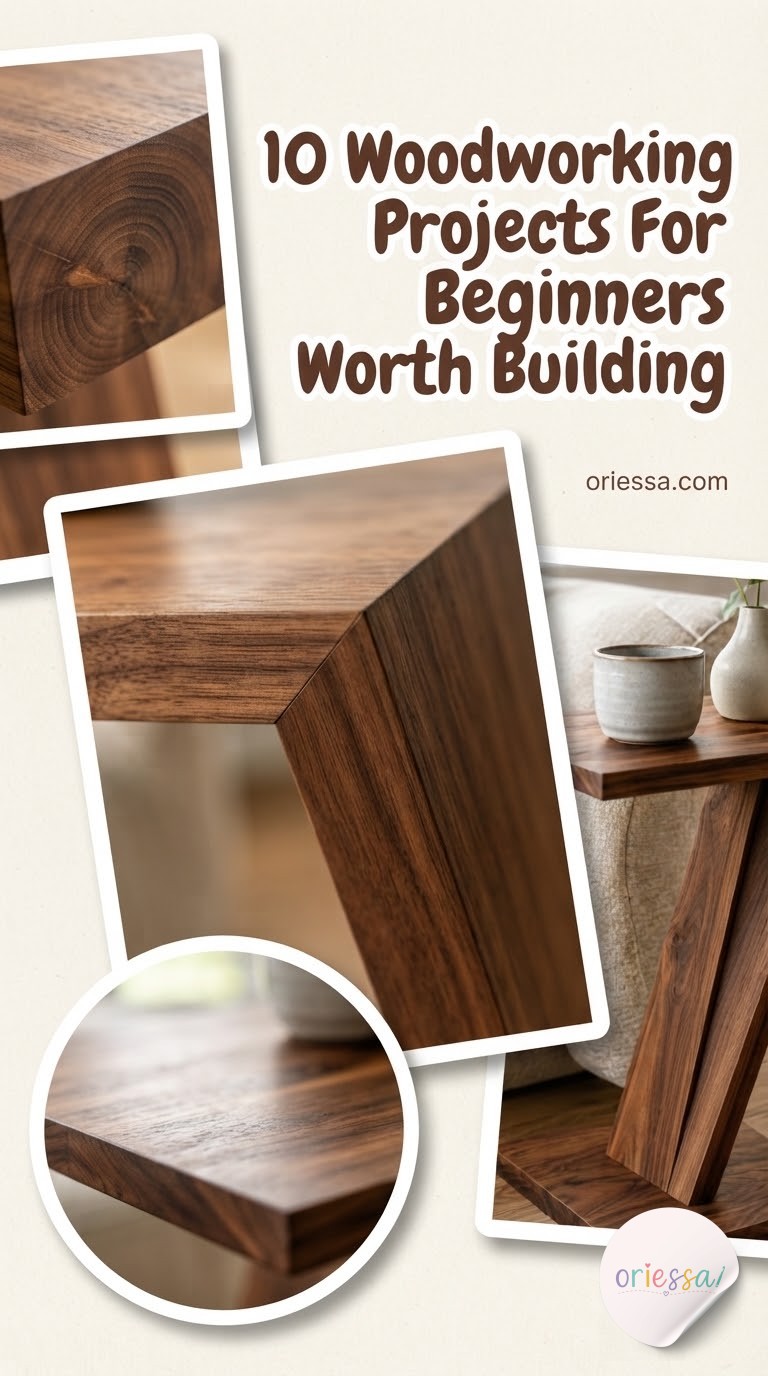
This is the one I'd call the flex piece of the whole list — a single diagonal leg doing the work of four, cantilevering the top out over the arm of a sofa like it's nothing. It photographs like a designer piece and it should, because getting there isn't casual.
Label it honestly: Labor of Love, and the hard part is exactly what it looks like — the compound angles where the leg meets the top and base have to be cut identically or the whole table rocks. I'd practice the joint on scrap three times before touching your good walnut.
Adapt it by softening the wood choice — a straight-grained walnut or cherry reads modern and expensive, while a lighter oak with a matte finish feels calmer. This is not a first-day-with-a-saw build, and that's fine; some projects are meant to be the reason you keep going.
Wood-Burned Coasters, the Steadiest-Hands Project on This List
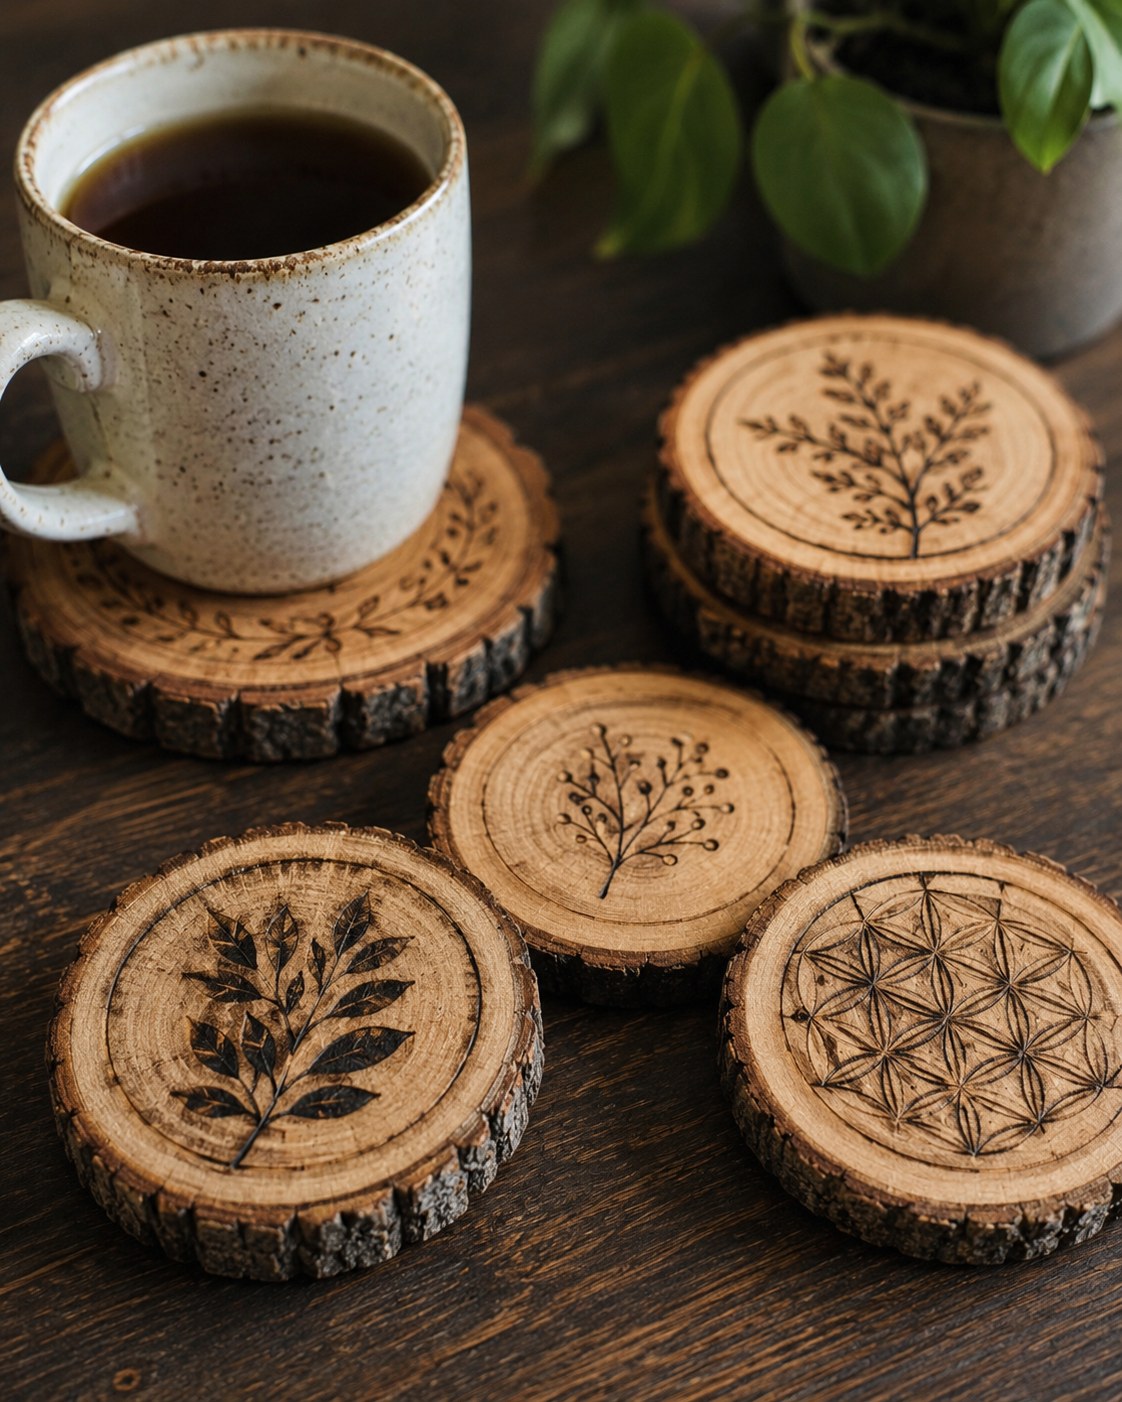
Nine years of freehand nail art taught me that a steady hand and a light touch matter more than the tool in it, and this project runs on the exact same skill. Live-edge wood slices with pyrography designs burned into the face — botanicals, geometric patterns, whatever you can trace or freehand.
- Buy pre-cut slices online if you don't own a chainsaw — this is completely fair and most makers do.
- Sand each slice flat before burning; this is the actual tricky step, because an uneven surface makes the pen skip and blur your lines.
- Seal with a food-safe oil once the burning is done so rings don't stain the wood.
Call this First Try Friendly with patience required. Budget more time than you think for sanding — it's the unglamorous 80% of this project.
A Geometric Diamond Shelf That Reads Like Wall Art
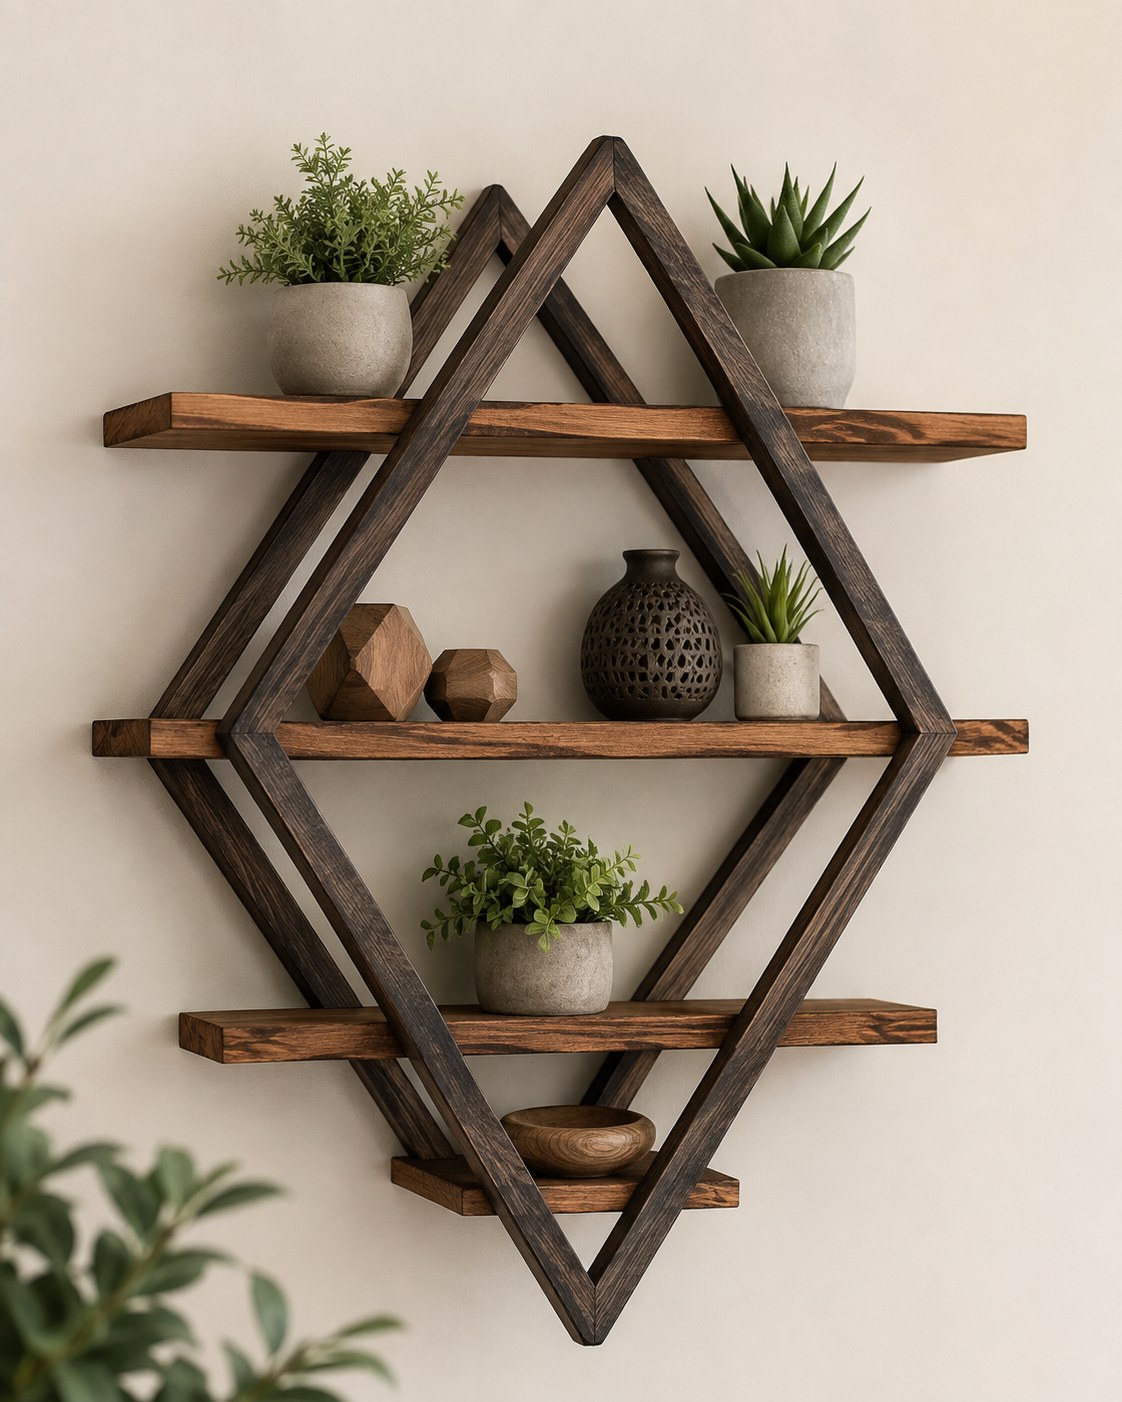
Two offset triangle frames overlapping to create a diamond silhouette, with three floating shelves slotted through the negative space — this one gets stopped-at-the-farmers-market attention because it barely looks like storage at all.
It earns its Labor of Love label honestly. The triangles have to be mitered so their points close cleanly, and any gap at the tip is visible from across the room — there's nowhere to hide a bad cut here the way there is on a boxy shelf.
Where to adapt it
Stain the frame darker than the shelves for contrast, like in this build, or paint the frame a solid color and leave the shelves natural for a more modern split. If your miter saw skills are still new, build a smaller single-diamond version first and save the full stacked piece for round two.
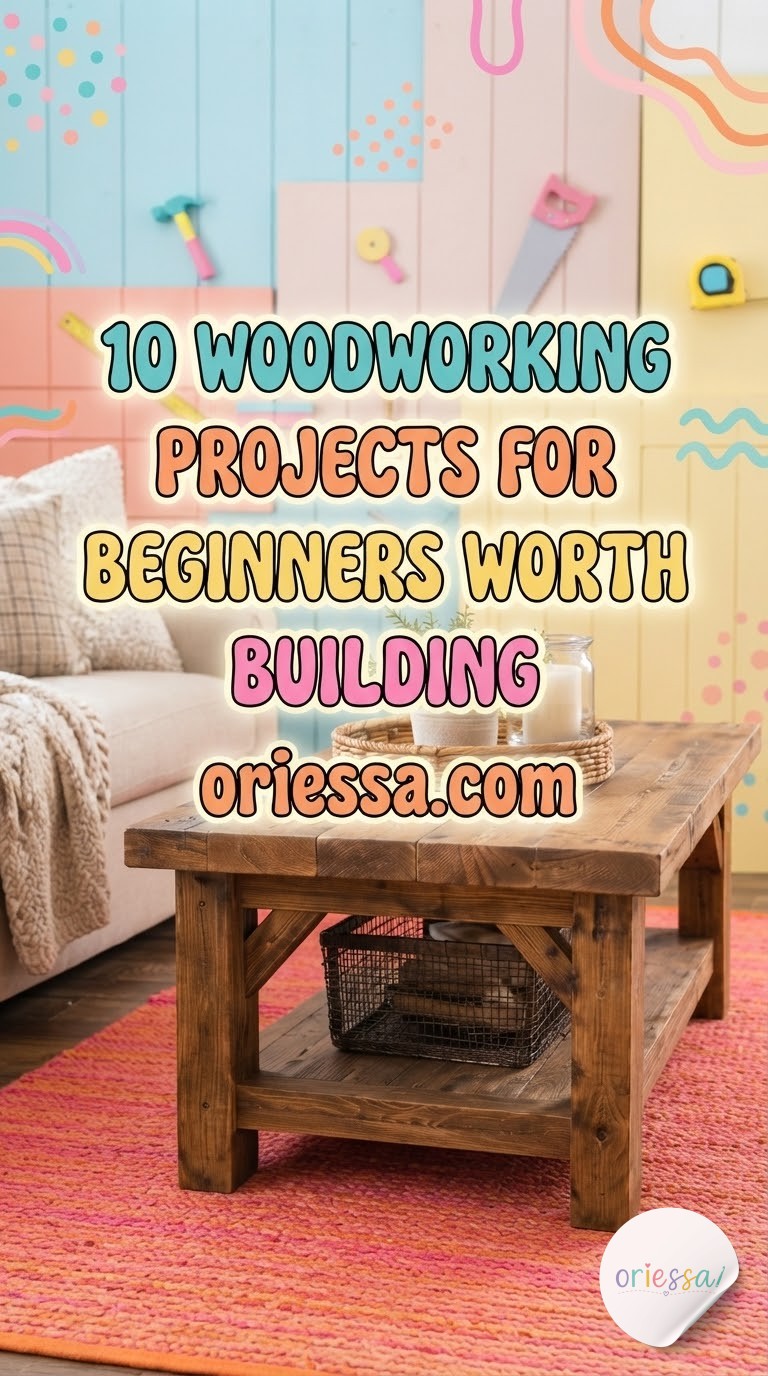
A Chunky Farmhouse Coffee Table Built to Take a Beating
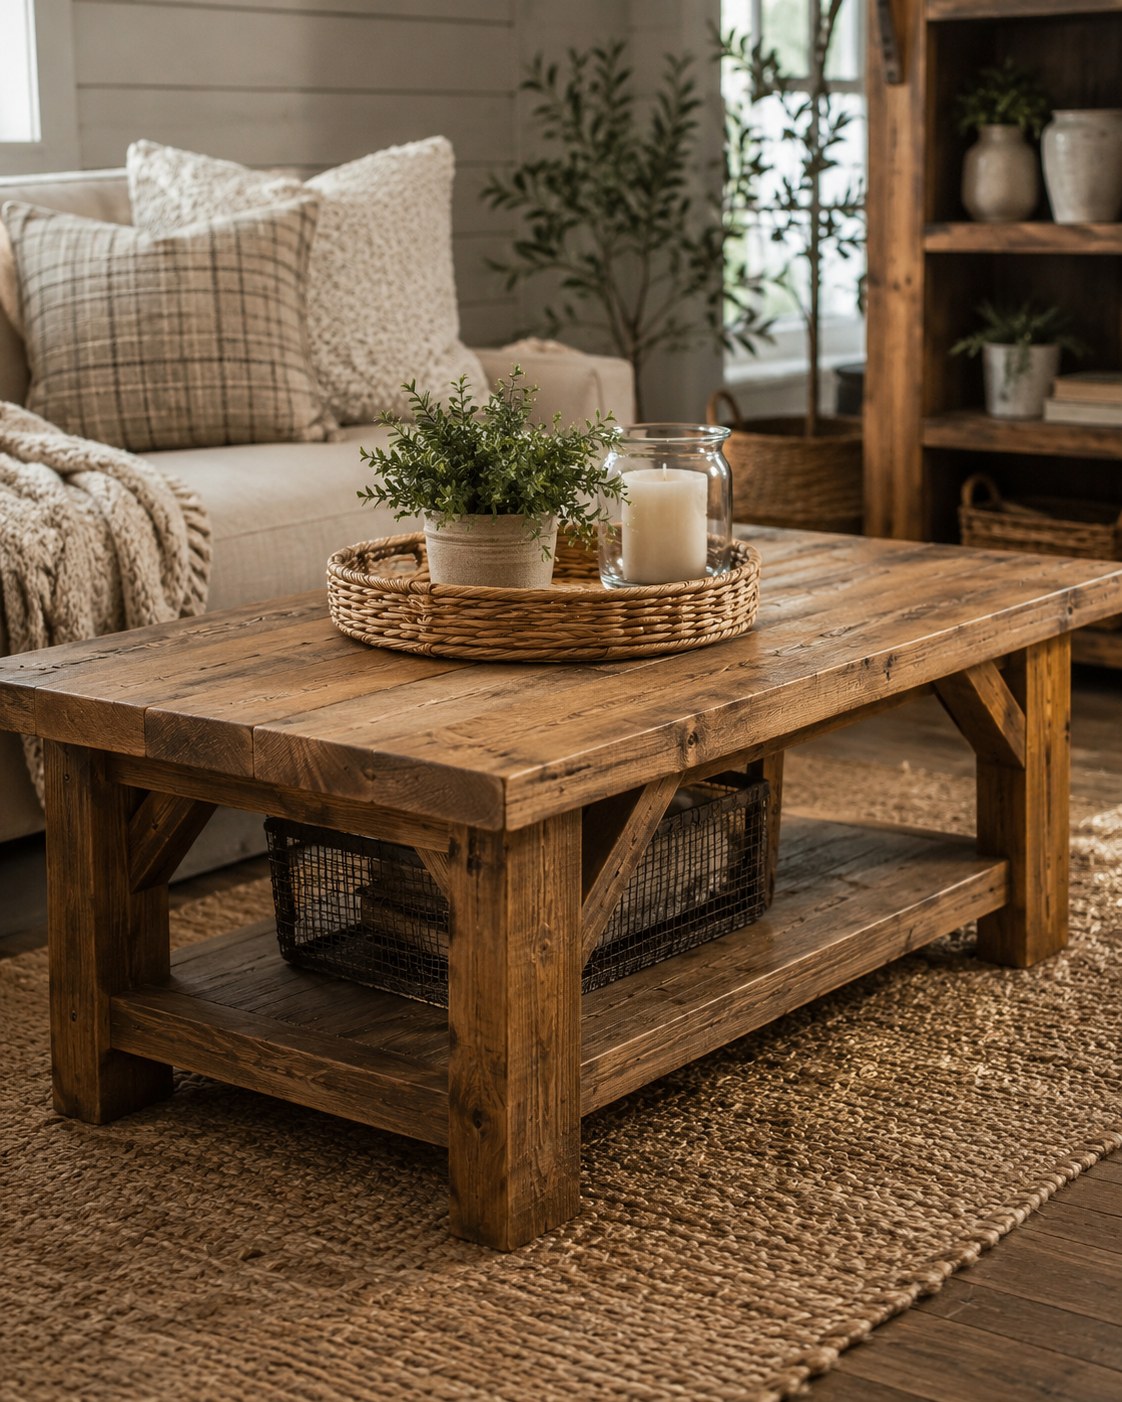
This is the table that survives a toddler, a dog, and every foot that's ever gone up on it — thick reclaimed-look boards, a trestle base with an X or straight stretcher, and a lower shelf for baskets.
- Chunky proportions are intentional — thinner legs would look flimsy under a top this size.
- Pocket-hole joinery keeps the build beginner-accessible without visible hardware on top.
- The lower shelf adds real storage and also visually grounds the piece so it doesn't float.
This is a Weekend Make that can slide into Labor of Love territory if your legs aren't cut to identical length — a wobbly coffee table is the most annoying thing you can build, so double-check that measurement before assembly, not after.
A Gable-Roof Bird Feeder for Your First Real Angle Cuts
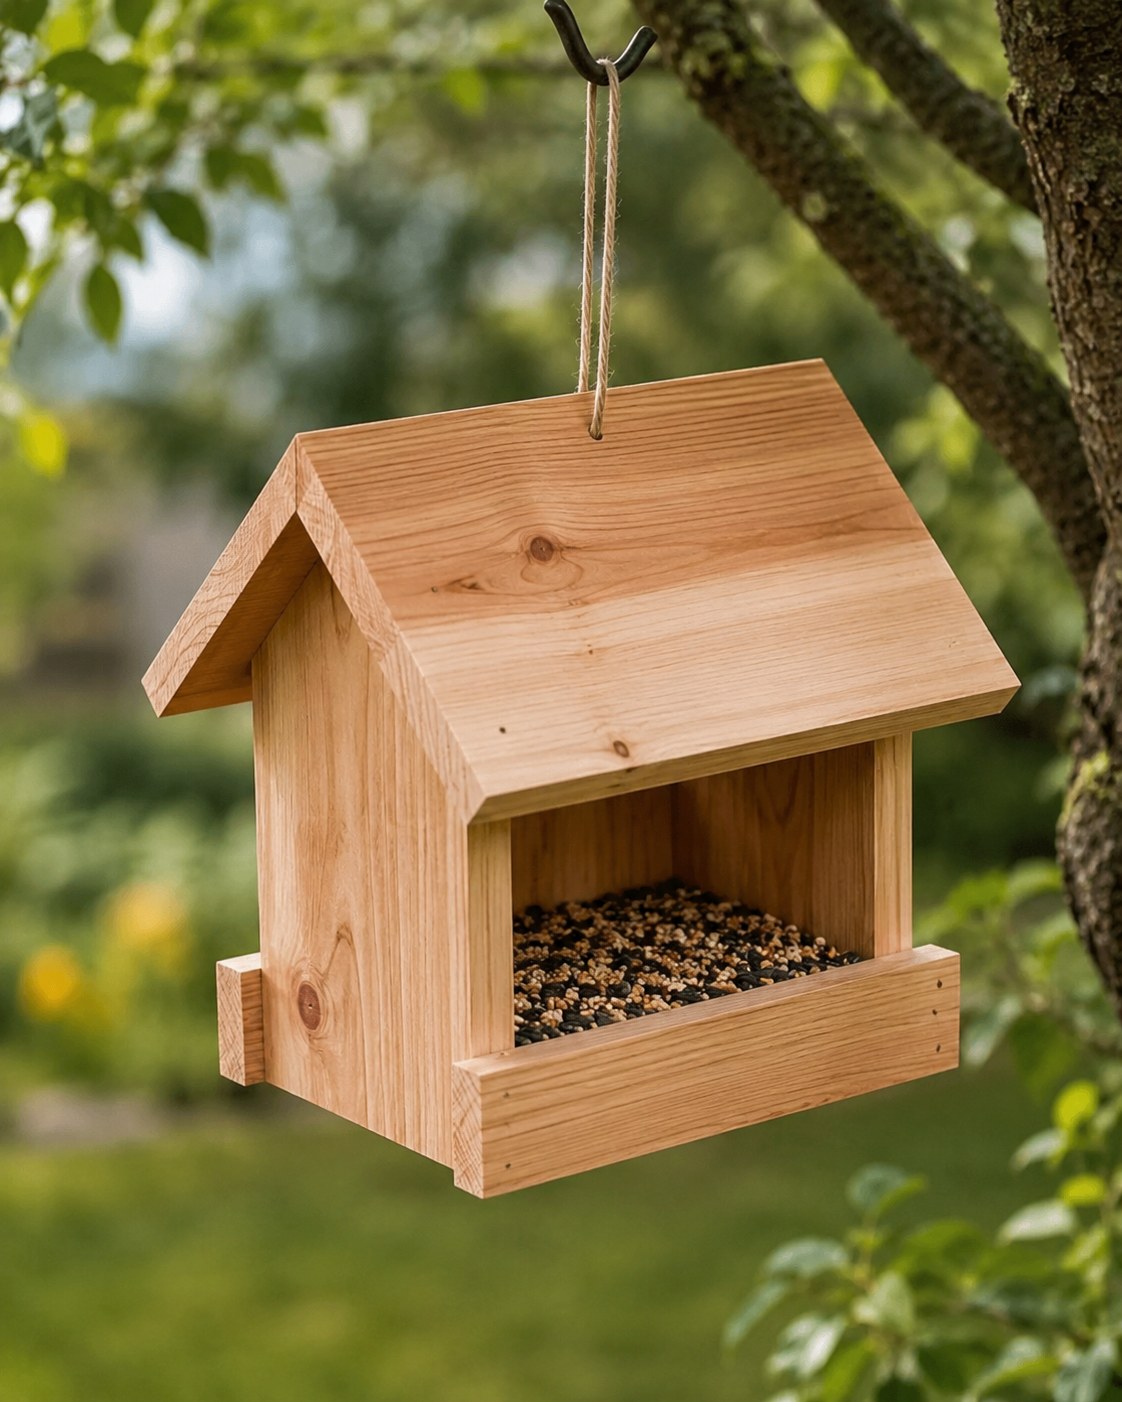
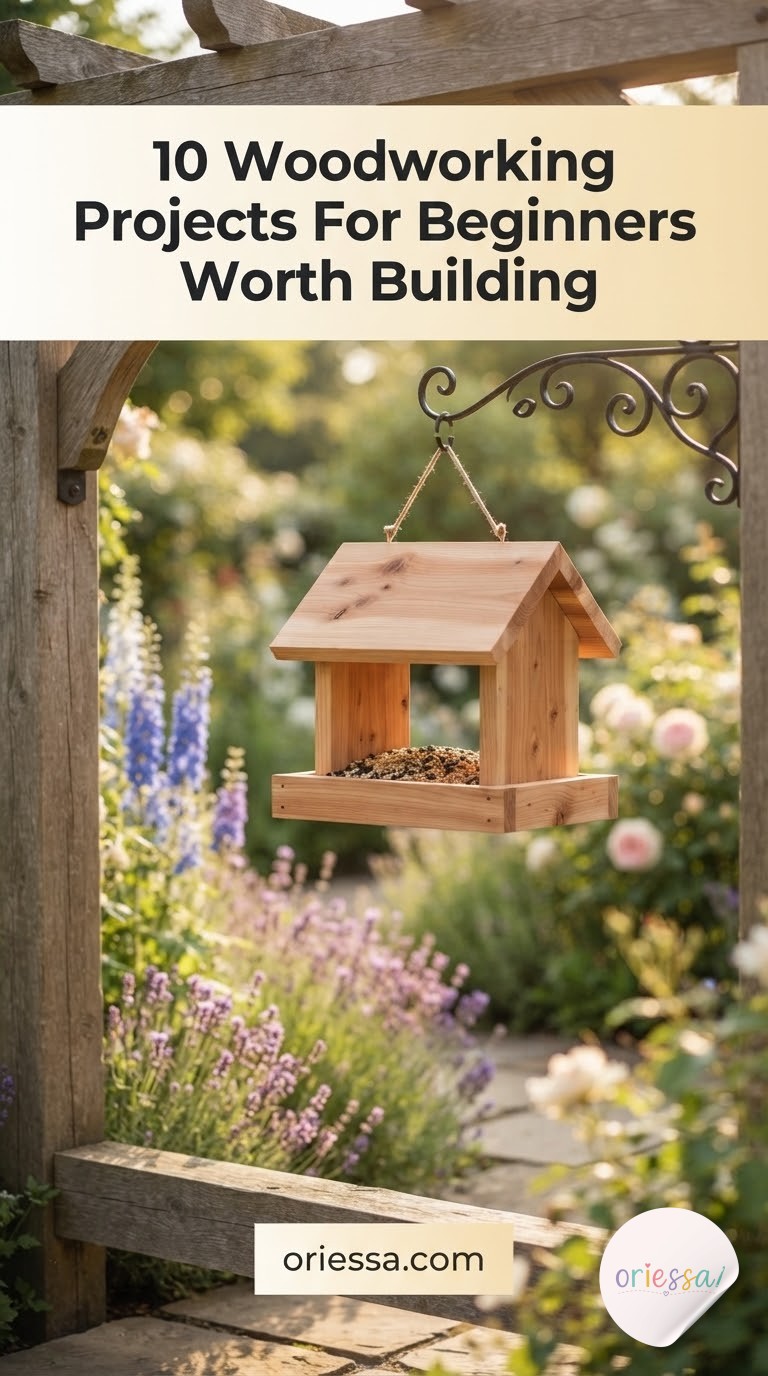
This little cedar house is where I'd actually send a total beginner, because it teaches the one skill that unlocks half the projects on this list: cutting a roofline that meets cleanly at the ridge.
- Cut the two roof panels at matching bevels so they sit flush against each other at the peak.
- Build the box base with simple butt joints — nothing fancy needed here.
- Add a lipped front edge so seed doesn't spill every time the wind picks up.
Cedar is worth the small upcharge over pine since it's weatherproof without needing a sealant coat, which makes this an honest First Try Friendly build start to finish. It's also, quietly, one of the cheapest gifts you'll ever make someone.
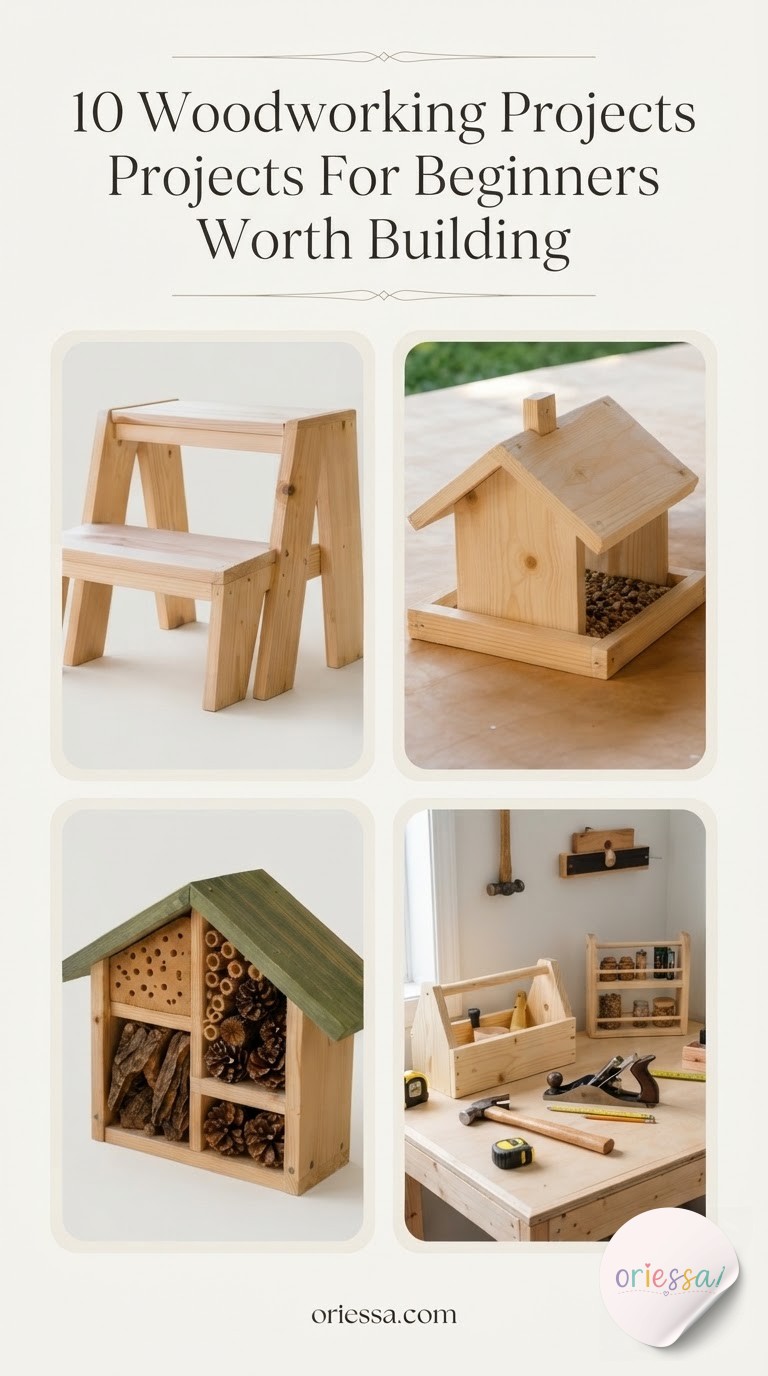
The Scrap-Wood Trio: Step Stool, Mini Feeder, and Bee Hotel
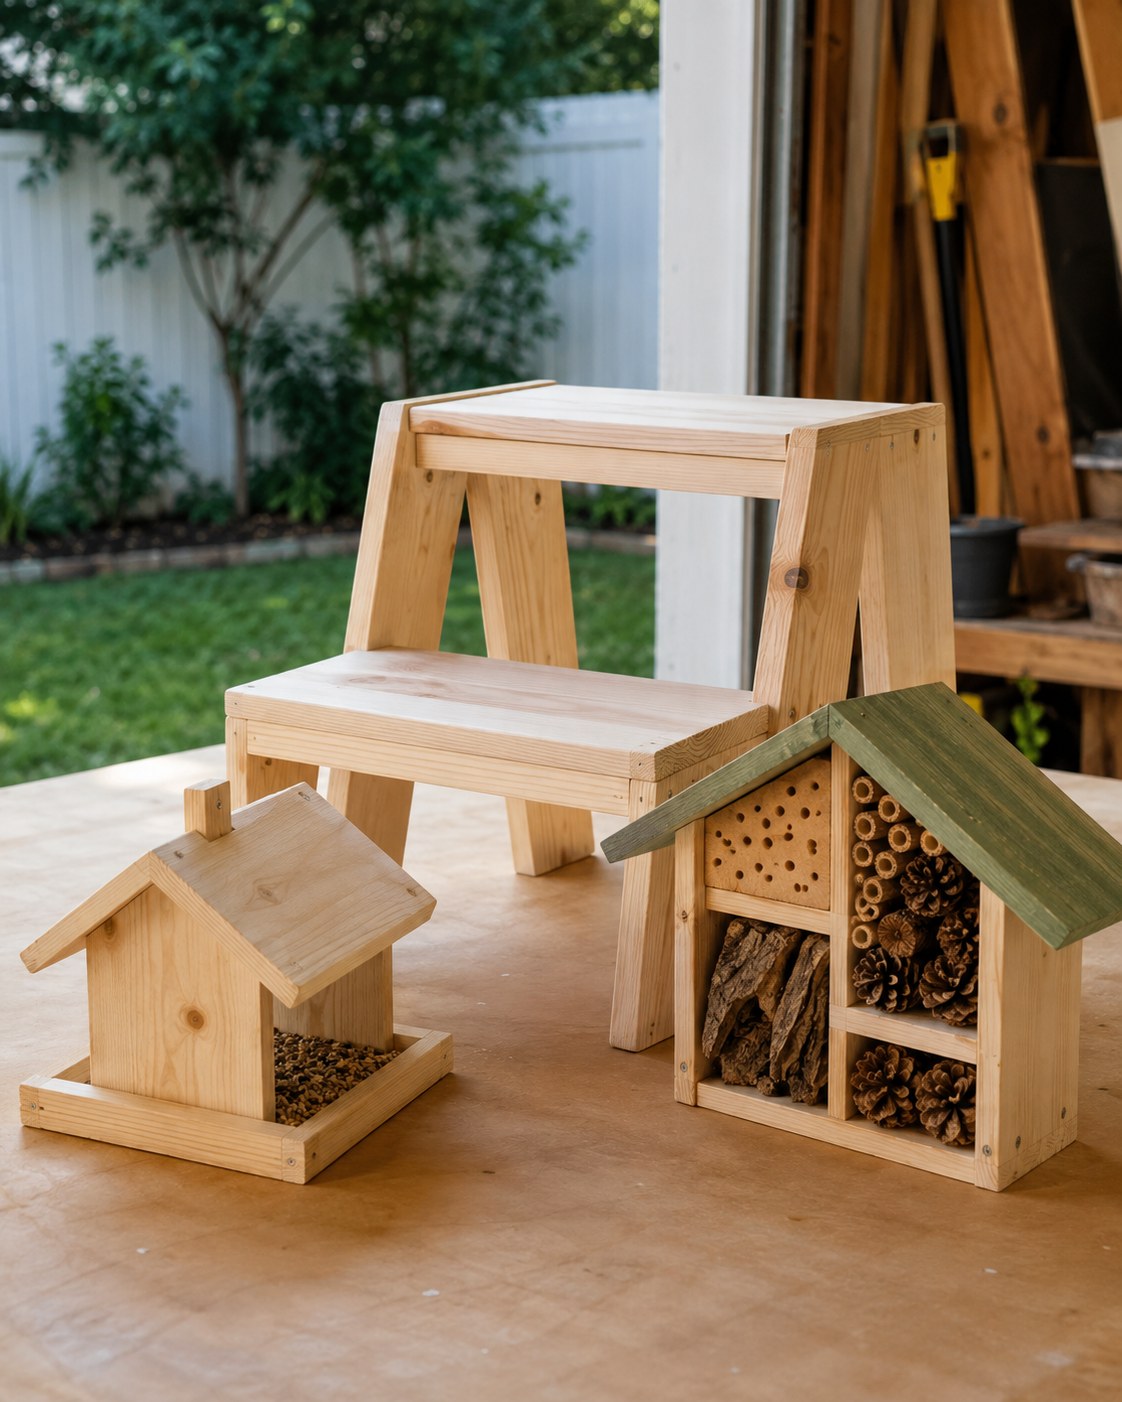
By the time you've built even three or four of the projects above, you'll have a pile of offcuts that's too good to toss — this is where they go. A small step stool, a mini gable feeder, and a bee hotel with stacked compartments for twigs and pinecones, all sized to use up what's left in your scrap bin.
Think of it as your someday sparkle drawer, but for lumber instead of buttons — nothing wasted, everything with a plan. Each piece is small enough to be First Try Friendly on its own, and together they're a satisfying Weekend Make that teaches three different simple joints in one sitting: butt joints on the stool, mitered roof corners on the feeder, and dado grooves for the bee hotel's compartments.
This is the project that made me actually respect what a table saw and a little patience can rescue from the burn pile.
Conclusion
None of these took me a full weekend the first time — most took longer, and one bin ended up crooked enough that it now lives quietly holding onions instead of apples. That's the actual beginner experience, and it's worth building anyway.



Common Questions
Do I need a full workshop to start any of these?
No. A circular saw, a set of clamps, a drill, and a sander cover most of this list. The Z-leg table and the mitered diamond shelf go faster with a miter saw, but you can still get there with a guide and patience.
What wood should a beginner actually buy?
Pine is the forgiving, cheap option for practice builds like the bird feeder or reading stand. Save walnut, cherry, or reclaimed boards for projects like the coffee table or side table once you trust your cuts.
Which project should I build first?
The bird feeder or the reading stand — both are First Try Friendly, use minimal materials, and teach the basic angle and joint skills you'll reuse everywhere else on this list.
Do I need special safety gear for beginner woodworking?
Eye protection and hearing protection at minimum, plus a dust mask when sanding — this is a general enthusiast-level list, not professional training, so when a cut feels beyond your comfort, scale the project down before scaling your risk up.