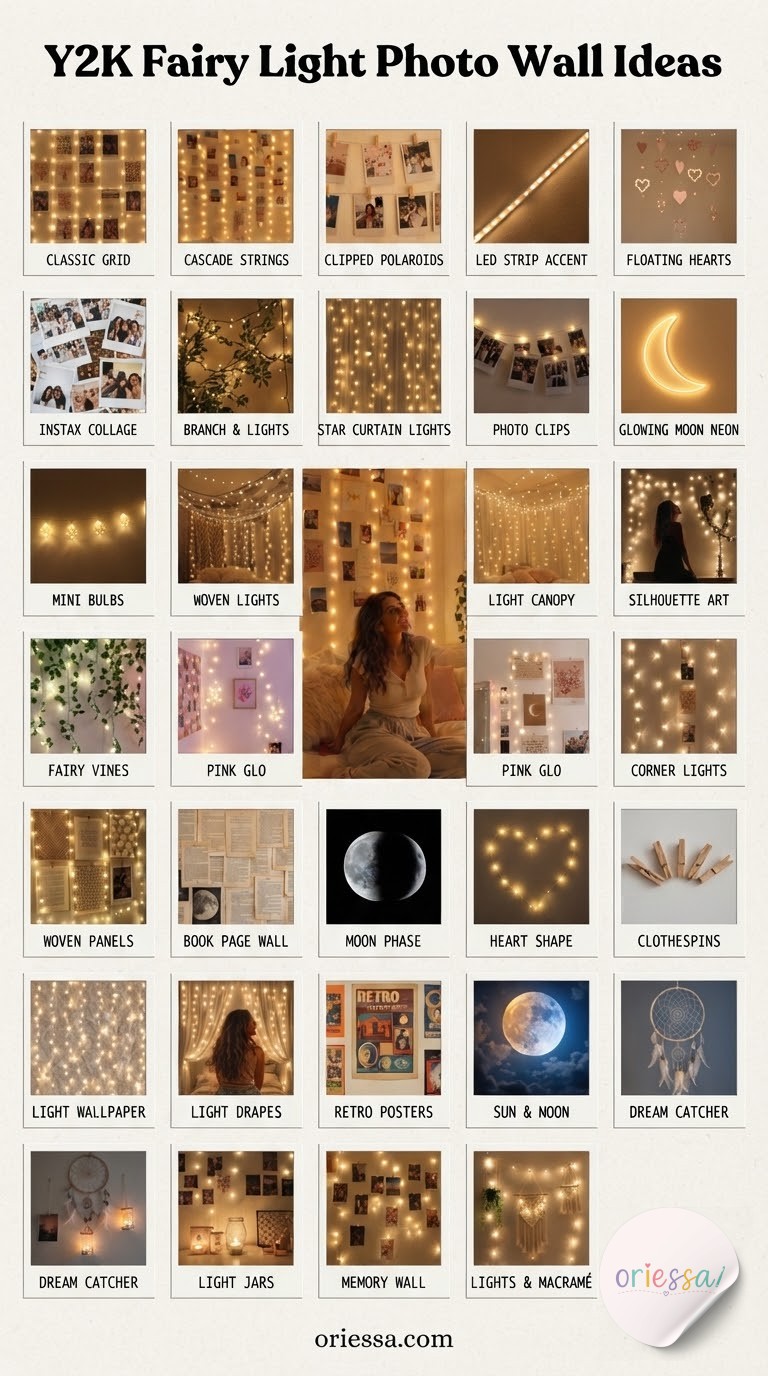

My balcony has been a graveyard of half-used fairy light strands for years, so when readers started asking me which photo wall layout actually holds up (and which ones sag by week two), I owed everyone real answers. These six setups aren't theoretical Pinterest screenshots — I've hung, re-hung, and troubleshot every category here, from tape that gives up in humidity to garlands that eat your outlet access. Pick the one that matches your wall, your patience level, and your photo stash.
The Vertical Curtain Wall
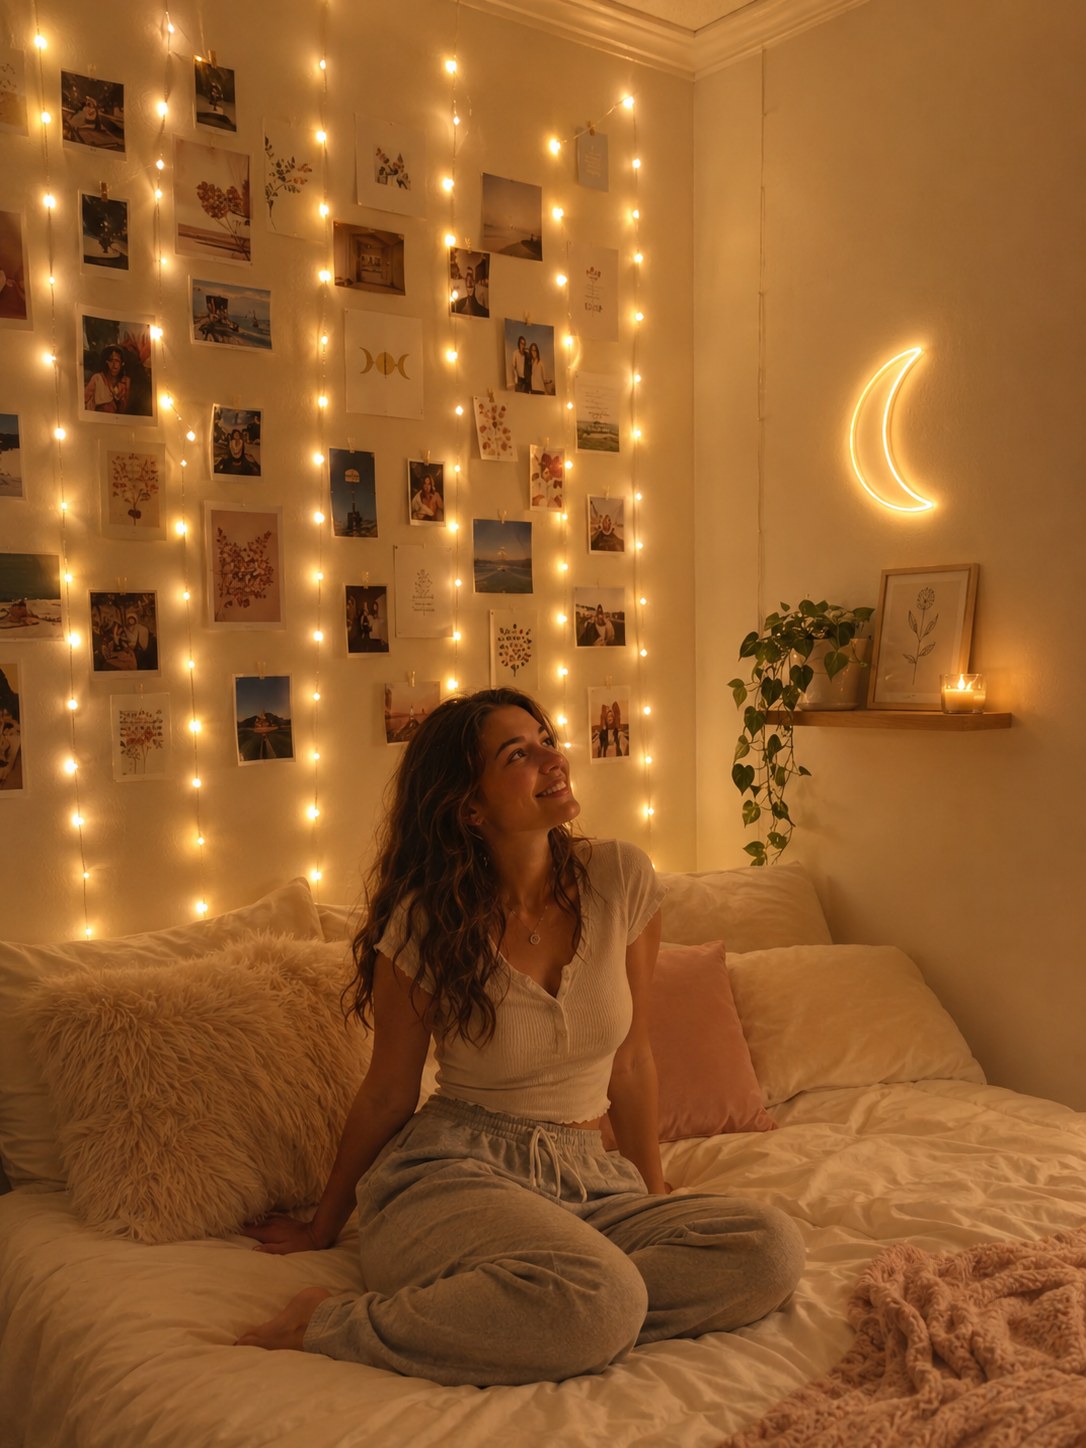
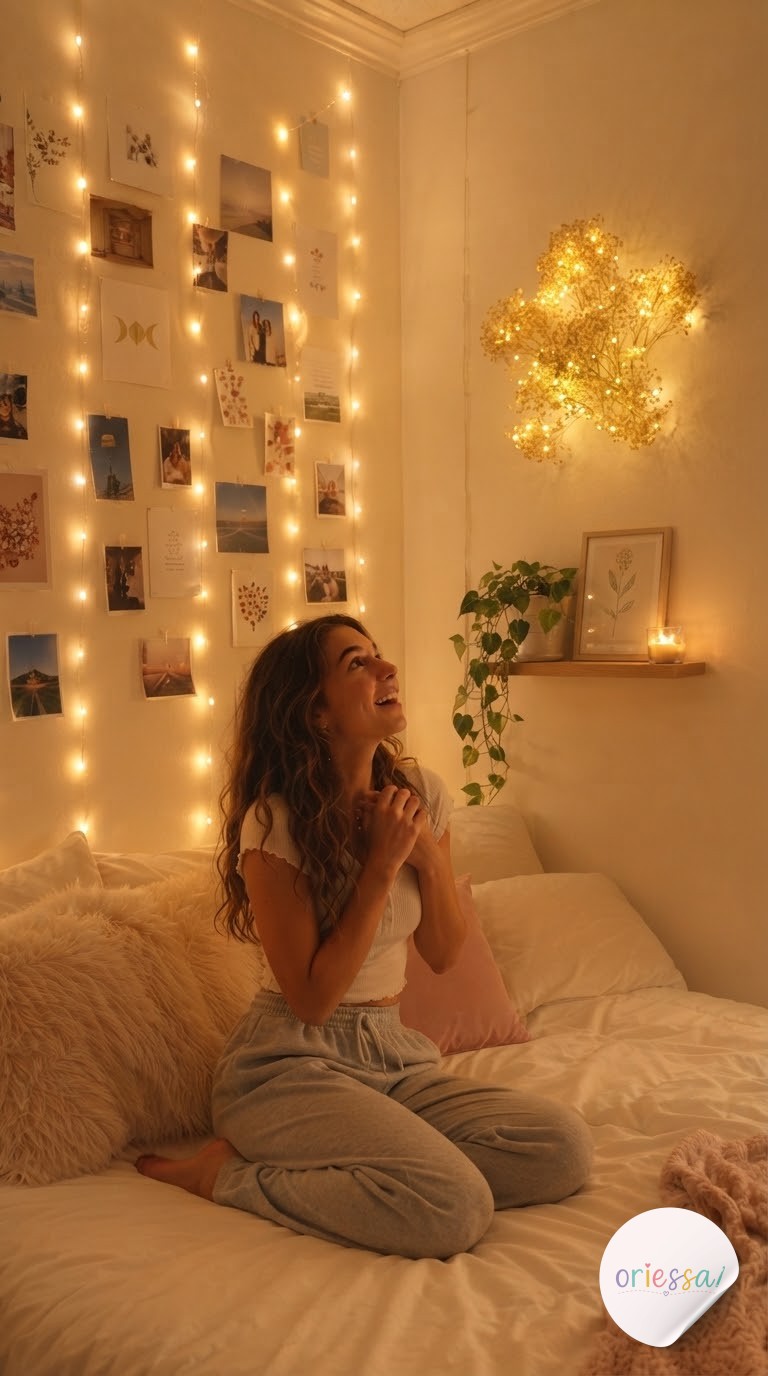
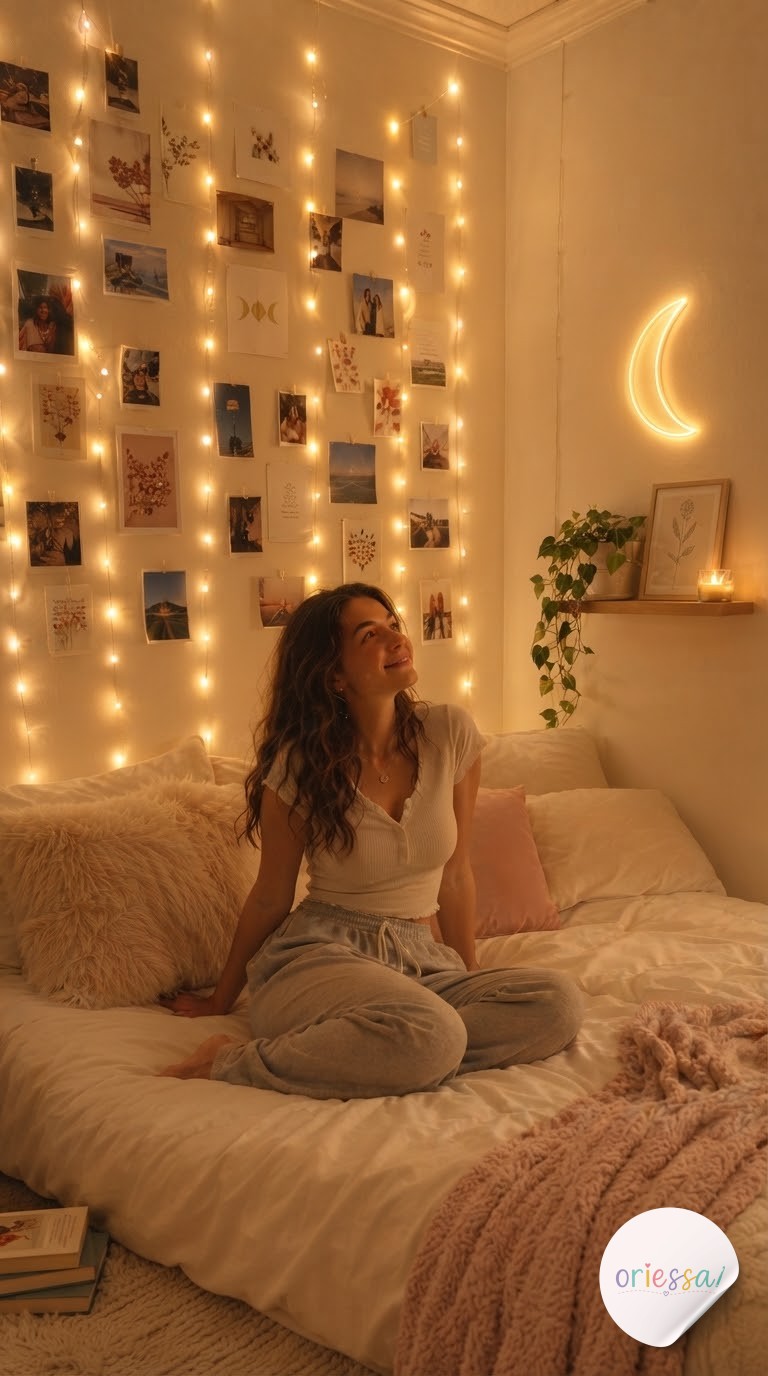
This is the one people screenshot most, and I get why — it turns an entire headboard wall into a soft, glowing backdrop instead of just a few strands. You're working with several drop lengths of fairy lights hung side by side, close enough together that photos can bridge from one strand to the next.
- Lights: use 3-4 curtain-style strands (the kind sold as window curtain lights, not a single long strip) so you get clean vertical rows without one drooping strand carrying all the weight.
- Photos: mini clothespins or removable dot stickers, mixed sizes for a lived-in look rather than a grid.
- The finishing touch: a neon sign off to the side — the crescent moon here does the job of a full accent wall for the price of one plug.
This layout is genuinely the most forgiving for renters because it needs zero holes — just a tension rod or a few small hooks at the top molding.
The Photocard Heart Corner
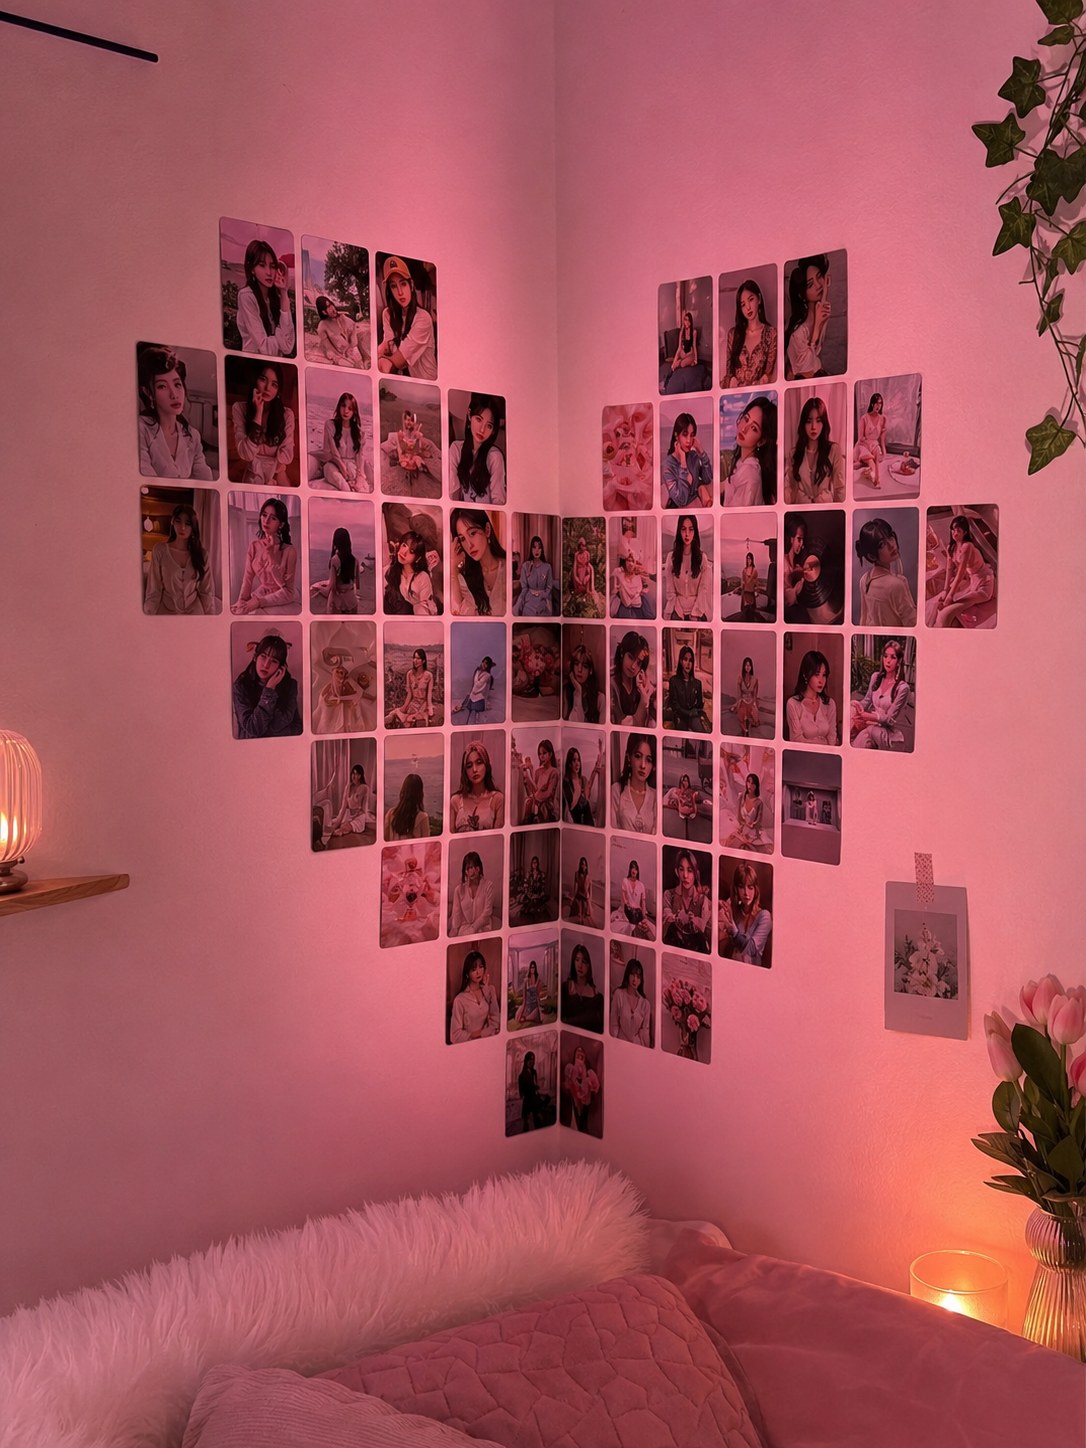
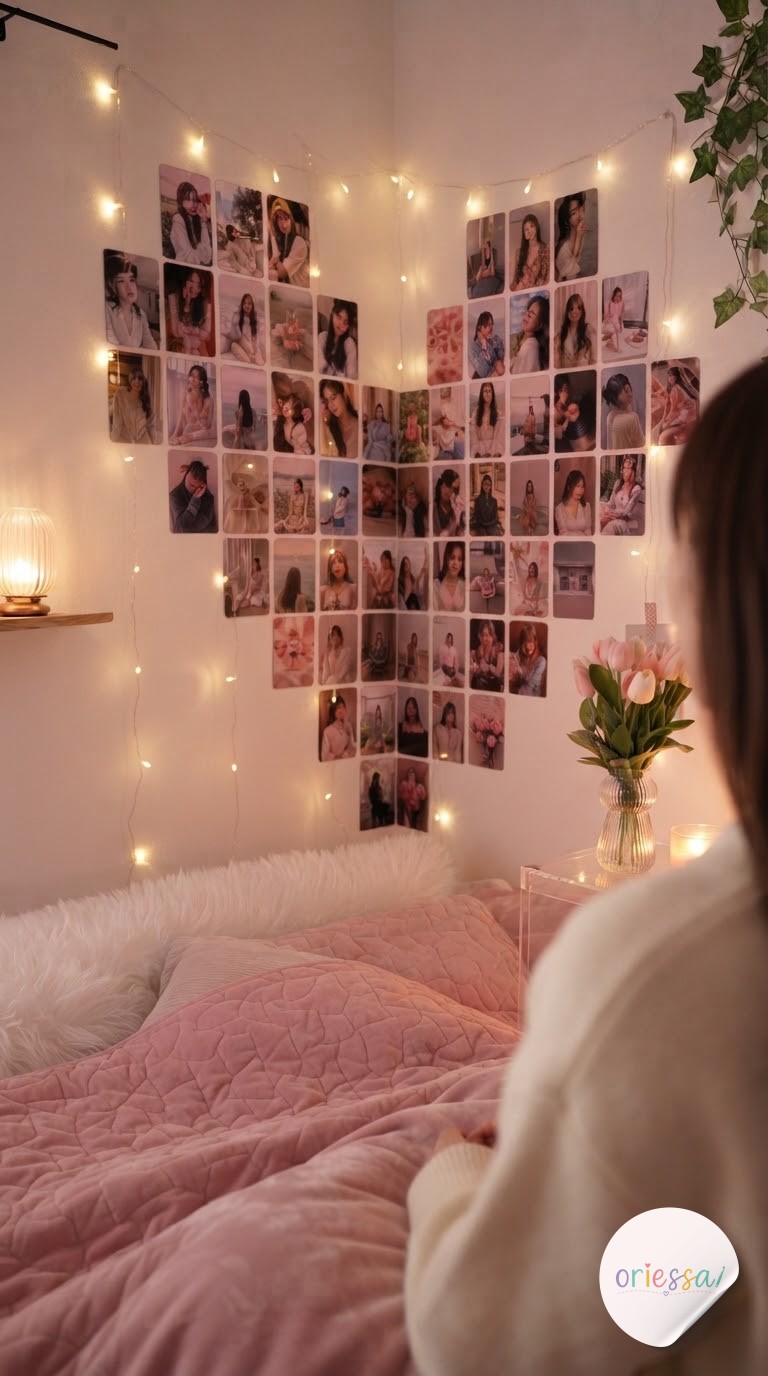
If you're deep in the photocard-collecting world, you already know this shape by heart, literally — a dense heart made entirely of small cards packed edge to edge across a corner, no gaps, no visible wall showing through. The fairy lights here aren't the star; they're the low, warm wash behind everything that keeps it from feeling like a bulletin board.
I sized my first photocard project on the wrong corner and ran out of cards two rows from the top — measure your heart in painter's tape BEFORE you commit a single strip of removable adhesive.
What makes this work: corners give you two walls to anchor the shape, so the heart reads as intentional rather than random. Use a light-diffusing adhesive putty (not tape, which pulls plaster) and keep your fairy light strand tucked along the outer edge only — one strand behind the whole shape, not woven through, so it doesn't compete with the cards for attention.
The Layered Mood Board Wall
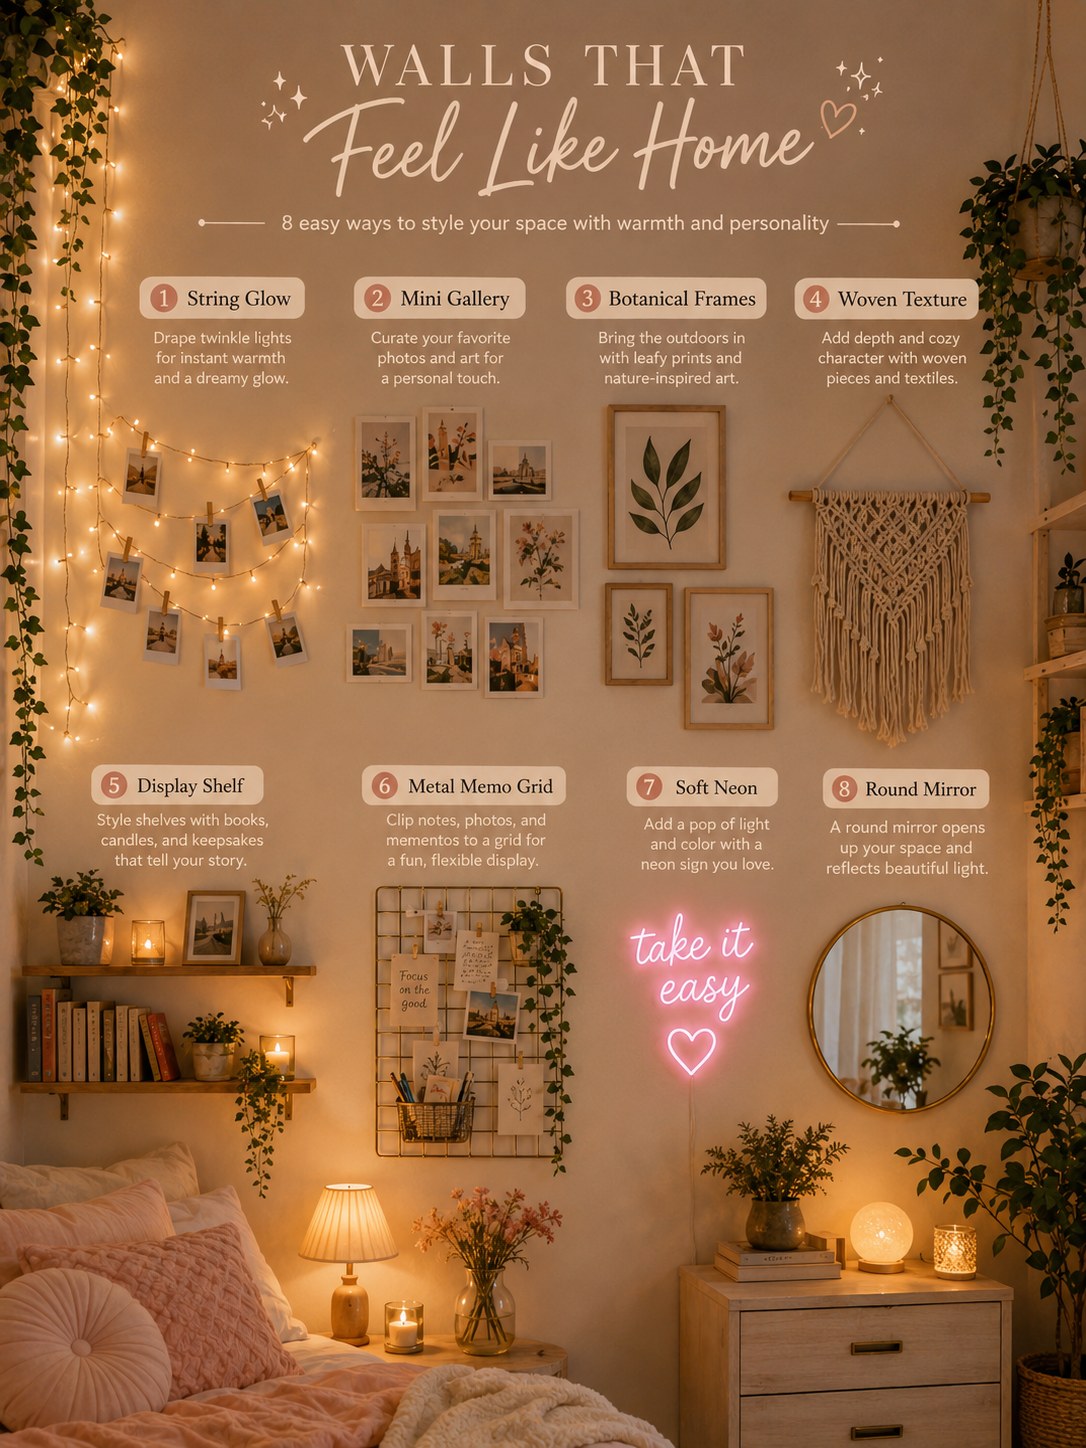
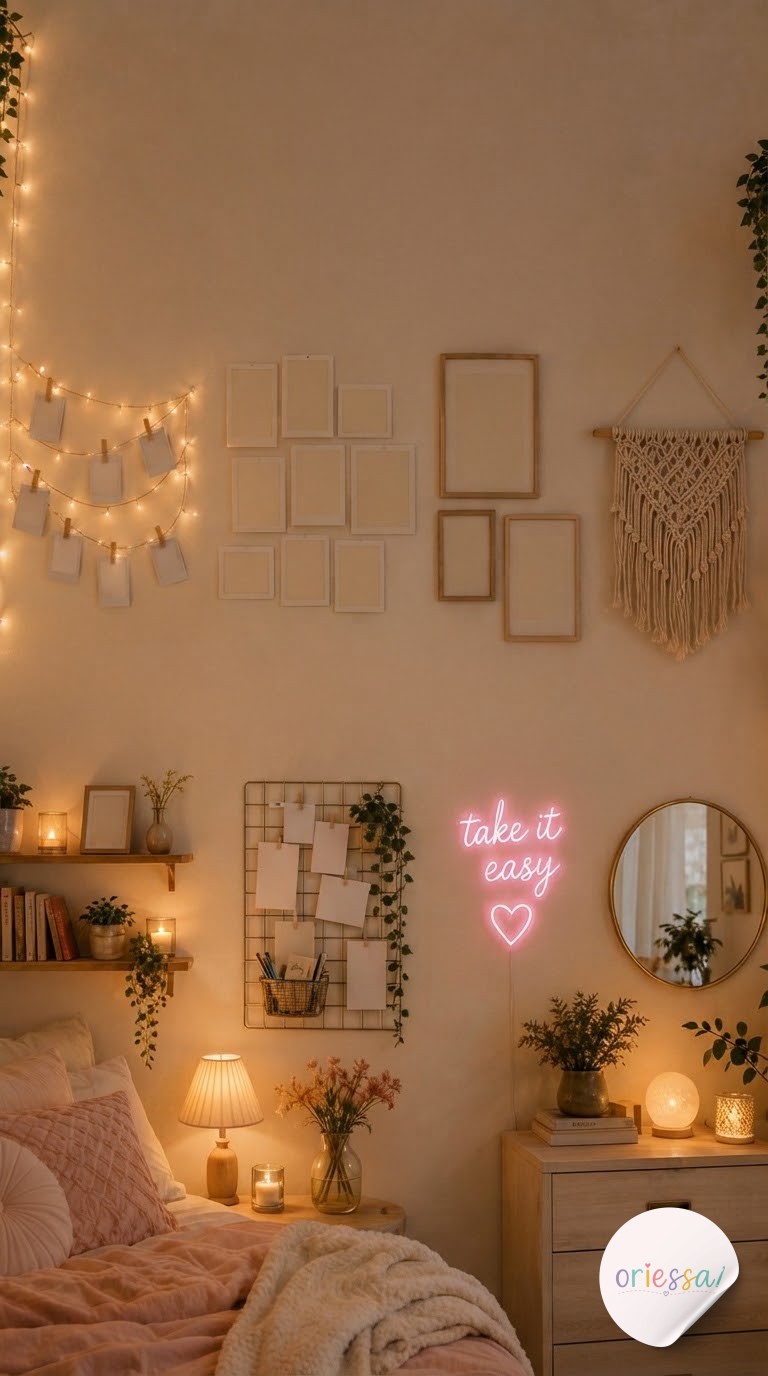
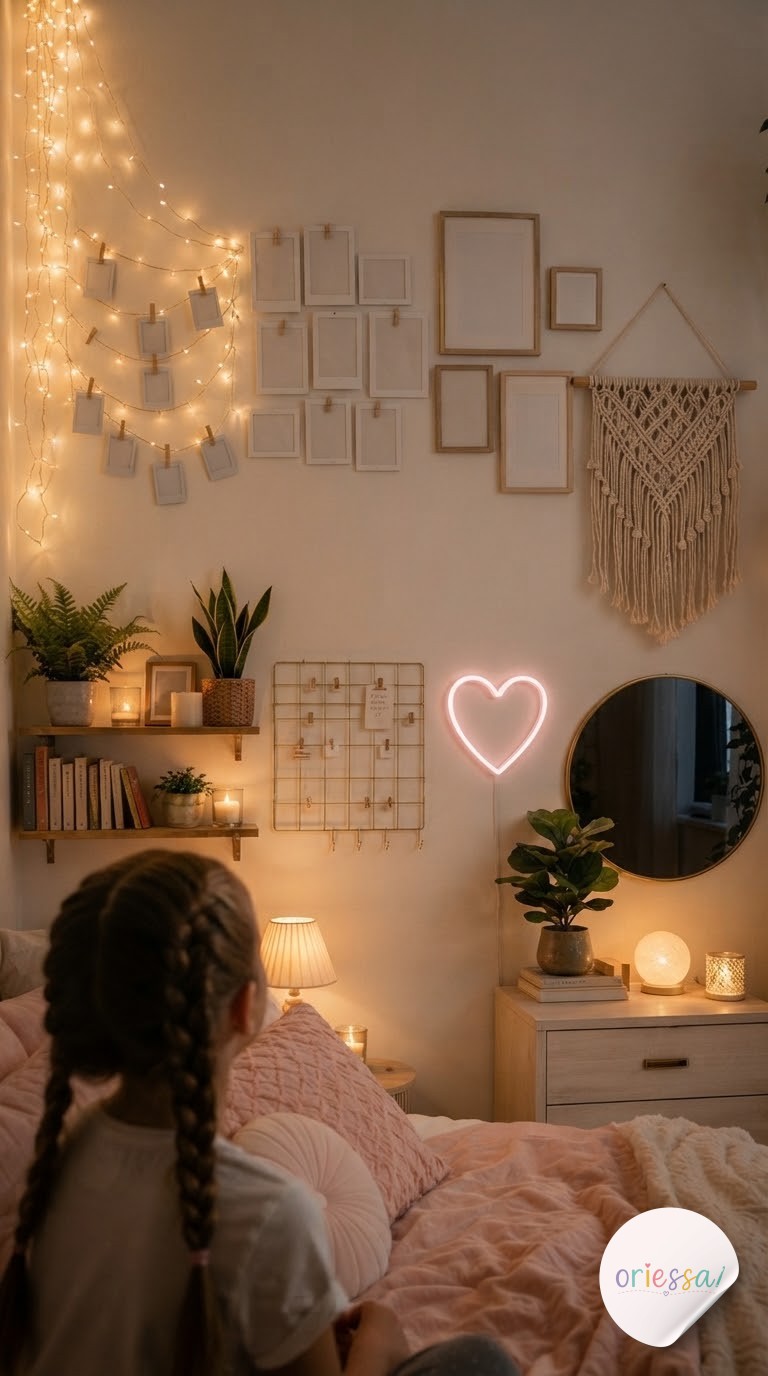
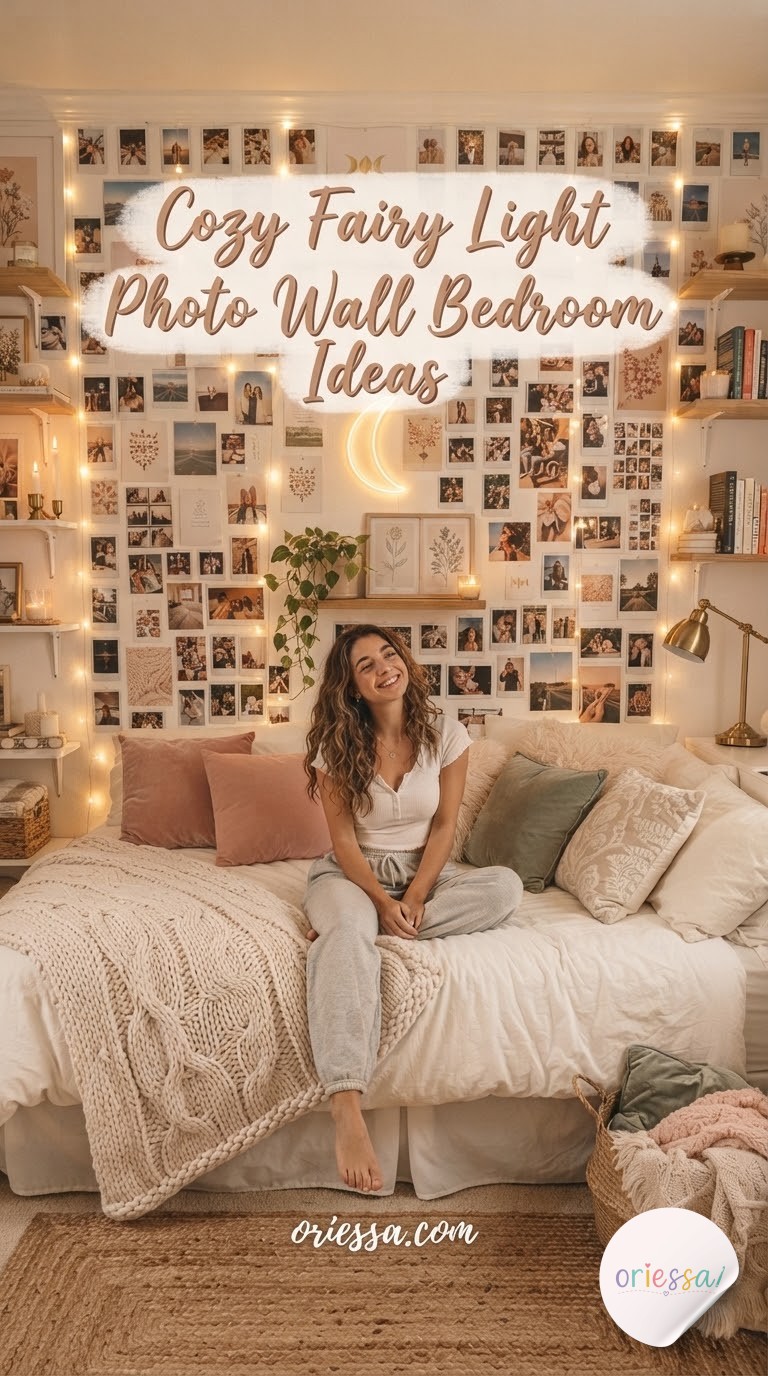
This is the one I'd actually call a system rather than a single idea — a wall divided into distinct zones that each do their own job: string glow for warmth, a mini gallery for the personal photos, botanical prints for texture without clutter, a woven wall hanging, a memo grid for rotating notes, a soft neon word, and a round mirror to bounce all that light back into the room.
How to zone it without it looking busy
- Anchor first: pick your biggest piece (mirror or macrame) and place it off-center, not dead middle.
- Group by function: keep printed art together, photos together, memo clips together — mixing them randomly is what makes a wall feel chaotic instead of curated.
- Light last: string lights get threaded around the finished layout, not planned first, so they highlight rather than dictate the design.
This is the layout I'd recommend if you're decorating in phases — every zone stands alone, so you're never stuck with an unfinished-looking wall.
The Floral Garland Curtain
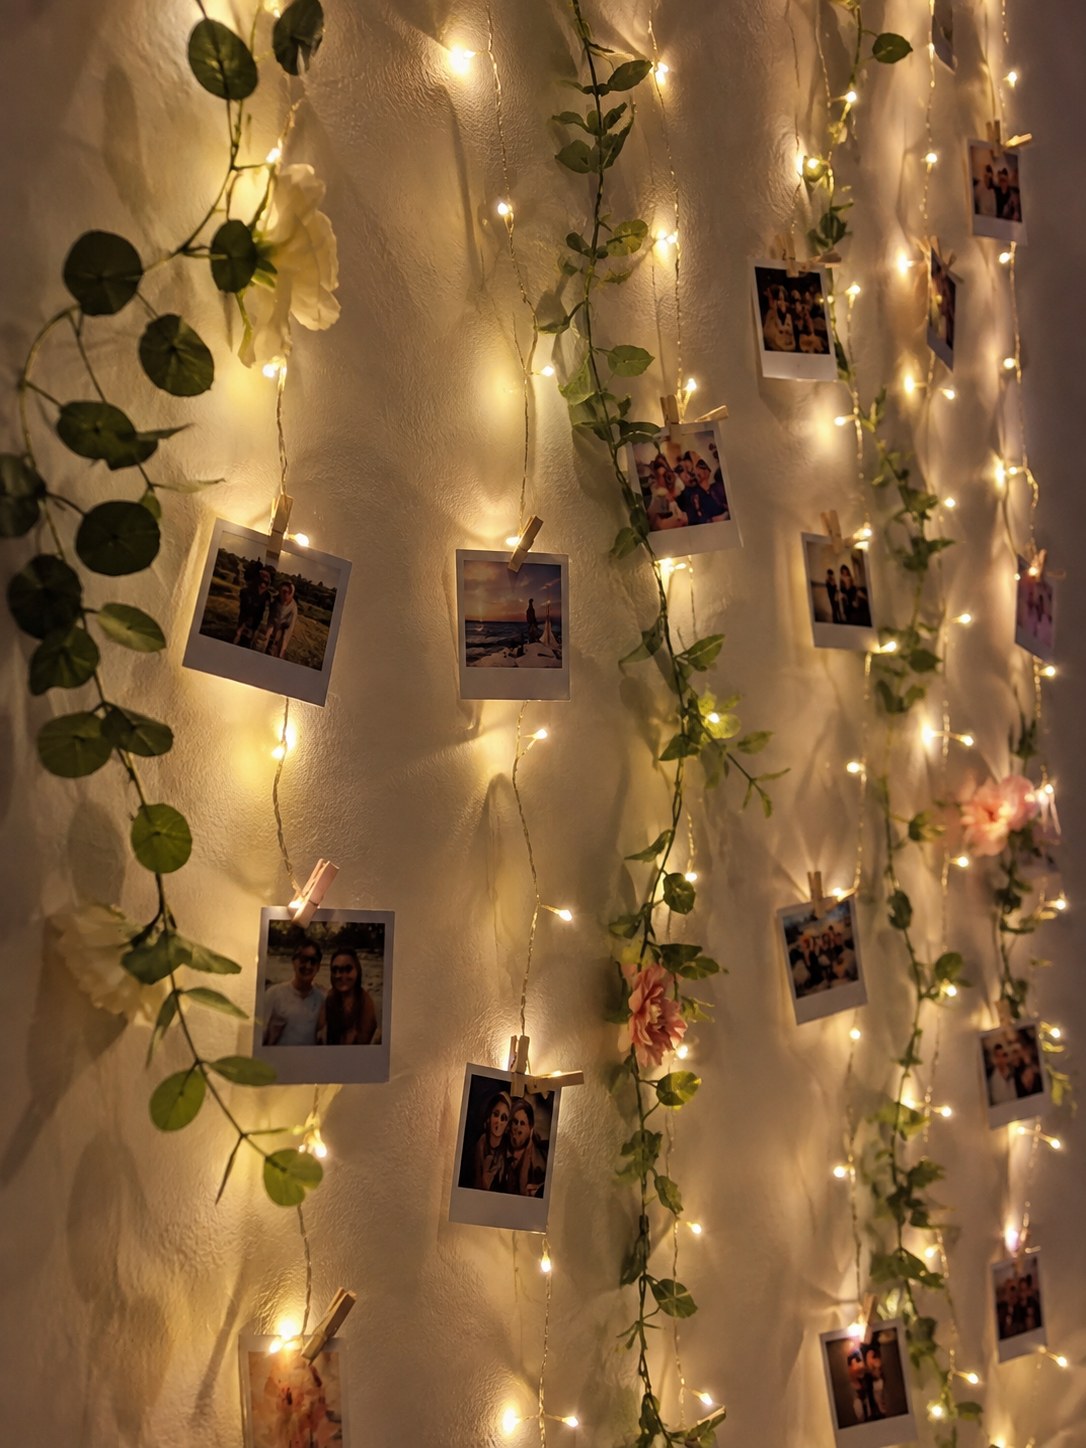
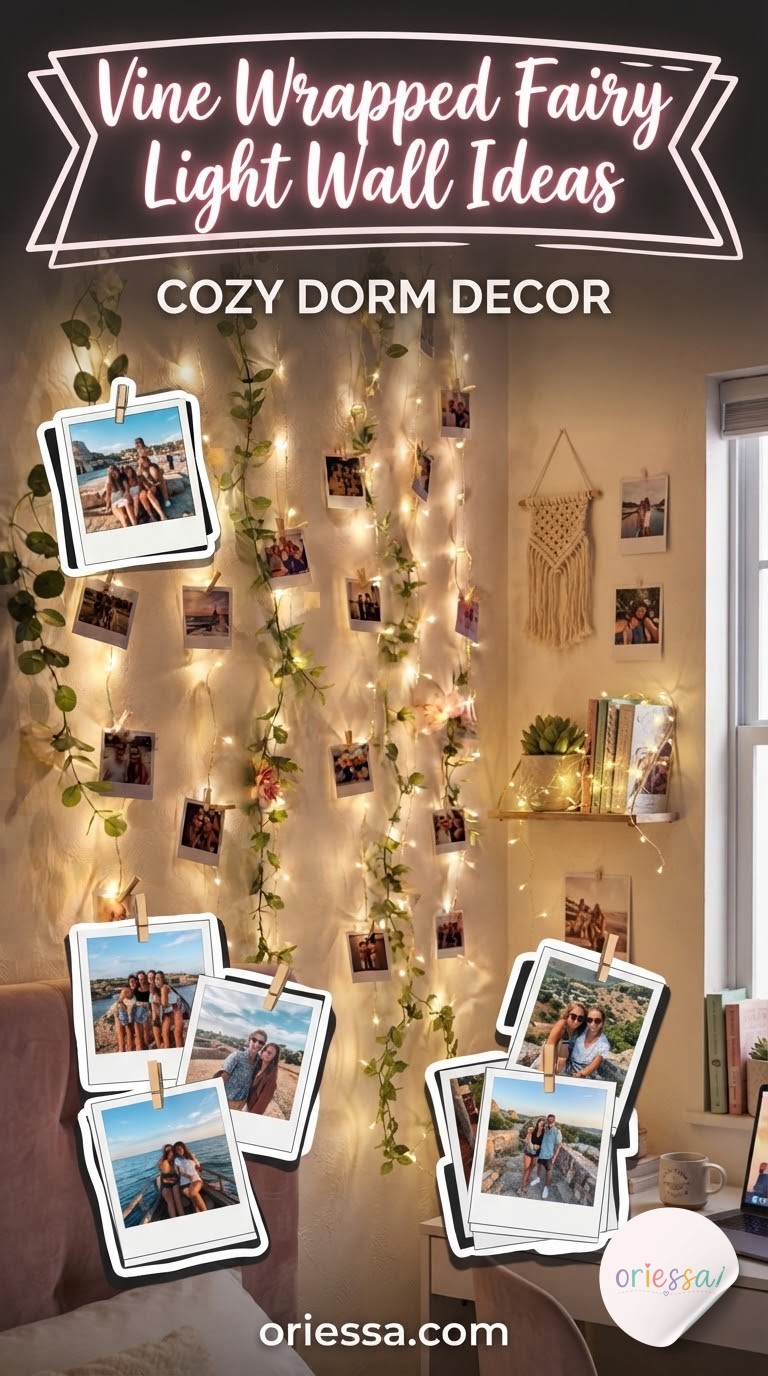
Take the vertical curtain idea and thread faux greenery garland through every strand, letting leaves and small blooms hang loose alongside the polaroids. It's the most romantic version of this trend and also the one that takes the longest to build — budget real time here, this isn't a fifteen-minute hang.
Cost-wise: a 6-foot faux eucalyptus garland runs about $8-10 at a craft store, and you'll want three or four to cover a full wall, so this is closer to a $35-40 project once you add the light strands and clothespins — more than plain fairy lights alone, but still nowhere near a real botanical wall installation.
- Layer greenery over lights, never under — you want the leaves to catch the glow, not block it.
- Mix real dried flowers sparingly among the faux vine for texture that photographs beautifully but won't wilt on you.
- Polaroids over regular prints hold up better here — the thicker card stock survives being clipped through greenery without bending.
The Fairy Light Heart Grid
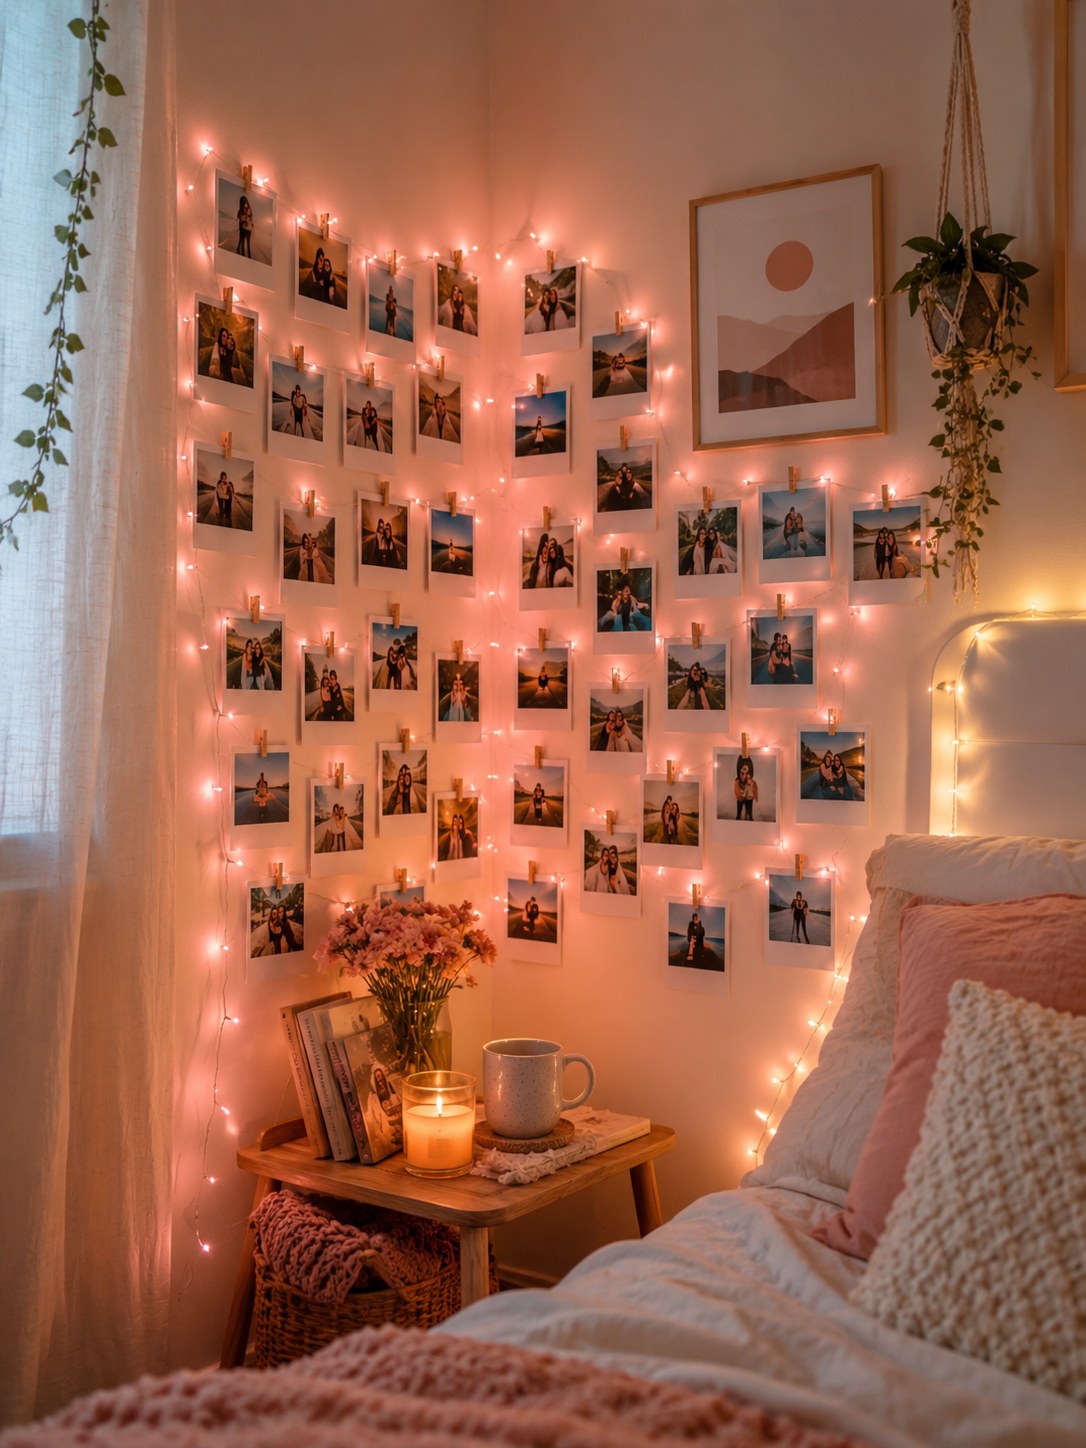
Different heart, different method than the photocard version — this one is built from the lights themselves, shaped into a heart outline and filled in with clipped photos following that curve, glowing pink rather than warm white. It's softer and more diffuse, which makes it the better pick if your photos are candid snapshots rather than uniform cards.
Getting the shape right
Sketch your heart in painter's tape first, then run the fairy light strand along the tape line before removing it — this is the single step that separates a crisp heart from a lopsided blob. Clip photos inward from the outline toward the center, largest prints near the top curves where there's more visual weight to hold.
A pink-toned bulb strand (or a warm white strand behind sheer pink fabric, my cheaper workaround) does the color lift without needing a smart bulb system. Pair it with a bedside candle and a small vase — the corner placement means it's doing double duty as both wall art and a lit nightstand backdrop.
The Classic Grid Rows
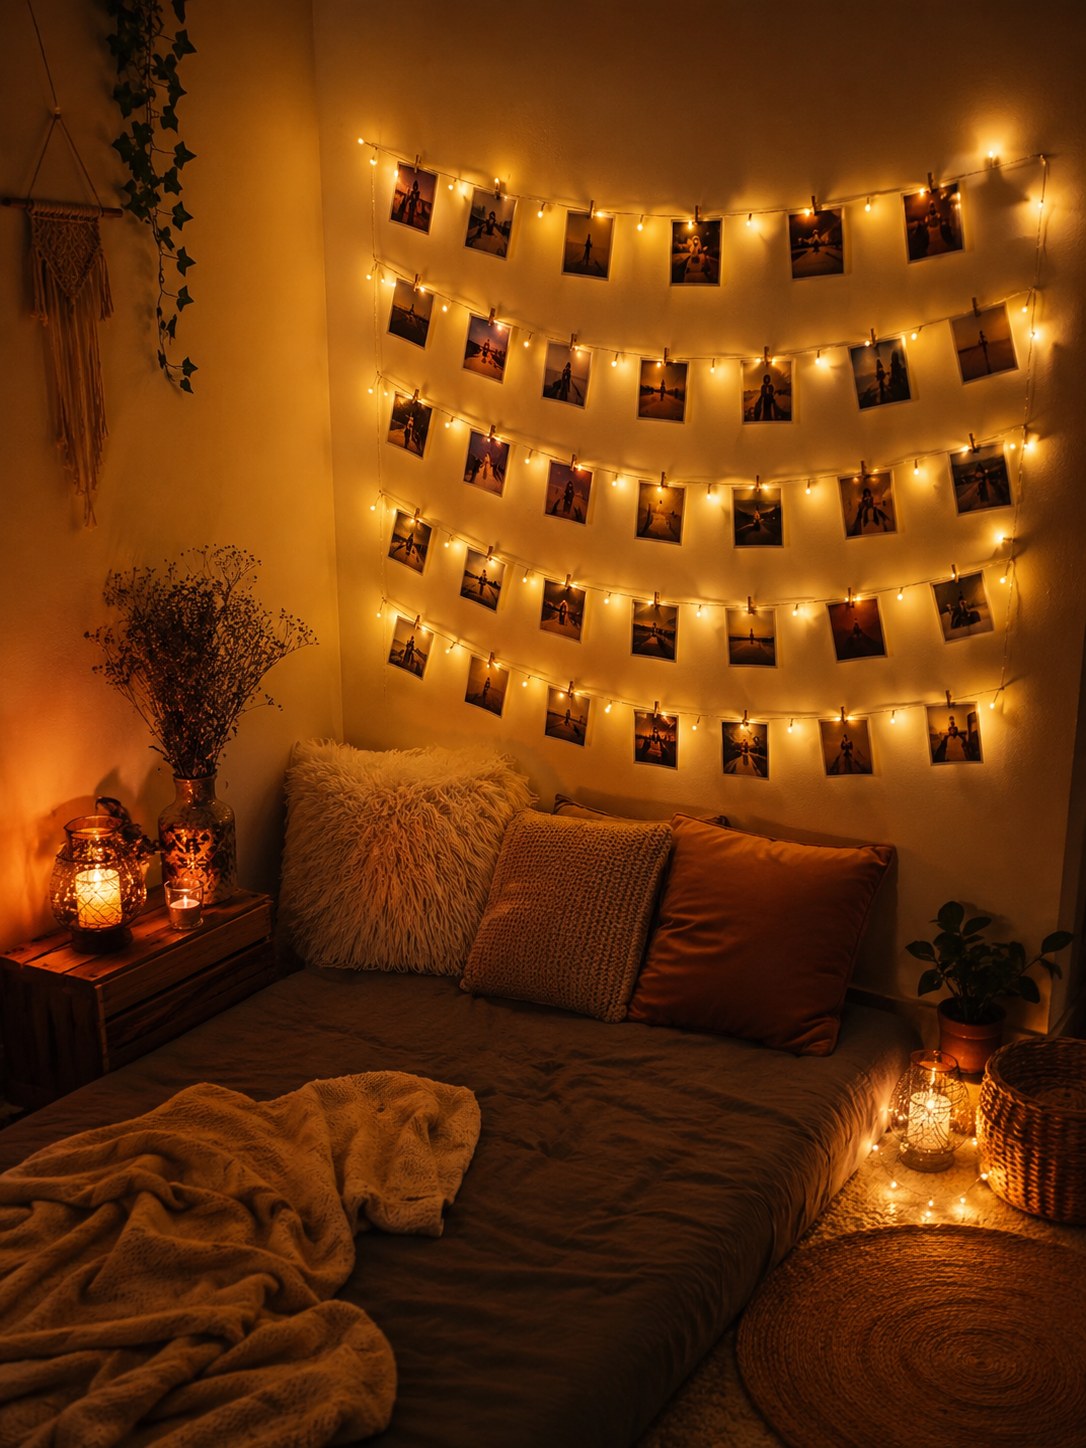
First Try Friendly — if every other idea on this list sounds like a weekend commitment, start here. Five or six horizontal fairy light strands run wall to wall, photos clipped along each row in even spacing, and that's genuinely the whole build.
- Measure your rows first — even 6-inch spacing between strands keeps the grid from looking uneven once photos are added.
- Clip, don't tape — mini wooden clothespins slide along the string easily, so you can rearrange the whole layout in minutes when you add new photos.
- Warm white only for this one — the amber tone is what makes the grid feel cozy instead of clinical, and it's forgiving of mismatched photo sizes.
Add a macrame piece off to one side and you've got the exact cozy-corner effect without touching a single nail — this is the layout I hand to anyone who tells me they're scared they'll mess up a photo wall.
None of these need to be permanent — that's the part I love most about fairy light walls. Swap the photos out with the seasons, add a new garland strand when you find one at the thrift store, and let the wall change as your year does.

Frequently Asked Questions
What kind of fairy lights last longest on a photo wall?
Battery or USB-powered LED strands with a timer function hold up best for daily use — they run cool enough to sit near paper photos for months without any heat damage, unlike older incandescent mini lights.
Will fairy lights or clips damage my rental walls?
Skip nails entirely — command hooks or removable adhesive putty rated for the weight of a light strand come off clean, and clothespins clip to the string itself, not the wall, so your actual photos never touch the paint.
How many photos do I actually need for a full wall?
For a curtain or grid layout covering a standard headboard width, I plan on 25-35 four-by-six prints minimum — fewer and you'll see too much bare wall between rows, which breaks the cozy effect these layouts are going for.