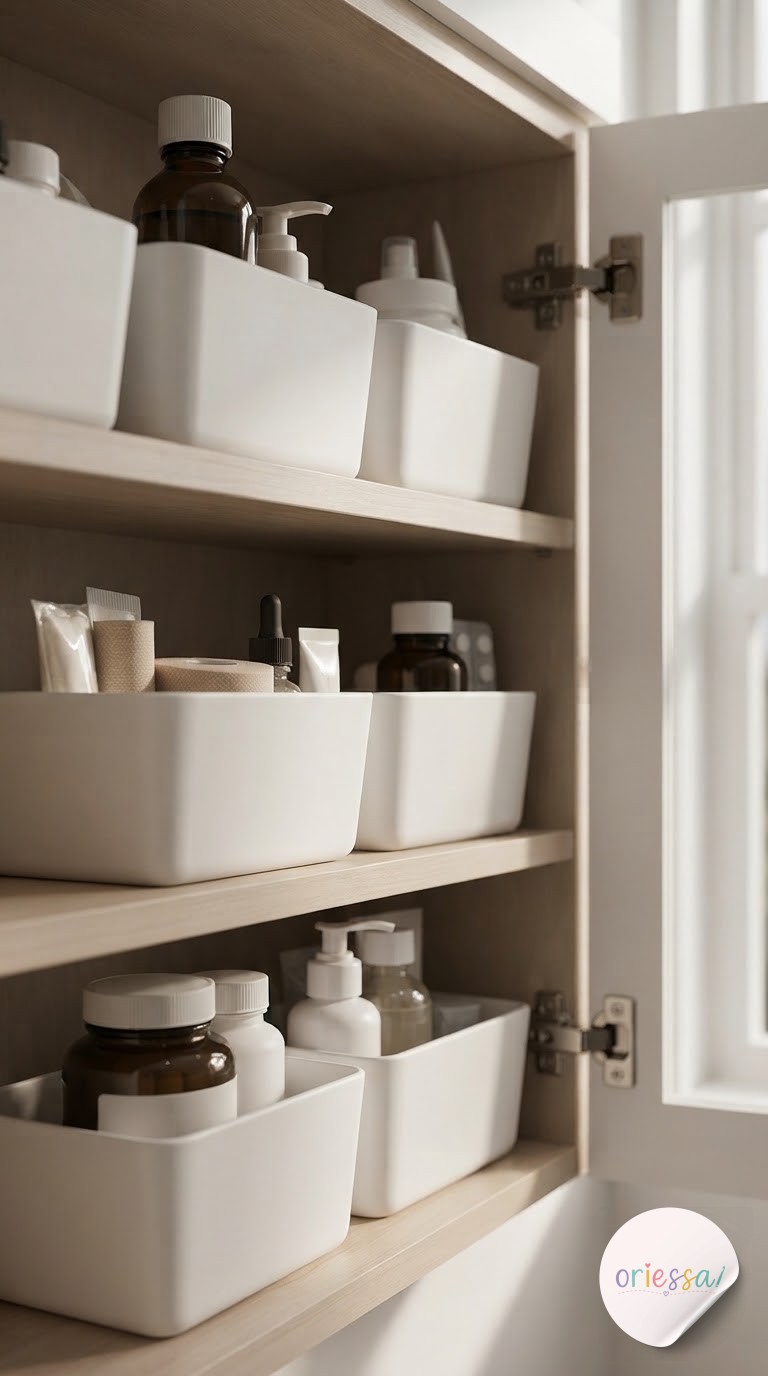

My medicine cabinet used to be a landfill of half-used ointment tubes, three thermometers because I could never find the first two, and a bottle of Chisme's flea meds that absolutely did not belong next to the ibuprofen. Pulling it apart taught me there isn't one right system, just the one that matches how you actually reach for things at 2am. These eight approaches are the ones I've seen genuinely hold up past week three, so pick the one that matches your bathroom and your patience level.
Drawer Bins for the Small Stuff
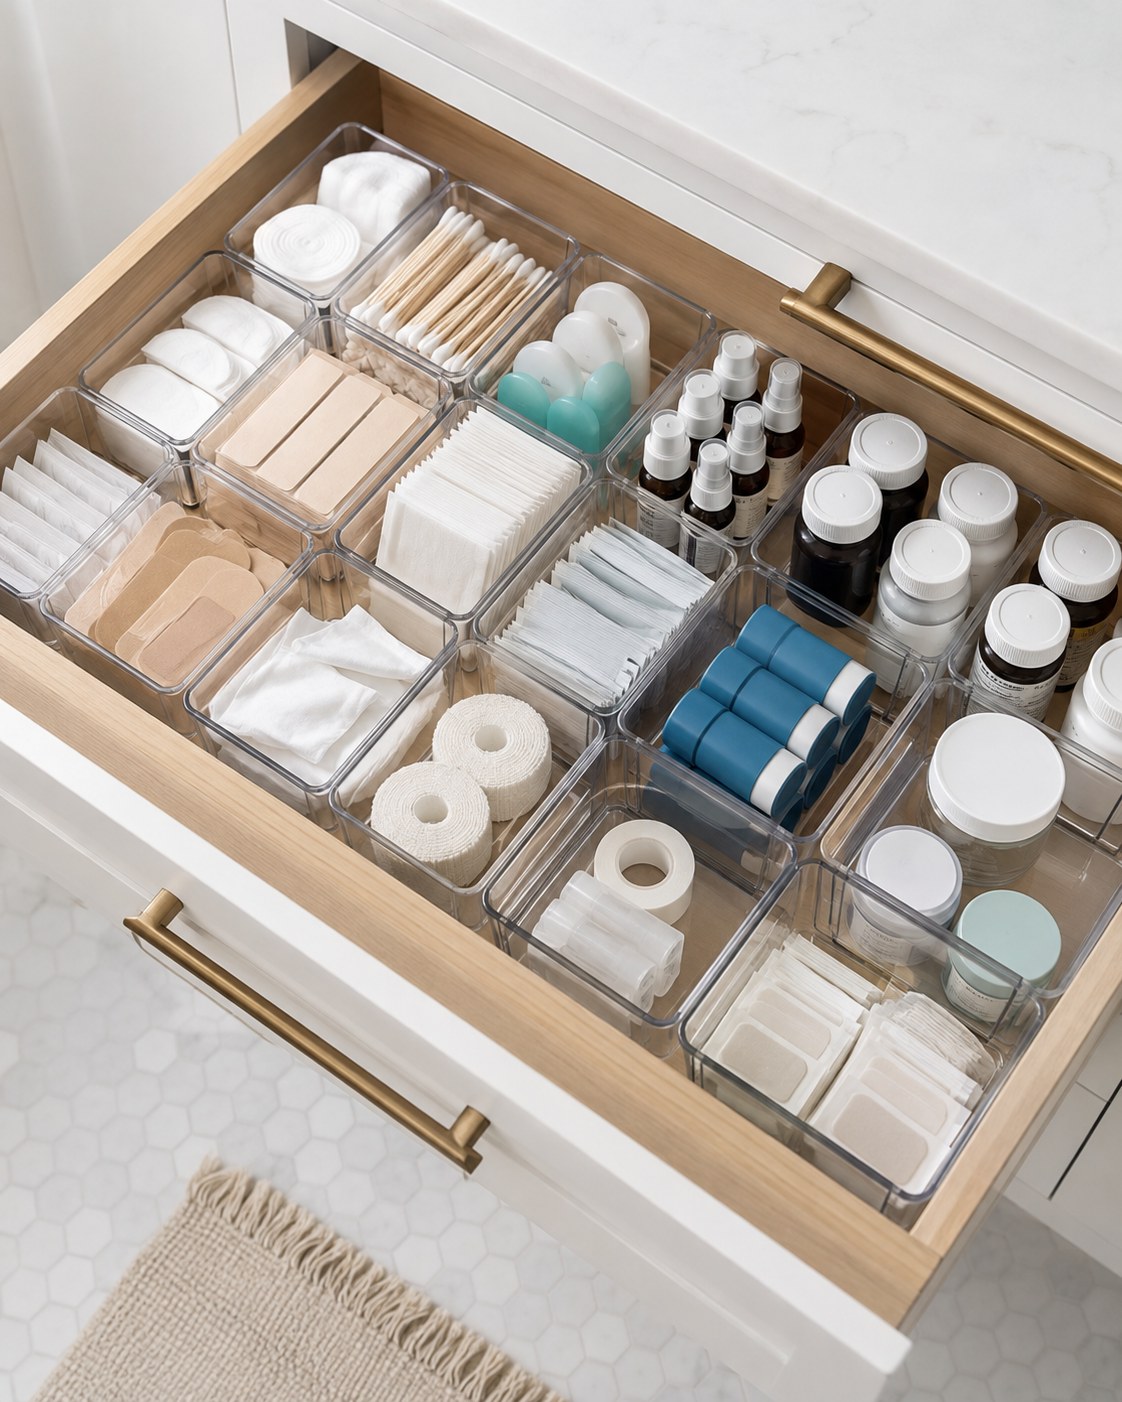
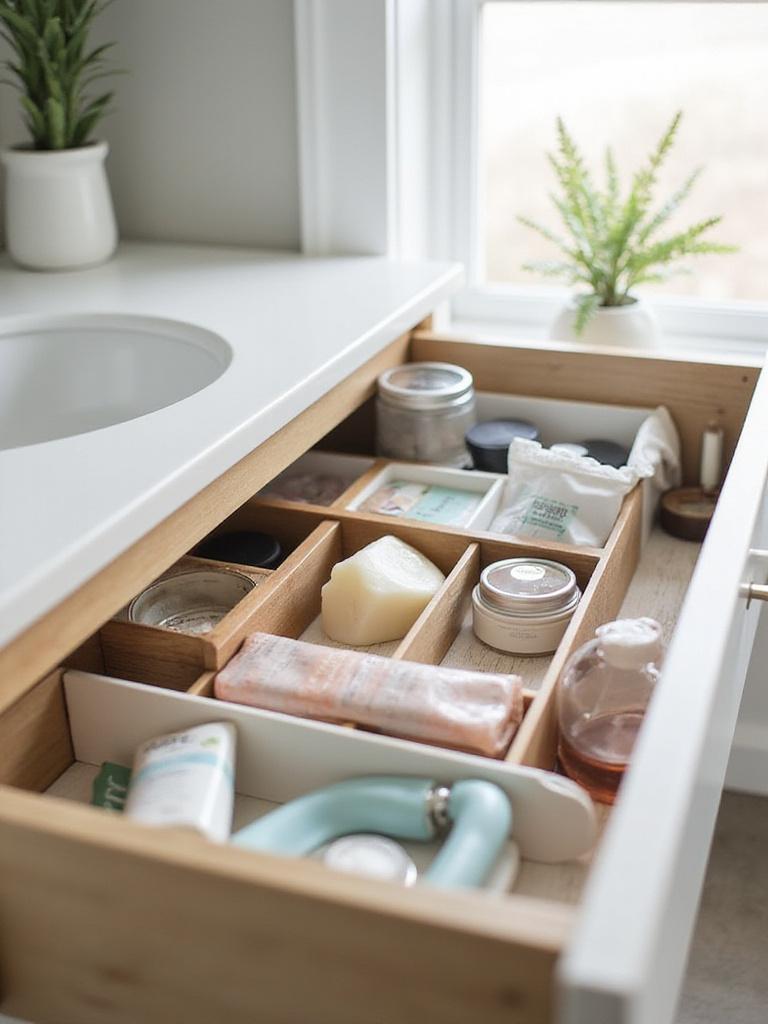
If your real problem lives in a drawer, not a shelf, this is your fix. Clear divided bins turn a junk drawer into a grid where cotton rounds, Q-tips, gauze, and loose pill bottles each get their own footprint instead of sliding into one crunchy pile every time you open it.
- Buy modular, not matched sets — bins that click together let you reconfigure the grid as your stash changes.
- Group by texture first, then category — soft goods (cotton, pads) separate from hard goods (bottles, jars) so nothing gets crushed.
- Leave one bin empty for whatever you just bought and haven't sorted yet. It always exists.
This setup is basically the drawer version of my someday-sparkle button drawer — once everything has a slot, you stop buying duplicates because you can actually see what you own.
The Framework Behind Every Organized Cabinet
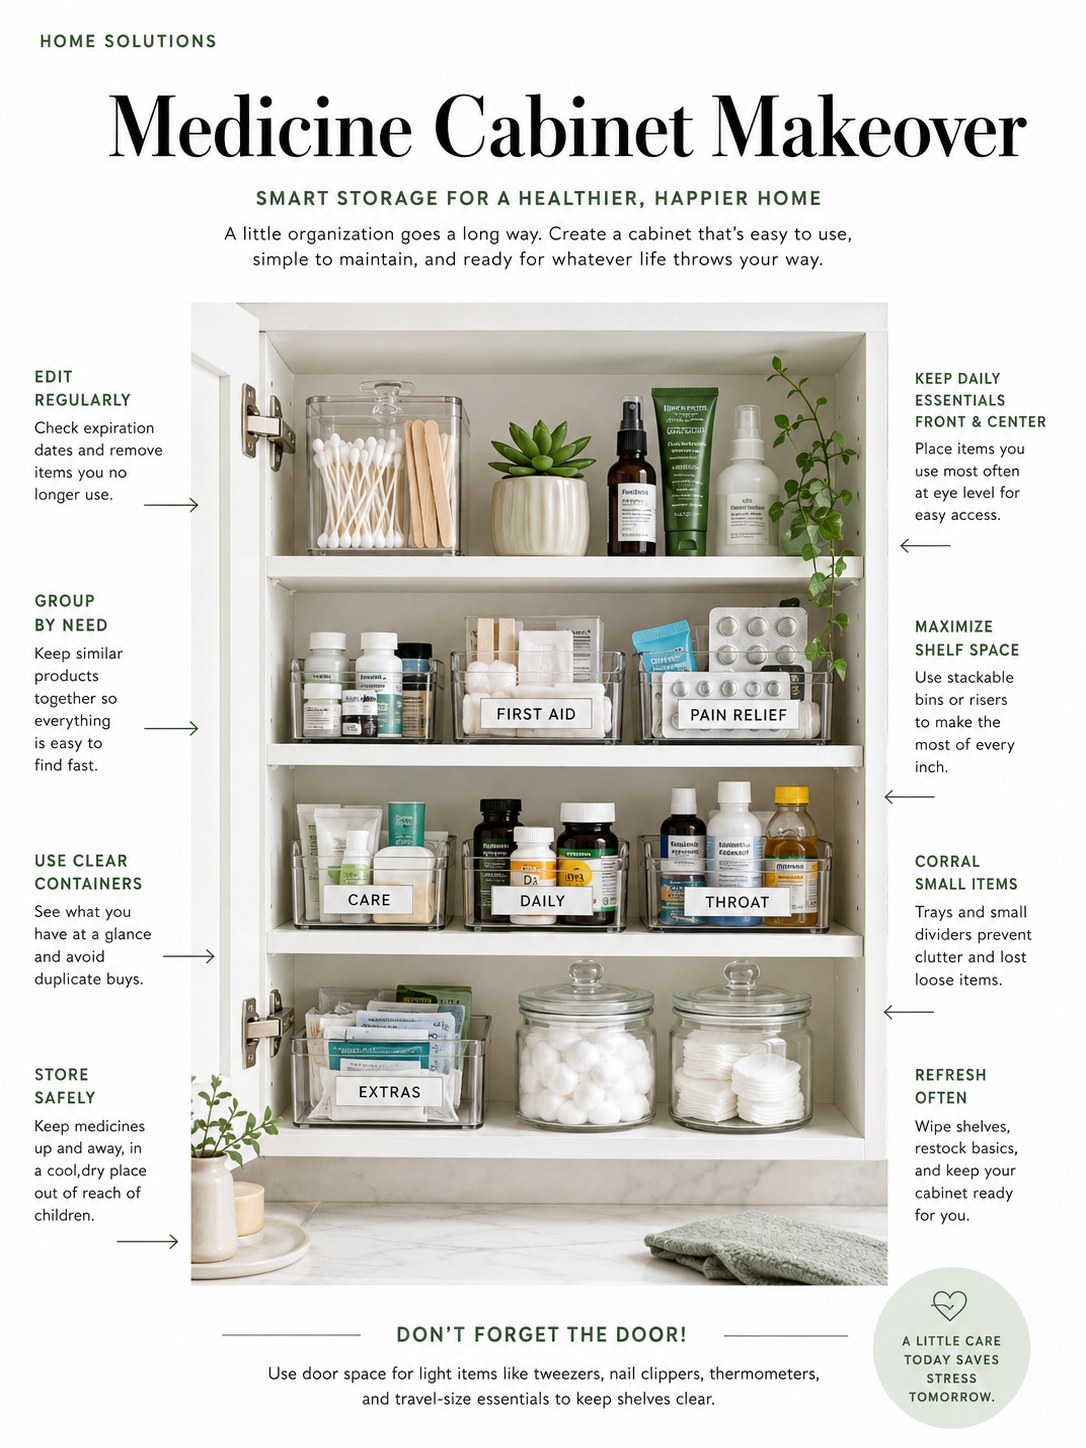
Before you buy a single container, this is the logic worth stealing: eye-level for daily meds, everything else sorted by category, and a hard rule to edit regularly. A pretty cabinet with expired allergy pills from three winters ago isn't organized, it's just tidy clutter.
The five moves that actually matter
- Group by need — first aid, pain relief, daily vitamins, each in its own zone.
- Keep daily essentials front and center, at eye level, no reaching or stacking.
- Corral small items in trays so nothing rolls to the back.
- Store medicine up and away from little hands, always.
- Use the door for light, flat items like tweezers and thermometers.
A little care today saves stress tomorrow — and it's the one line I actually keep taped inside my own cabinet door.
Woven Baskets for a Softer Look
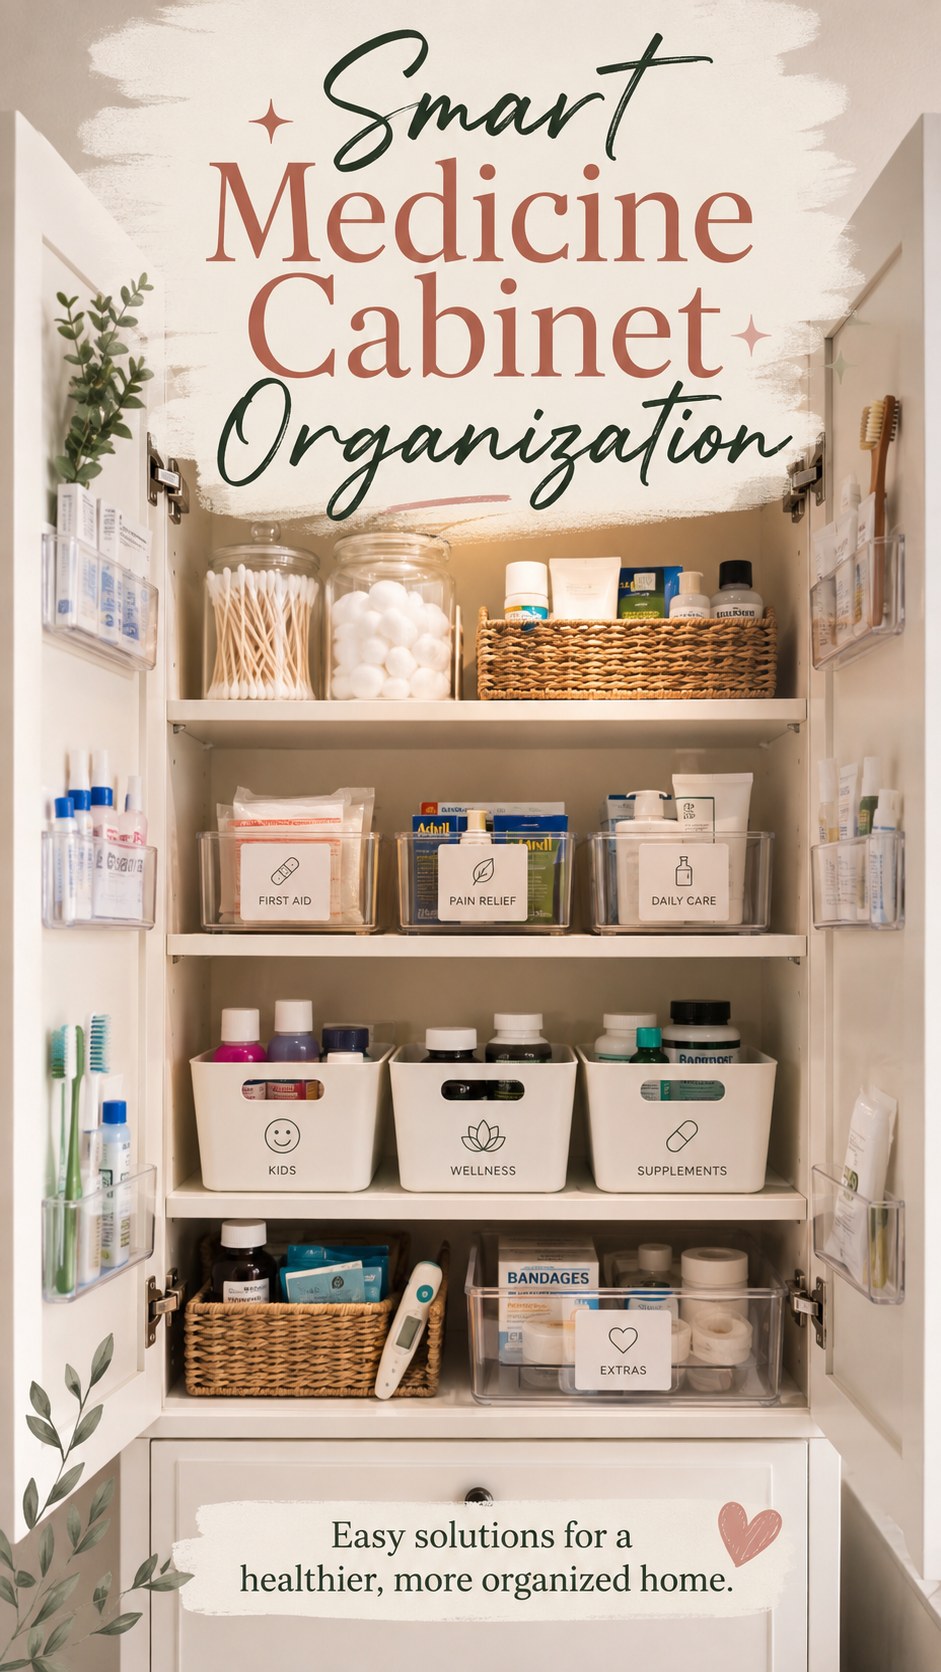
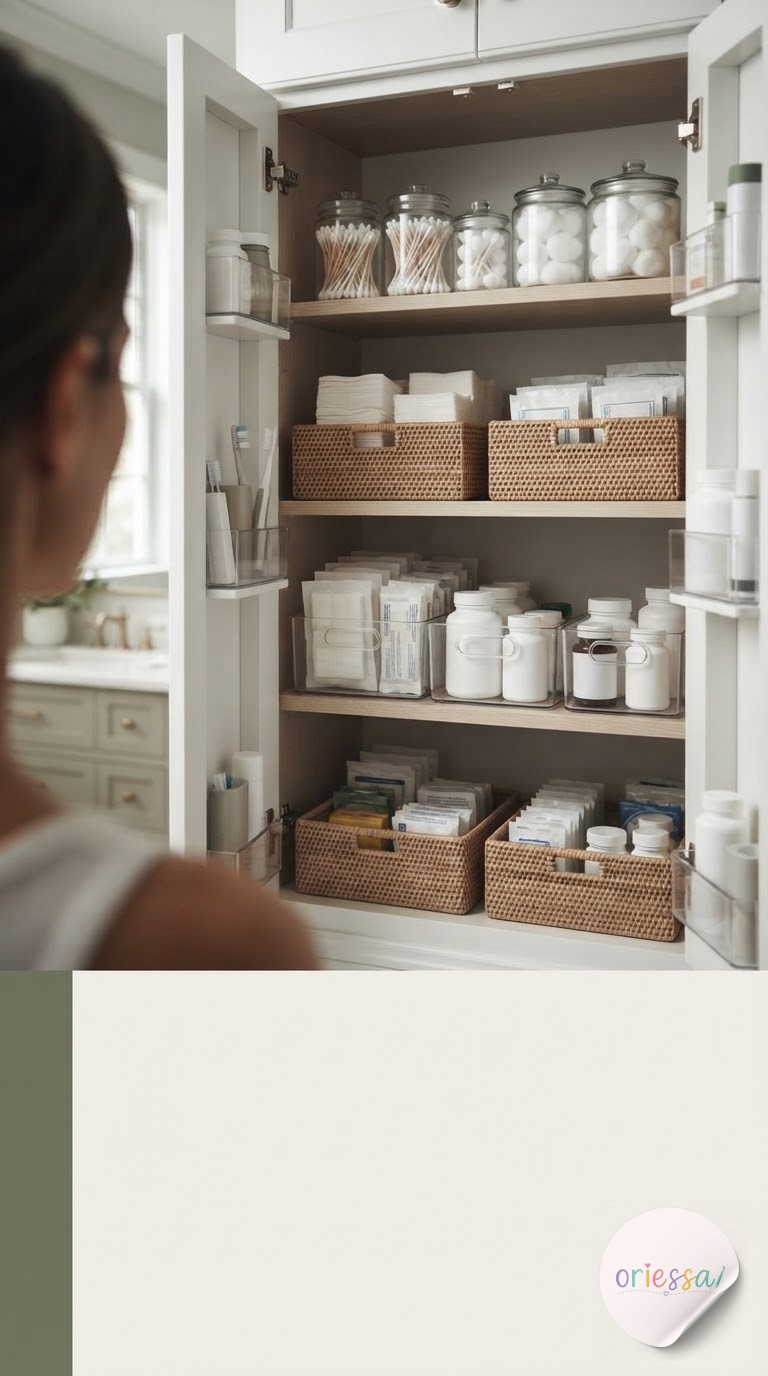
Clear plastic reads clinical, and not every bathroom wants clinical. Swap in woven baskets with printed labels and the same system suddenly looks intentional instead of institutional — this is the move if your cabinet is visible from the tub and you actually want to look at it.
The trick is labeling by category, not by product name, so the system survives when your brands change: First Aid, Wellness, Supplements, Kids. That last one matters more than people think — a dedicated kids' basket means you're never digging through adult dosages half-asleep at midnight.
- Line the baskets with a thin liner if you're storing anything that could leak.
- Pick a matte label over glossy — it photographs and reads better in low bathroom light.
- Leave the bottom shelf for overflow boxes, like bandages, that don't need a basket of their own.
Labeled Bins Sorted by Symptom
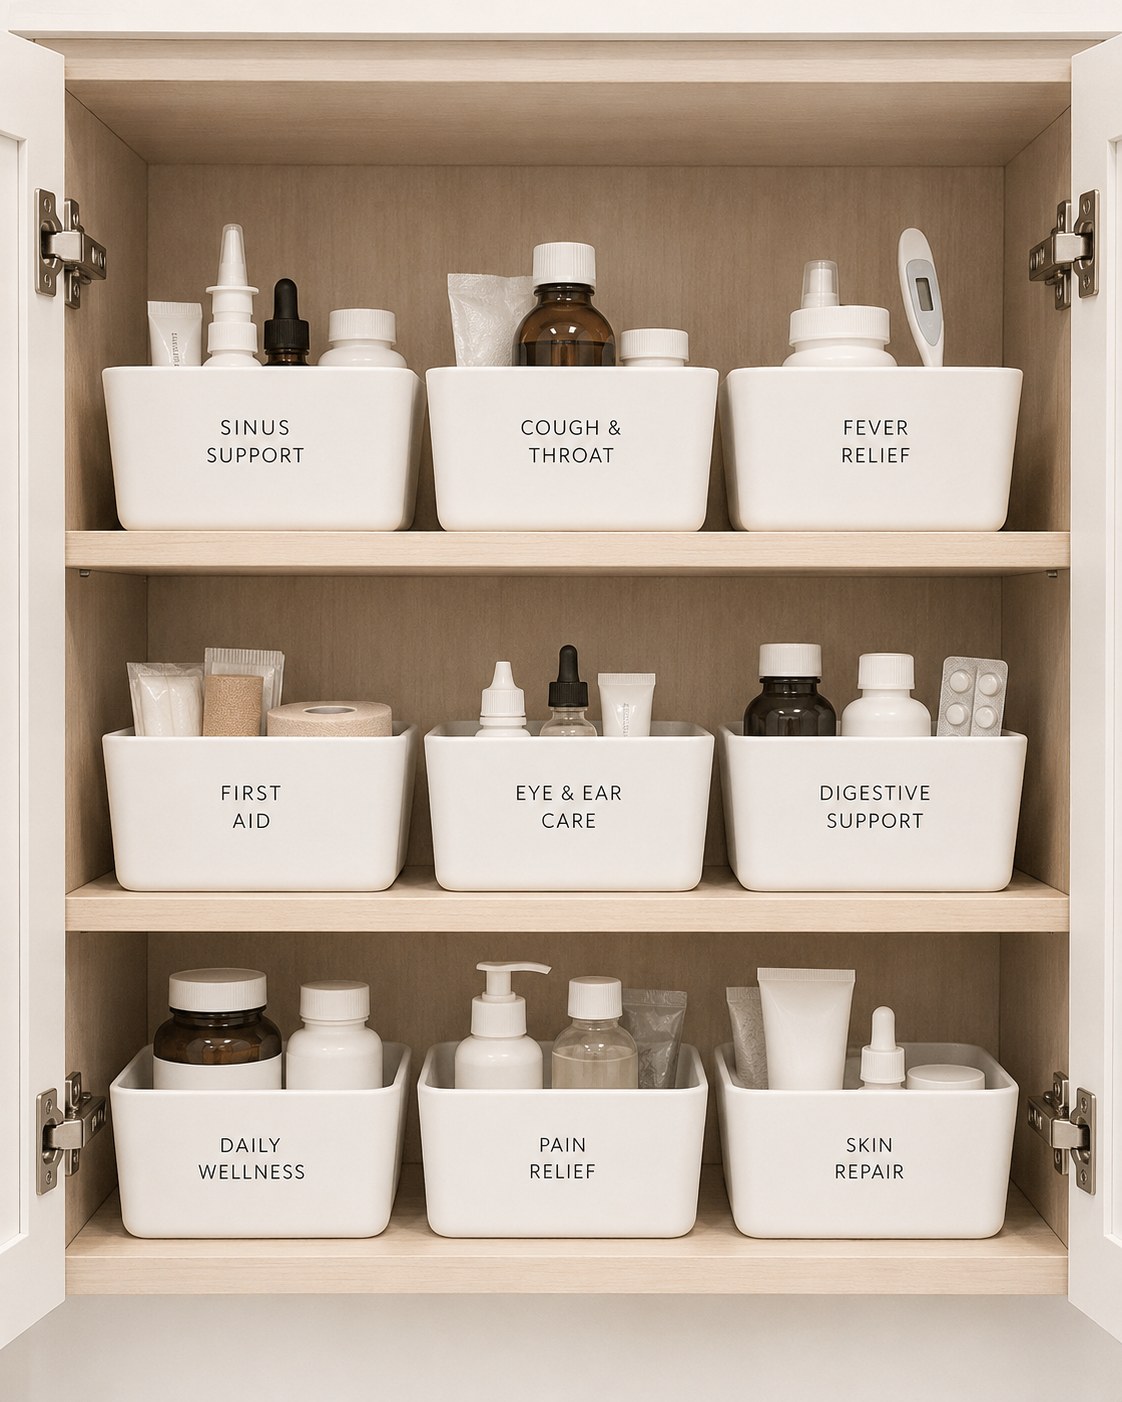
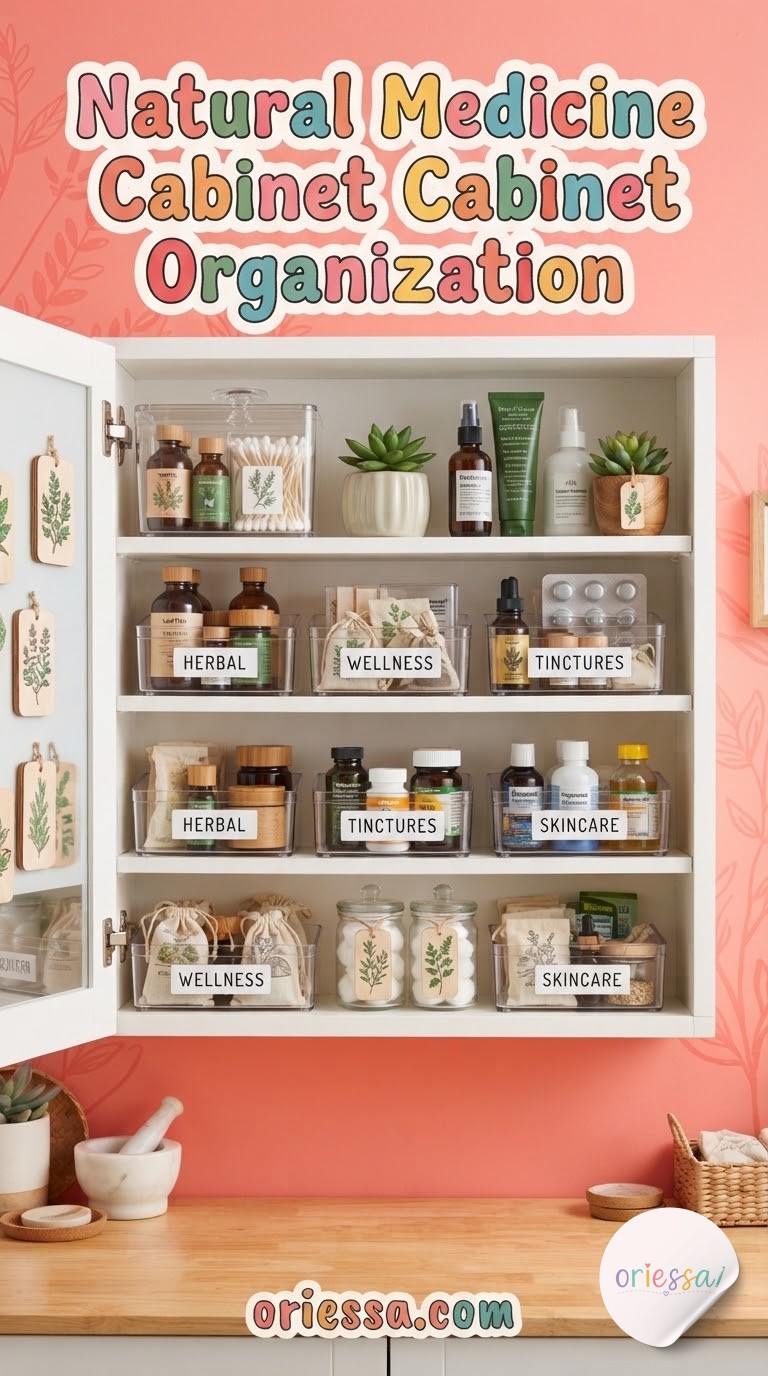
This is the system for anyone who has ever stood in front of a cabinet feeling awful and unable to find anything. Instead of sorting by product type, sort by what you're treating — Sinus Support, Cough & Throat, Fever Relief, Digestive Support, Skin Repair. When you're sick, you don't want to read six labels; you want the one bin that solves your exact problem.
Dre finally agreed to run our label maker for this one because I bribed him with karaoke rights on song choice, and honestly it's the single change that's cut our 2am cabinet fumbling to almost zero.
- Nine bins covers most households — don't over-split into twenty micro-categories you won't maintain.
- Keep a rotating stock in each bin, oldest expiration in front.
- Check expirations every time you refill a bin, not on some separate calendar you'll forget.
Under-Sink Overflow Storage
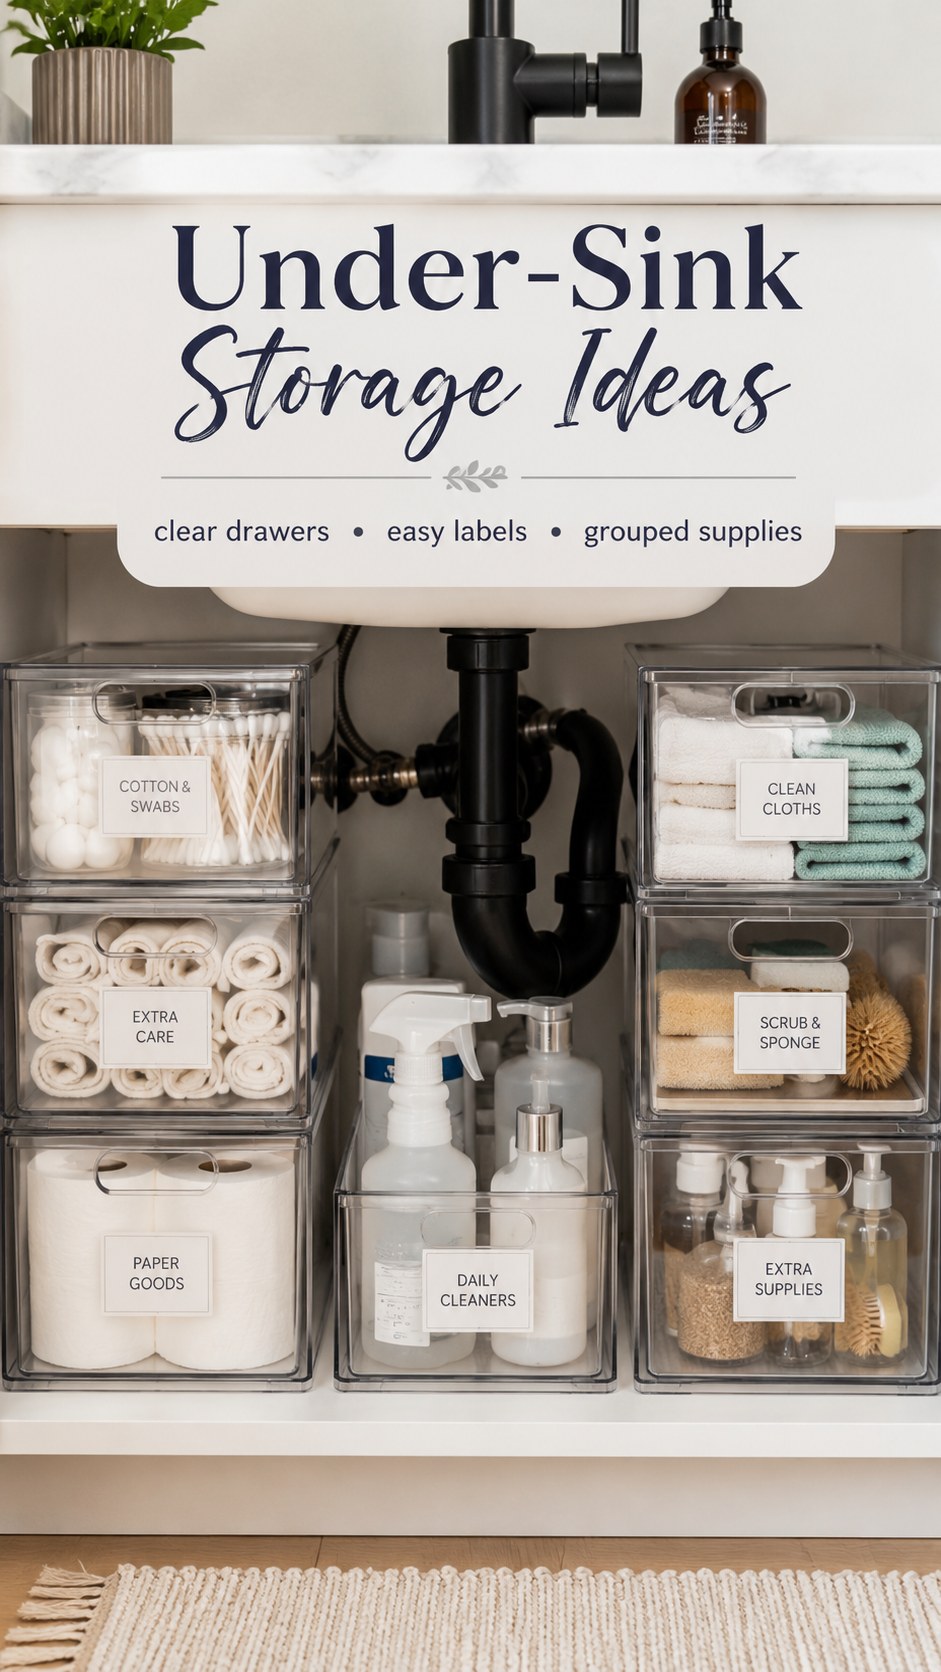
Not everything needs to live in the actual medicine cabinet — some of it just needs to live near it. The space under your sink is prime real estate for backstock: extra cotton, spare towels, cleaning supplies, and the bulk-buy paper goods that don't fit upstairs.
- Clear drawers, not open bins — the pipes underneath make everything dusty faster than you'd think.
- Label by function, not brand: Extra Care, Daily Cleaners, Paper Goods, Scrub & Sponge.
- Keep a "restock" drawer so refilling the cabinet upstairs is a two-minute transfer, not a shopping trip.
This is the overflow system, so treat the medicine cabinet as your working stock and this as your pantry — pull from here, don't shop from here.
Door Space Nobody Uses
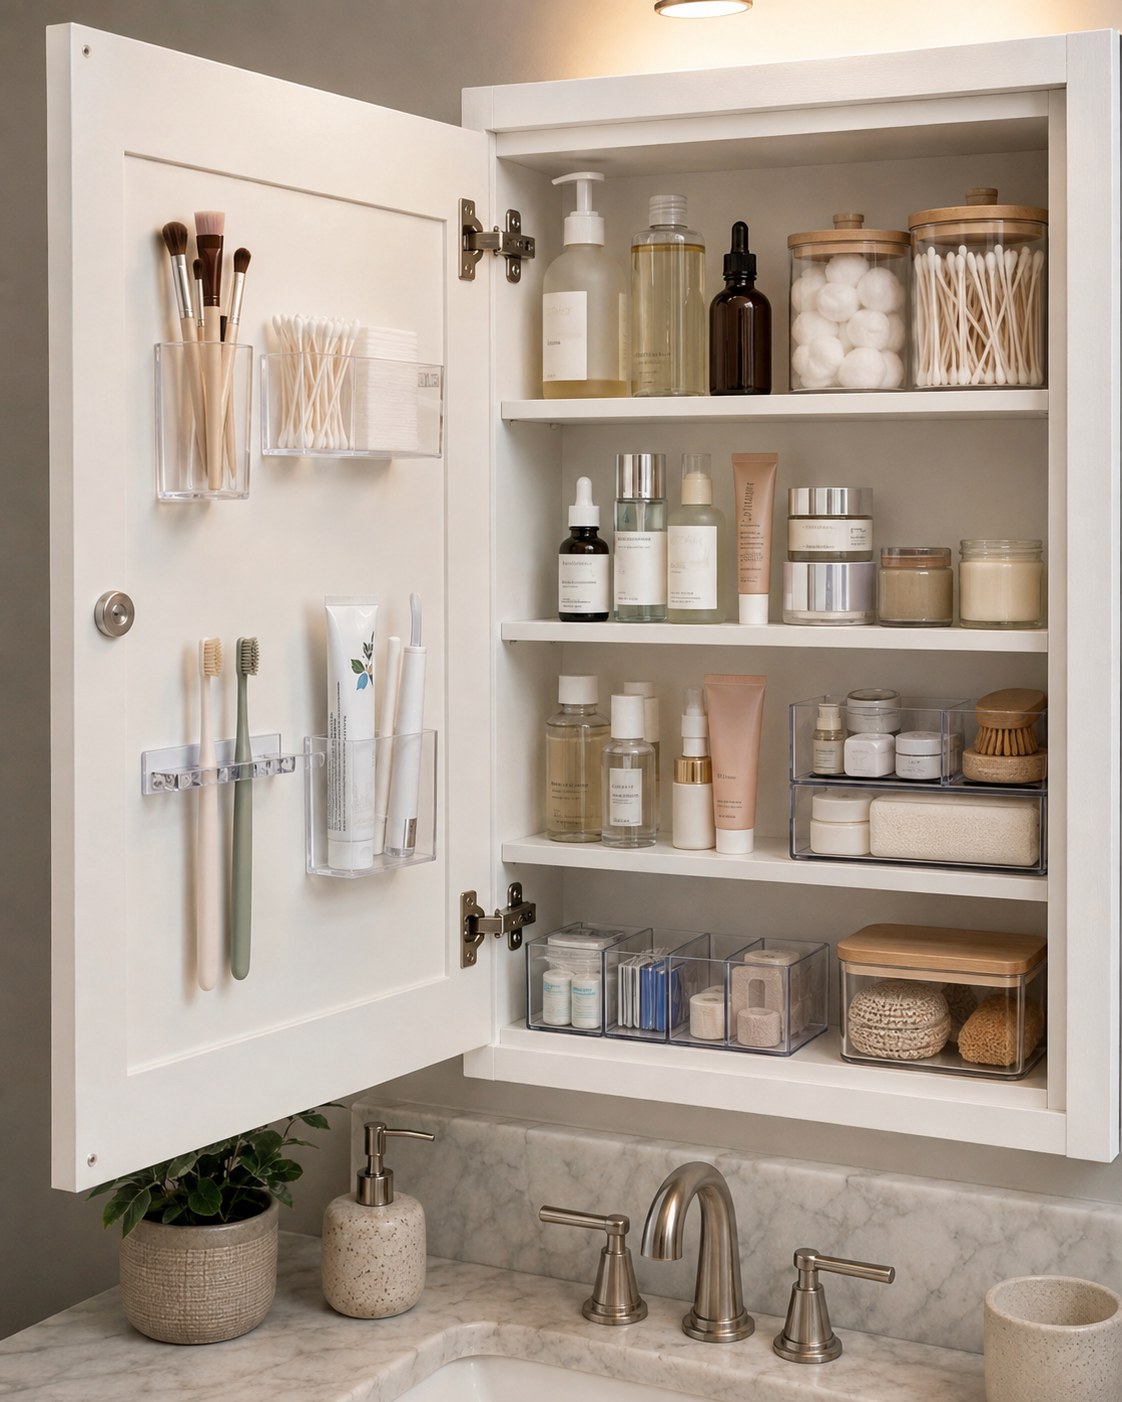
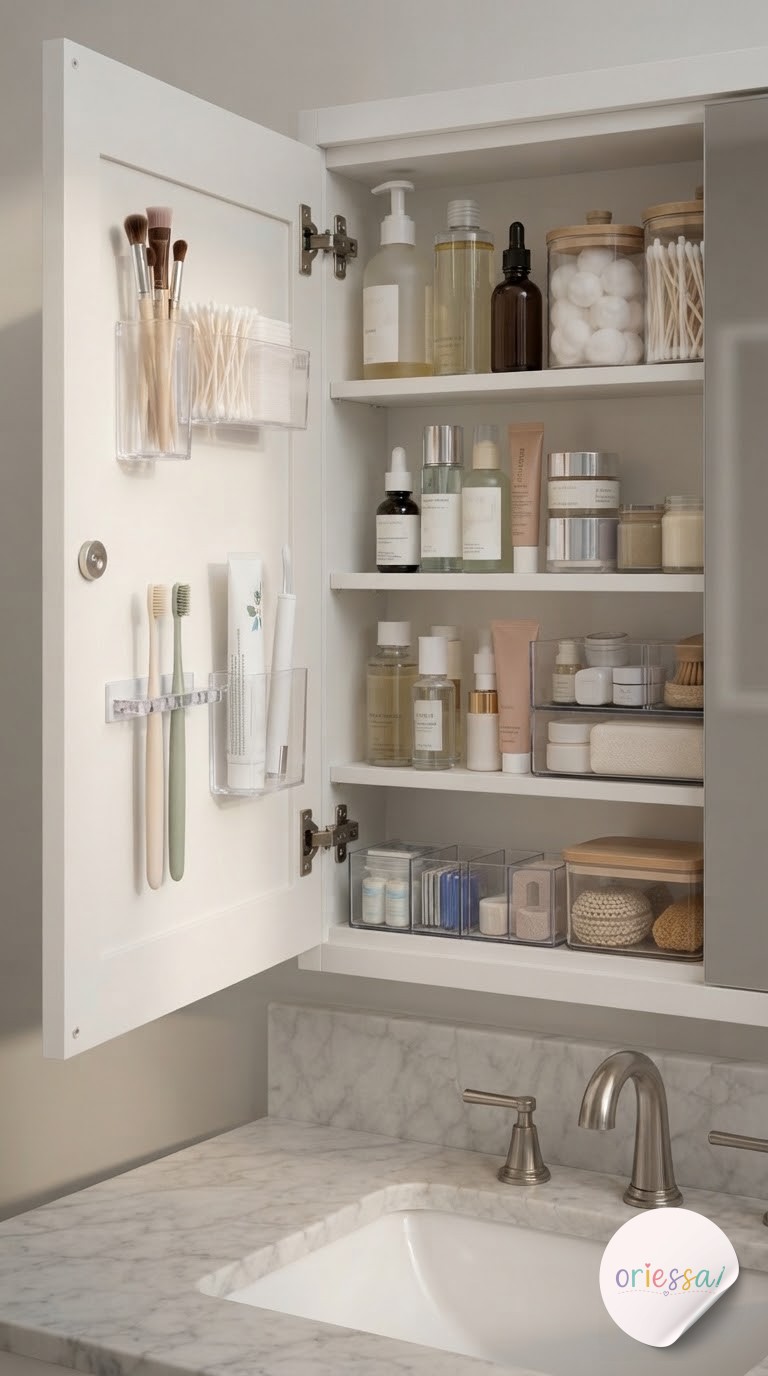
The inside of your cabinet door is basically free square footage that most people leave completely blank. Adhesive holders and slim caddies turn it into home base for the things you touch every single day without opening a drawer — toothbrushes, a tube of your daily serum, makeup brushes standing upright instead of rolling around a shelf.
What I love about this move is it's reversible and cheap — no drilling, and if a holder fails on you, you're out a few dollars, not a security deposit.
- Test adhesive strength first on a hidden spot; humid bathrooms are hard on sticky mounts.
- Reserve door space for light items only — glass jars and heavy bottles belong on shelves.
- Group by routine, morning items together, so the door does double duty as your getting-ready station.
The Apothecary Jar Cabinet
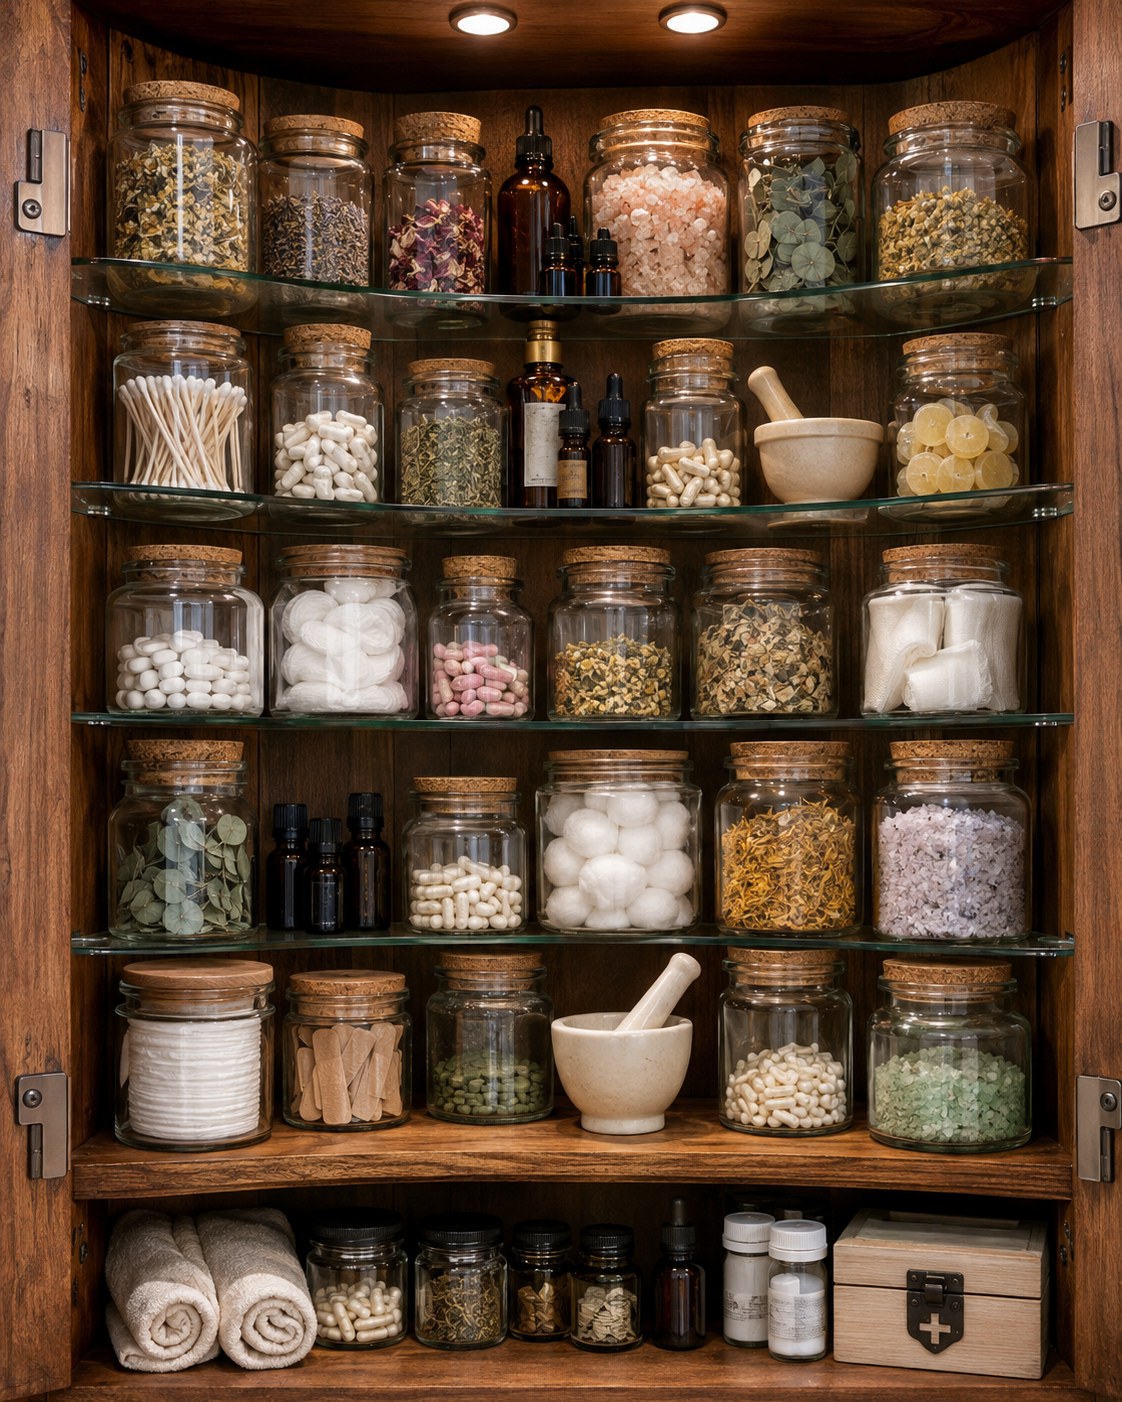
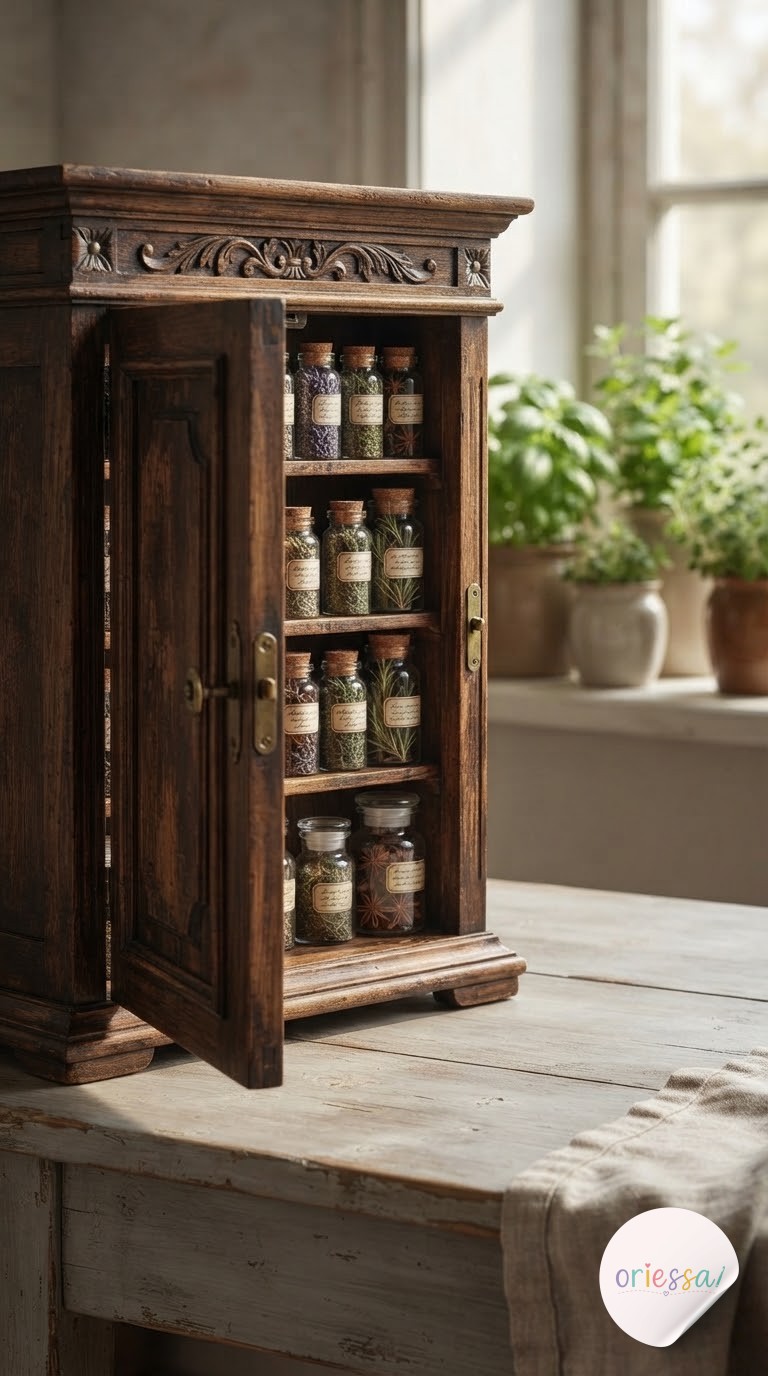
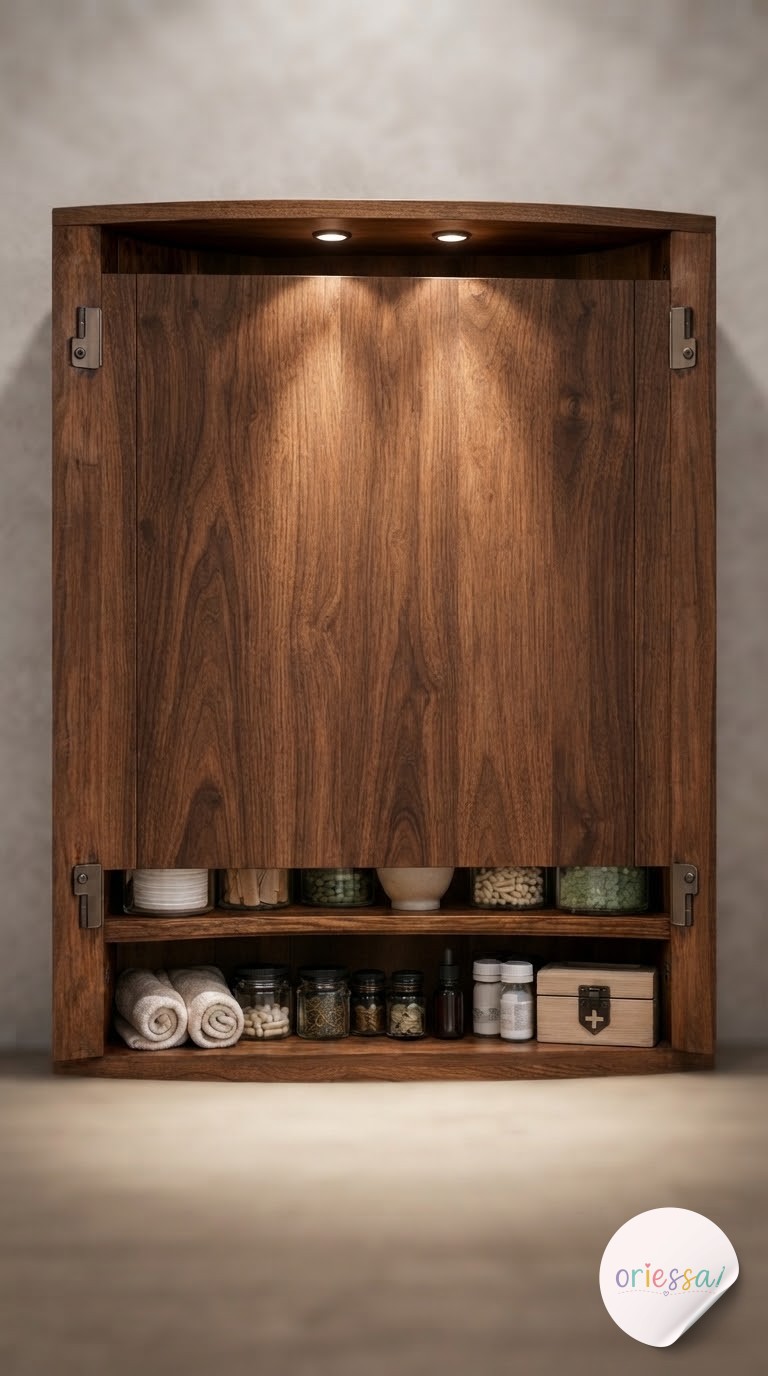
This one is a full Labor of Love, the tricky part being decanting everything from crinkly manufacturer packaging into uniform glass without losing track of what's actually in each jar. But if you love a vintage, apothecary look, cork-topped jars against a wood cabinet turn a medicine cabinet into something you'd photograph for its own sake.
Thrift and estate sales are genuinely the best source for mismatched glass jars here — I'd rescue a dozen from a Saturday thrift run before I'd buy a matched set new. Just be strict about one non-negotiable rule:
Anything decanted out of its original bottle loses its expiration date and dosing label, so this look only works for loose, non-medicated items like cotton balls, bath salts, or dried herbs — keep actual medication in its original, labeled container, always.
A Seasonal Refresh Ritual
Every system on this list fails the same way eventually: slowly, from neglect, one unlabeled bottle at a time. What actually keeps a medicine cabinet organized long-term isn't the containers, it's a standing seasonal check-in where you pull everything out, wipe the shelves, and toss what's expired.
I run mine alongside my annual closet audit because the habit of auditing is the same muscle — pull it all out, be honest about what you use, put back only what earns its spot.
- Set it to a season change so it's easy to remember, not a random date you'll skip.
- Wipe shelves before restocking; bathroom humidity builds grime fast.
- Restock basics — bandages, saline, fever reducer — before you actually need them at 11pm.
None of these systems is more correct than the others, they just solve different bathrooms. Start with whichever one matches the shelf or drawer that's already driving you crazy, and let the rest of the cabinet catch up over time.




Frequently Asked Questions
How often should I clean out my medicine cabinet?
Every season change is an easy rhythm to remember. Pull everything out, wipe the shelves, check expiration dates, and only put back what you'd actually reach for.
What's the best container for tiny items like cotton balls and Q-tips?
Clear divided bins or small trays work best because you can see the contents at a glance and refill before you run out mid-use.
Can I store medication in decorative glass jars?
I'd skip it. Decanting removes the expiration date and dosing label, so keep actual medicine in its original packaging and save decorative jars for loose, non-medicated items.
Where should medication go if I have kids or pets in the house?
Up and away from reach is the rule, always, regardless of your organizing style. A dedicated, clearly labeled kids' section also helps you avoid dosing mix-ups when everyone's half-asleep.